Introduction
Use this guide to replace a faulty or outdated GPU, in this case, an NVIDIA GeForce GTX 970 in a HAF 912 case.
The graphics card, or GPU, is a piece of hardware that allows a computer to display images and videos more effectively. A failing video card can lead to crashes and issues running certain software.
What you need
-
-
Unplug all the external cables from the computer and ensure that the power supply is switched off.
 Ask FixBot
-
-
-
Remove the case side panel by applying pressure to the side and sliding the side panel toward the back of the case.
-
-
-
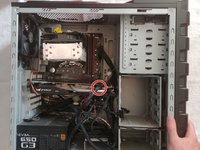
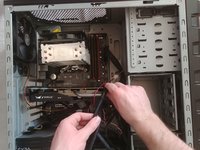
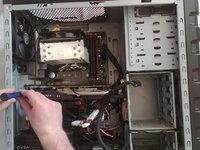
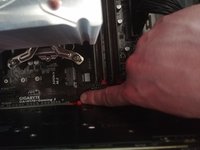
Pinch the lock at the end of the GPU power cable and carefully disconnect it.
-
-
-
-
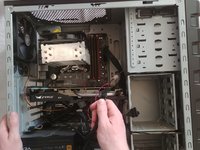
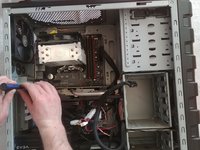
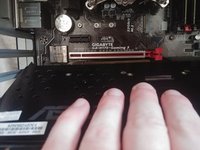
Remove the two Philips #1 mounting screws that attach the GPU to the inside of the case.
-
-
-
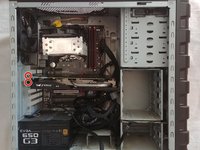
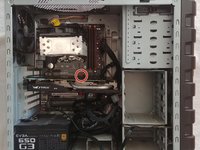
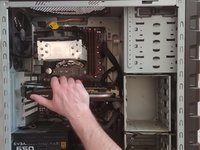
Remove the GPU from the case. If it does not move, check to make sure that steps 3-5 were properly performed.
-
-
-
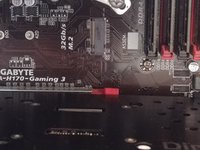
Once the replacement GPU is lined up, press down until you hear a click or can see that the locking tab is flipped up again.
-


To finish reassembly, follow steps 2-4 in reverse order.
Cancel: I did not complete this guide.
13 other people completed this guide.
Team

UMass Dartmouth, Team S3-G7, Saloman Spring 2021 Member of UMass Dartmouth, Team S3-G7, Saloman Spring 2021
UMASSD-SALOMAN-S21S3G7
1 Member
5 Guides authored