Introduction
Nozzle Jamming is a common, but fortunately an easily fixable issue in the machine due to which extrusion is hindered. This generally occurs due to:
1.Dust clogged in Nozzle
2.Uneven heating of extruder
3.filament fibers entering the extruder
4.Fan not working
5.Low spring pressure at extruder block
In case you face the problem that on extruding, the material is not coming out of nozzle follow these steps sequentially unless you have the solution:
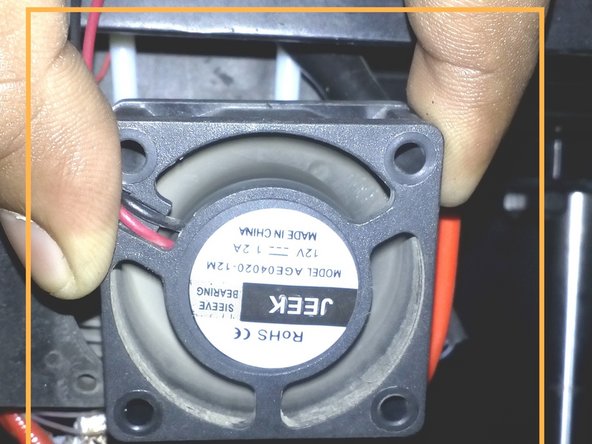
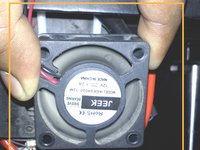
Check if the fan is working. If not contact the support team.
Preheat the extruder's.
Cut the filament from the bottom of extruder block and unload it.
Once the temperature is achieved, try to push the filament from the extruder block. Check if the material is extruded this way.
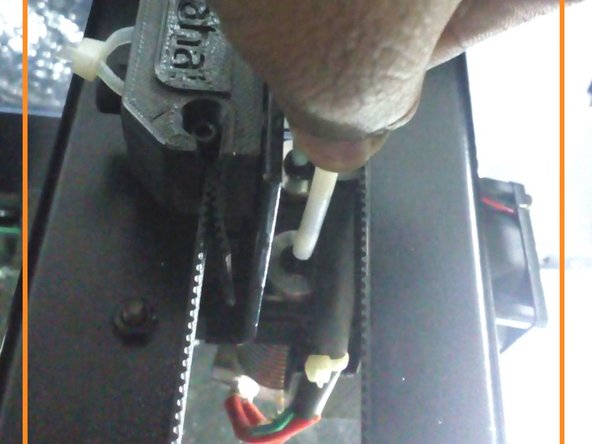
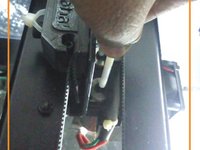
If not, try to take out the white tube carrying filament. To remove the tube press the black colour collect with the help of the needle present in the tool box and simultaneously pull the tube gently, as shown.
What you need
-
-
ON the power switch.
-
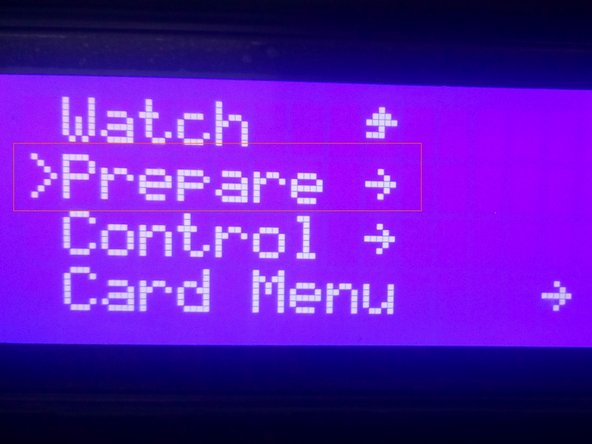
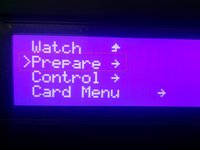
Go to prepare .
-
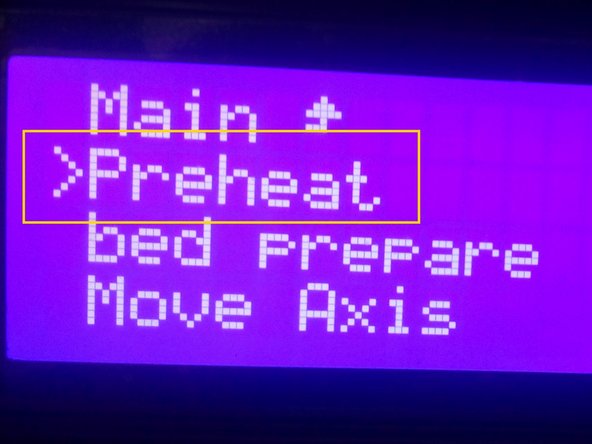
Click the option , preheat.
-
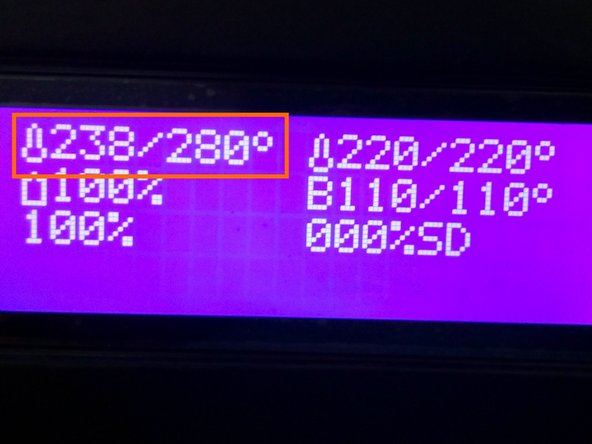
Go back to the main menu, check whether the nozzle temperature is increasing to the set temperature.
 Ask FixBot
-
-
-
Remove the teflon tube from the nozzle block.
-
In some case the teflon tube will not come out free. In this case, increase the temperature to 280 deg and try to remove the teflon tube.
-
-
-
-
Take the needle, and try to clean it from the top of the nozzle block.
-
In some case, jammed filament will not come out free. At this case , increase the nozzle temperature to 280deg and remove the nozzle cooler fan.
-
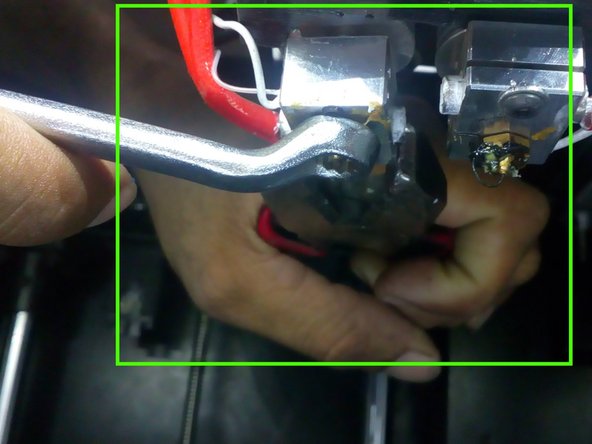
And try to clean the nozzle from the top with the help of a needle and a nose plier.
-
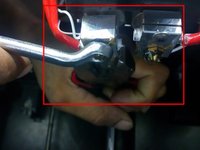
If the nozzle is again not clean, try to clean the nozzle by removing the nozzle tip with the help of a nose plier and spanner. Again clean it with the help of a needle.
-
NOTE: Be careful while removing the nozzle tip. If you extract more pressure on the nozzle tip, it may break. So be careful while doing it.
-
-
-
Reassemble the nozzle tip again with the help of the nose plier and spanner after cleaning the nozzle.
-
Reinsert the teflon tube.
-
-
-
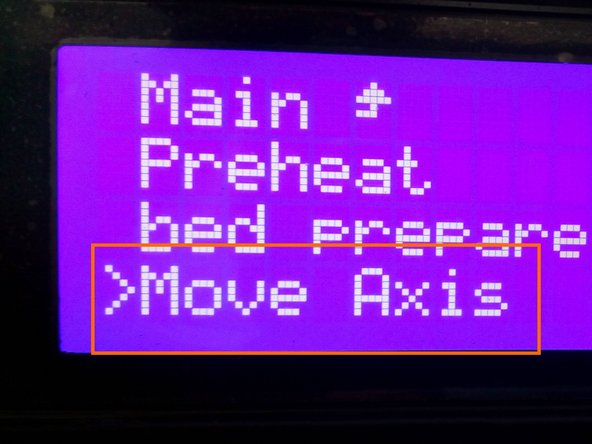
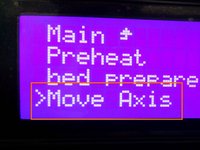
Go to prepare
-
click on move axis
-
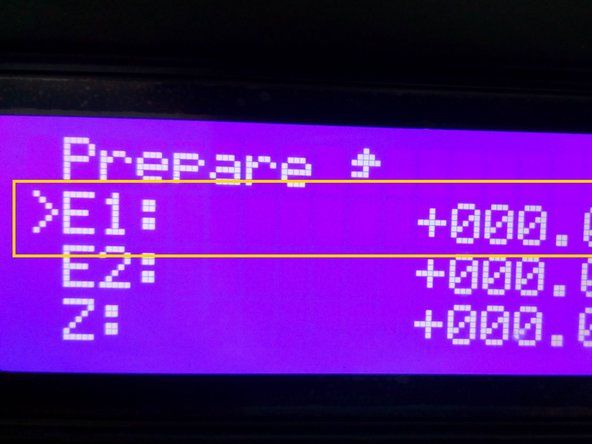
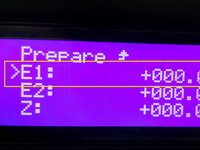
Select the extrude
-
Rotate the knob in clock wise direction and check the extrusion.
-


To reassemble your device, follow these instructions in reverse order.
