This translation was generated by a machine and has not been reviewed by a person yet. Speak this language? Review it.
Introduction
This guide shows you how to remove the CPU from a NH57ADS, once the cooling fans and the heatsink have been removed.
What you need
-
-
-
Remove the two screws holding the battery in place.
-
Slip your finger into the finger hole provided at the top of the battery.
-
...and lift to remove it
 Ask FixBot
-
-
-
-
-
Remove the five Phillips screws securing the bottom to the case.
-
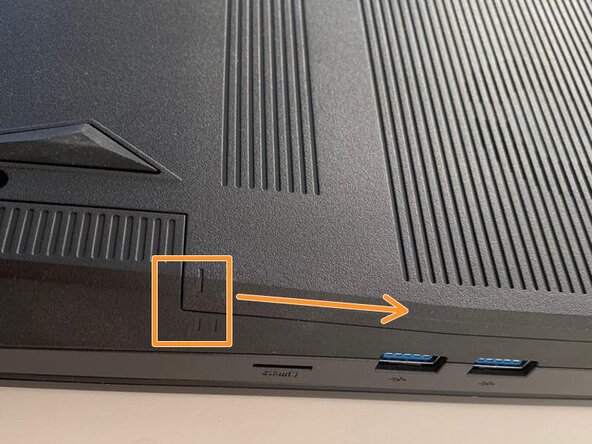
Slide the cover up slightly to release the clips holding it in place. This is the view on the right. The mark on the cover should now line up with the second mark on the case of the computer.
-
-
-
-
This is the view on the left before and after sliding the cover. The mark on the cover should now line up with the second mark on the case of the computer.
-
Slide the bottom cover to remove it.
-
-
-
-
-
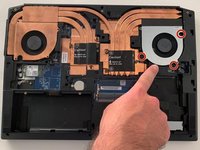
Remove the three Phillips screws securing the fan on the right.
-
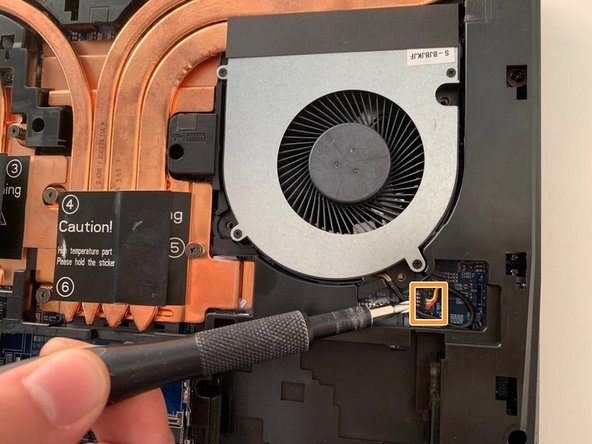
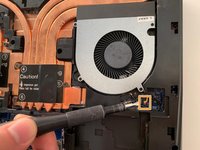
Carefully release the cooling fan cable by hand.
-
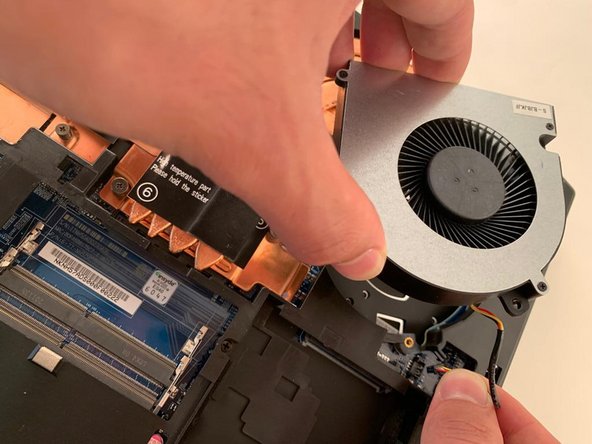
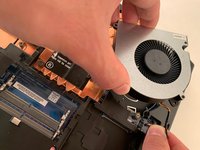
Remove the first fan.
-
-
-
Remove the two Phillips screws securing the left hand fan.
-
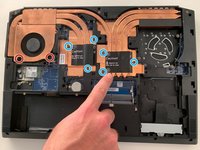
Remove the six Phillips heatsink retaining screws.
-
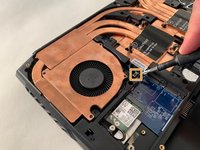
Carefully unplug the fan's power connector.
-
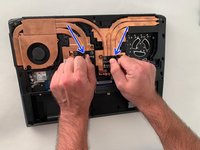
Using the two black tabs as handles, lift and remove the heatsink.
-
-
-
-
-
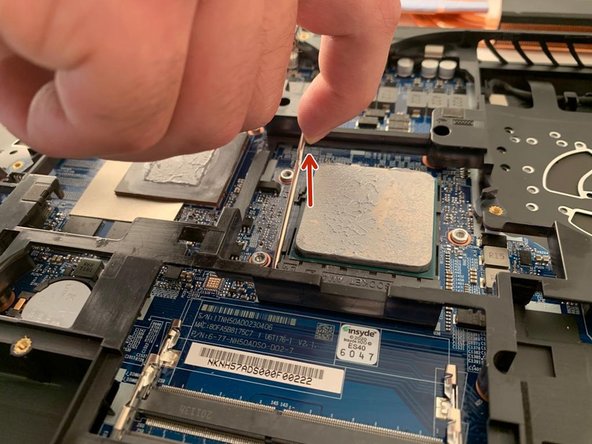
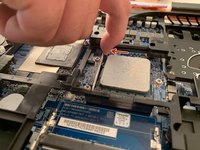
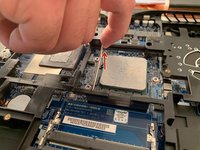
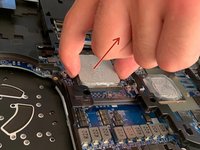
Carefully pull the metal bar away from the processor to free it from under the retaining tab, then lift it to release the processor pins.
-
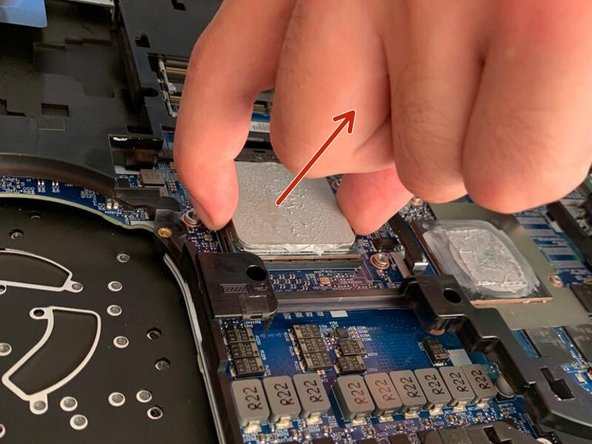
Carefully remove the processor by lifting it straight up.
-
-









To reassemble your device, follow the instructions in reverse order.
Special thanks to these translators:
100%


These translators are helping us fix the world! Want to contribute?
Start translating ›

