
Motorola i560 Microphone Replacement

What you need

  1. Motorola i560 Microphone Replacement, Battery: step 1, image 1 of 1
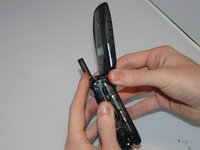
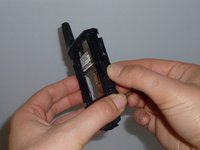
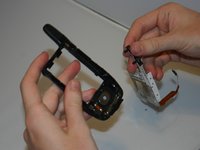
    • Place thumb on the rubber tab on the lower back of the phone.

    • Push away from the phone to release back panel.

  2. Motorola i560 Microphone Replacement: step 2, image 1 of 1
    • Lift the back panel of the phone to expose battery (not shown here).

  3. Motorola i560 Microphone Replacement, Side Volume Button: step 3, image 1 of 1
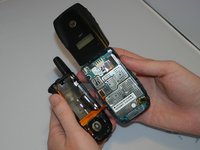
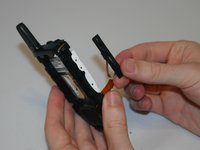
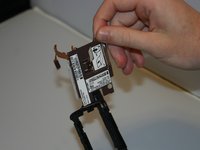
    • Pull antenna up, away from the phone, to reveal two of six screws.

  4. Motorola i560 Microphone Replacement: step 4, image 1 of 1
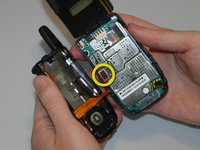
    • Unscrew all six 5.4 mm screws on the back side of the phone using the T-6 screwdriver bit.

  5. Motorola i560 Microphone Replacement: step 5, image 1 of 2 Motorola i560 Microphone Replacement: step 5, image 2 of 2
    • Gently separate the front and back sides of the phone.

    • Be careful not to break or bend the ribbon cables.

  6. Motorola i560 Microphone Replacement: step 6, image 1 of 2 Motorola i560 Microphone Replacement: step 6, image 2 of 2
    • Detach the first ribbon cable by unplugging it from the logic board.

  7. Motorola i560 Microphone Replacement: step 7, image 1 of 3 Motorola i560 Microphone Replacement: step 7, image 2 of 3 Motorola i560 Microphone Replacement: step 7, image 3 of 3
    • Gently remove the side button by pulling the buttons away from the phone.

  8. Motorola i560 Microphone Replacement, Metal Support Plate: step 8, image 1 of 3 Motorola i560 Microphone Replacement, Metal Support Plate: step 8, image 2 of 3 Motorola i560 Microphone Replacement, Metal Support Plate: step 8, image 3 of 3
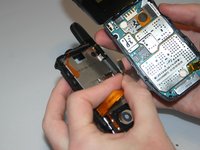
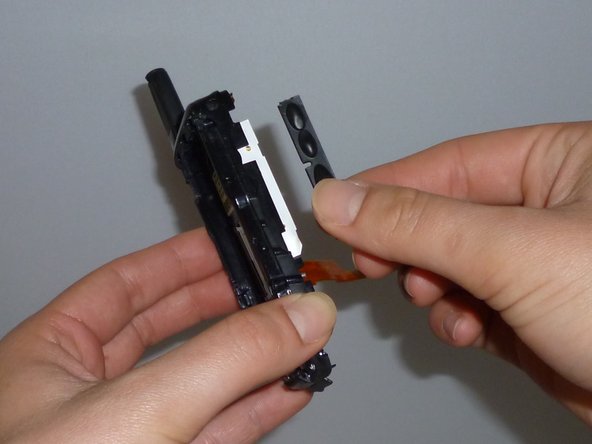
    • Grab the tab at the bottom of the metal plate, and pull to remove the plate from the phone.

  9. Motorola i560 Microphone Replacement, Microphone: step 9, image 1 of 3 Motorola i560 Microphone Replacement, Microphone: step 9, image 2 of 3 Motorola i560 Microphone Replacement, Microphone: step 9, image 3 of 3
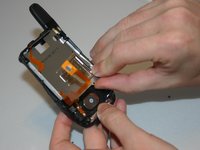
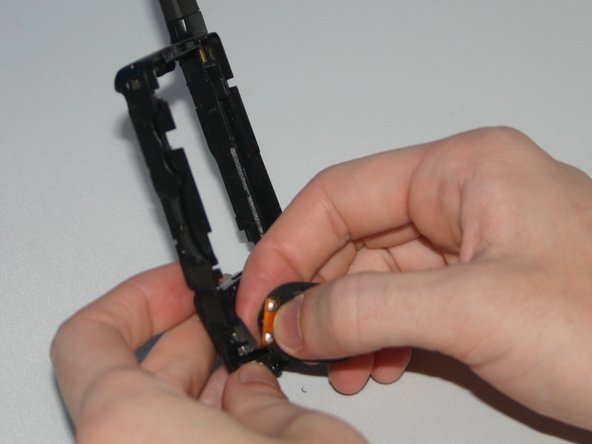
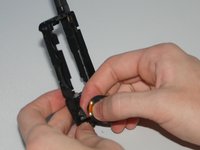
    • Slightly bend the phone frame to expose microphone protrusion.

    • Gently remove microphone using your fingers.

  10. Motorola i560 Microphone Replacement: step 10, image 1 of 1
    • Once the microphone has been removed, remove the connecting piece

Conclusion

To reassemble your device, follow these instructions in reverse order.

Haley S

Member since: 03/11/13

10 Reputation

4 Guides authored

Team

Clemson, Team 13-6, Benson Spring 2013 Member of Clemson, Team 13-6, Benson Spring 2013

CLEM-BENSON-S13S13G6

3 Members

10 Guides authored

0 Comments

Add Comment

View Statistics:

Past 24 Hours: 0

Past 7 Days: 4

Past 30 Days: 14

All Time: 162