Motorola Xoom Wifi Display Replacement

Archived Guide
This guide is retained solely for historical purposes. Use the updated version of the guide to perform your repair.

What you need

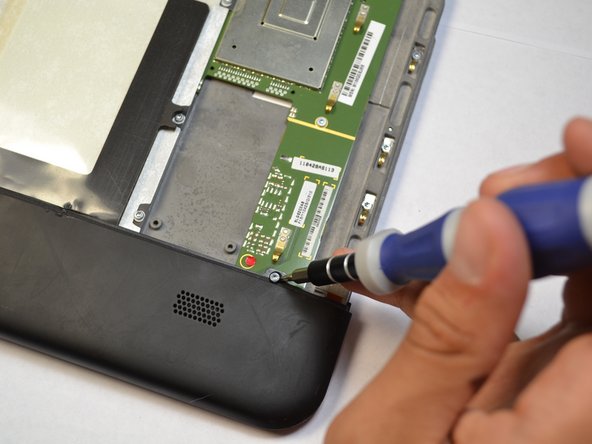
  1. Motorola Xoom Wifi Display Replacement, Back Cover Disassembly: step 1, image 1 of 2 Motorola Xoom Wifi Display Replacement, Back Cover Disassembly: step 1, image 2 of 2
    • There are two 6.6 mm screws that hold ports into place as well as the back panel. Remove these with a T5 Torx screwdriver.

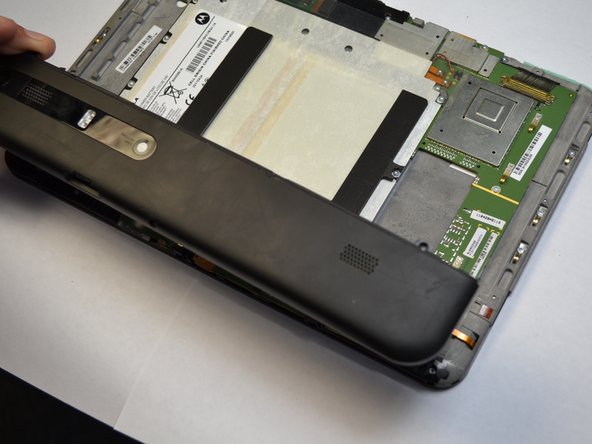
  2. Motorola Xoom Wifi Display Replacement: step 2, image 1 of 2 Motorola Xoom Wifi Display Replacement: step 2, image 2 of 2
    • Apply light pressure with hand and slide the back plate till it stops in this position.

    • There is a flex clip on both sides that need to be pushed down in order for the plate to slide off completely. Use a plastic opening tool to release the flex clips. They are located under the back cover near the sides.

    • As soon as the clips are released the back should slide off.

  3. Motorola Xoom Wifi Display Replacement: step 3, image 1 of 3 Motorola Xoom Wifi Display Replacement: step 3, image 2 of 3 Motorola Xoom Wifi Display Replacement: step 3, image 3 of 3
    • Remove last two 4.2 mm screws from the remaining back piece with a T5 Torx screwdriver.

    • Once both screws are taken out, lift the rest of the backing out of the way.

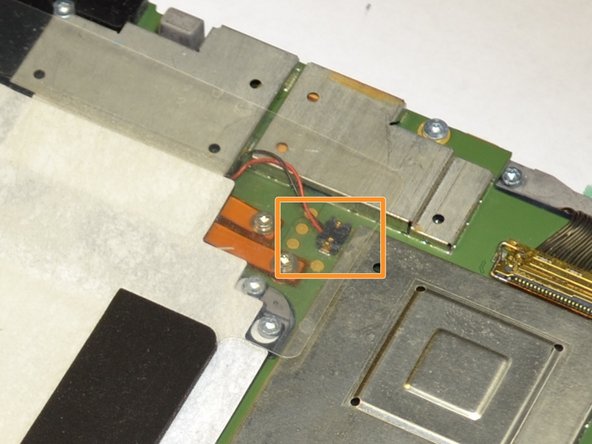
  4. Motorola Xoom Wifi Display Replacement, Battery: step 4, image 1 of 2 Motorola Xoom Wifi Display Replacement, Battery: step 4, image 2 of 2
    • Remove the two battery leads with a T-5 Torx screwdriver.

    • Grab the red and black wires with your fingers and gently lift to disconnect black wire connector from the motherboard.

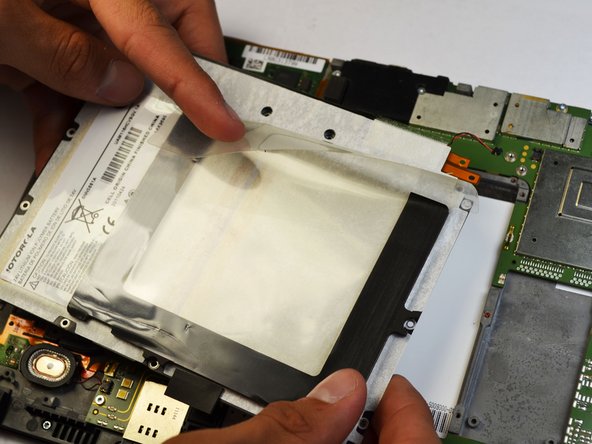
  5. Motorola Xoom Wifi Display Replacement: step 5, image 1 of 2 Motorola Xoom Wifi Display Replacement: step 5, image 2 of 2
    • All that holds the battery in are twelve screws. Remove them with a T-6 Torx screwdriver.

    • The battery should lift out easily.

  6. Motorola Xoom Wifi Display Replacement, Speakers: step 6, image 1 of 2 Motorola Xoom Wifi Display Replacement, Speakers: step 6, image 2 of 2
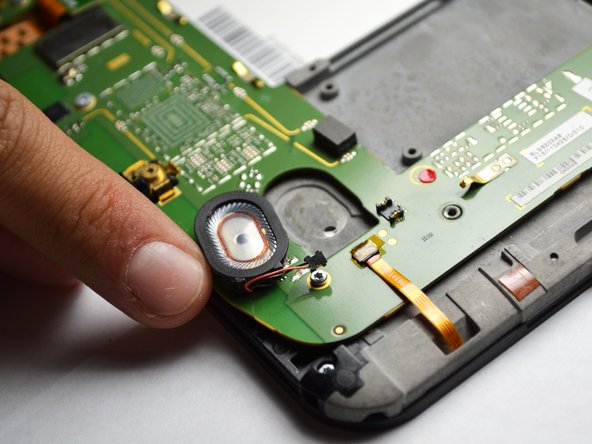
    • Use a plastic opening tool to pop out the speaker. Make sure to carefully pull off the wire as well.

    • Replace speaker if necessary.

  7. Motorola Xoom Wifi Display Replacement, Motherboard: step 7, image 1 of 3 Motorola Xoom Wifi Display Replacement, Motherboard: step 7, image 2 of 3 Motorola Xoom Wifi Display Replacement, Motherboard: step 7, image 3 of 3
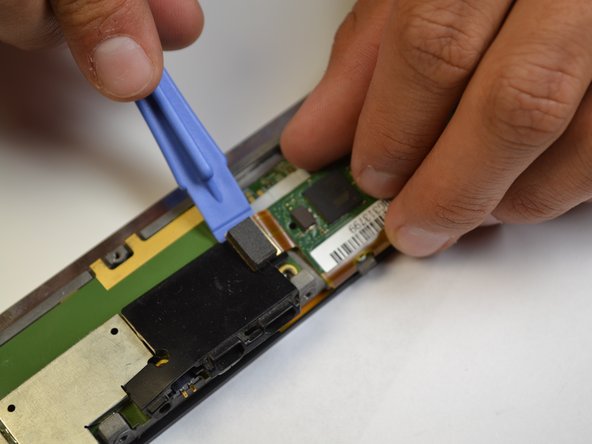
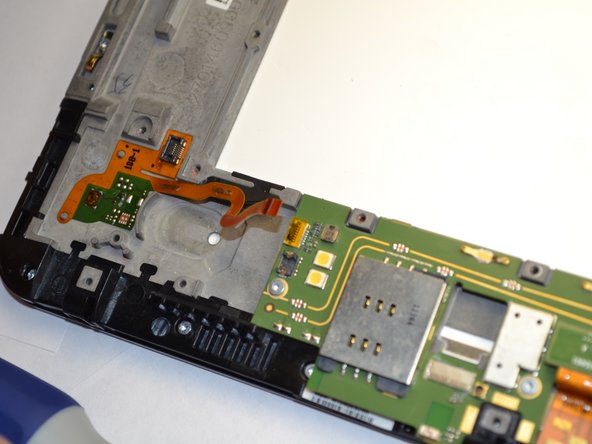
    • Take a plastic opening tool and carefully pry off the touch screen controller connection.

    • Be careful with the black cover under the connection.

  8. Motorola Xoom Wifi Display Replacement: step 8, image 1 of 3 Motorola Xoom Wifi Display Replacement: step 8, image 2 of 3 Motorola Xoom Wifi Display Replacement: step 8, image 3 of 3
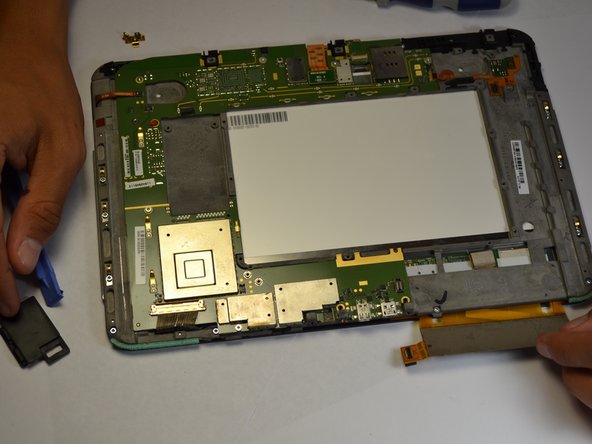
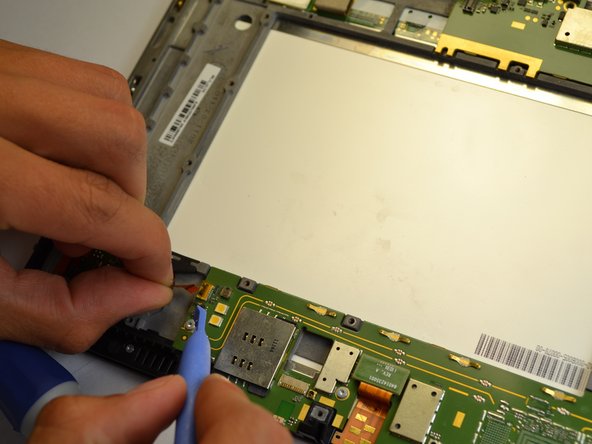
    • There are two relay wires that must be disconnected.

    • Pull both relay wires out of their connection ports.

    • Make sure to flip up the small black tab before you pull out the wire.

  9. Motorola Xoom Wifi Display Replacement: step 9, image 1 of 2 Motorola Xoom Wifi Display Replacement: step 9, image 2 of 2
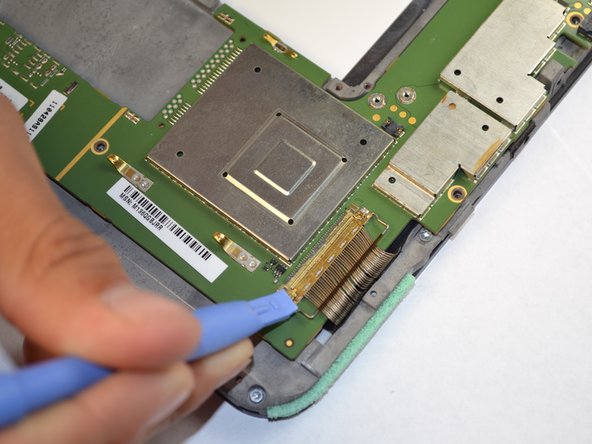
    • Using a plastic opener, lift the metal bar clasping the wire harness to the motherboard.

  10. Motorola Xoom Wifi Display Replacement: step 10, image 1 of 3 Motorola Xoom Wifi Display Replacement: step 10, image 2 of 3 Motorola Xoom Wifi Display Replacement: step 10, image 3 of 3
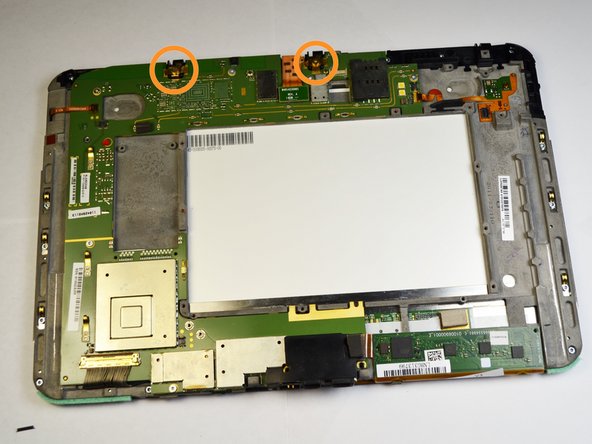
    • There are eight 3.5mm screws that hold the motherboard in. Use a T-5 Torx screwdriver to take the screws loose. These screws are outlined in a gold color on the motherboard.

    • Two gold colored screws with brackets are located in the orange circles. A T-5 Torx screwdriver is needed to take these 3.1mm screws.

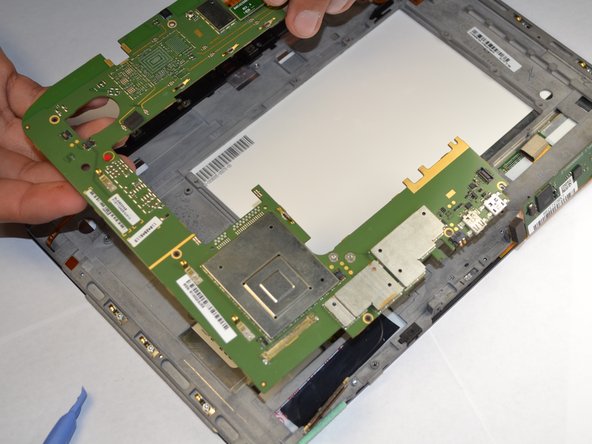
    • Motherboard should lift out easily and completely.

  11. Motorola Xoom Wifi Display Replacement, Display: step 11, image 1 of 2 Motorola Xoom Wifi Display Replacement, Display: step 11, image 2 of 2
    • Use a T-6 screw driver to take out 17-4mm screws. They are located around the perimeter of the tablet.

    • Take the display out of the screen and the back panel.

  12. Motorola Xoom Wifi Display Replacement: step 12, image 1 of 3 Motorola Xoom Wifi Display Replacement: step 12, image 2 of 3 Motorola Xoom Wifi Display Replacement: step 12, image 3 of 3
    • Flip the display so it is facing up. There are screws around the outer edge of the display.

    • A T-5 screwdriver will take the 12-4.1mm screws out.

    • Use a plastic opening tool to carefully split the display case open. The display should come free.

Conclusion

To reassemble your device, follow these instructions in reverse order.

One other person completed this guide.

William Prins

Member since: 04/14/14

604 Reputation

3 Guides authored

Team

Cal Poly, Team 3-39, Maness Spring 2014 Member of Cal Poly, Team 3-39, Maness Spring 2014

CPSU-MANESS-S14S3G39

4 Members

16 Guides authored

0 Comments

Add Comment

View Statistics:

Past 24 Hours: 0

Past 7 Days: 1

Past 30 Days: 2

All Time: 300