Free Shipping on Domestic Orders $75+

Motorola V557 Rear Casing Replacement

What you need

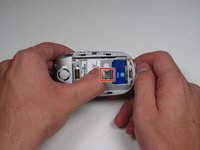
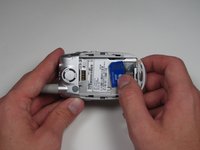
    1. Motorola V557 Rear Casing Replacement, Battery: step 1, image 1 of 3 Motorola V557 Rear Casing Replacement, Battery: step 1, image 2 of 3 Motorola V557 Rear Casing Replacement, Battery: step 1, image 3 of 3
      • First, on the back of the phone find the silver button on the top left corner of the phone.

      • Simultaneously push down the button and slide the back plate down to reveal the battery.

      Ask FixBot

      Add Comment

    2. Motorola V557 Rear Casing Replacement: step 2, image 1 of 2 Motorola V557 Rear Casing Replacement: step 2, image 2 of 2
      • Grab the lower edge of the battery at the two bottom corners.

      • Pull upward on the edges to remove the battery.

      Ask FixBot

      Add Comment

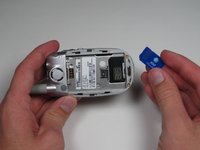
    1. Motorola V557 Rear Casing Replacement, SIM Card: step 3, image 1 of 3 Motorola V557 Rear Casing Replacement, SIM Card: step 3, image 2 of 3 Motorola V557 Rear Casing Replacement, SIM Card: step 3, image 3 of 3
      • Push the metal slider towards the top of the phone until it clicks out of the original position.

      • Gently slide out and remove the SIM card.

      Ask FixBot

      Add Comment

    1. Motorola V557 Rear Casing Replacement, Antenna: step 4, image 1 of 2 Motorola V557 Rear Casing Replacement, Antenna: step 4, image 2 of 2
      • Grip the antenna and twist it counterclockwise to loosen it.

      • When it has been loosened all the way, pull gently to remove the antenna piece.

      Ask FixBot

      Add Comment

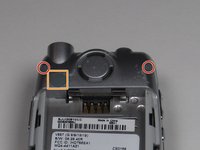
    1. Motorola V557 Rear Casing Replacement, Rear Casing: step 5, image 1 of 3 Motorola V557 Rear Casing Replacement, Rear Casing: step 5, image 2 of 3 Motorola V557 Rear Casing Replacement, Rear Casing: step 5, image 3 of 3
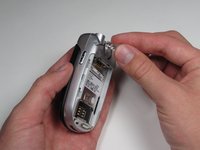
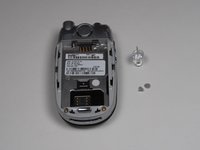
      • Using the push pin, gently pry the top two screws of the cover off.

      • The cover in the upper left of the back plate does not need to be removed.

      Ask FixBot

      Add Comment

    2. Motorola V557 Rear Casing Replacement: step 6, image 1 of 3 Motorola V557 Rear Casing Replacement: step 6, image 2 of 3 Motorola V557 Rear Casing Replacement: step 6, image 3 of 3
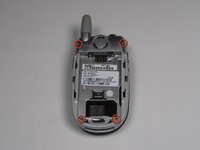
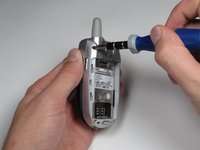
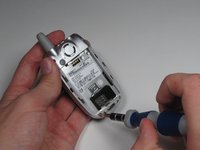
      • At the corners of the phone, remove all four 6.0 mm Torx screws, using your screwdriver.

      Ask FixBot

      Add Comment

    3. Motorola V557 Rear Casing Replacement: step 7, image 1 of 3 Motorola V557 Rear Casing Replacement: step 7, image 2 of 3 Motorola V557 Rear Casing Replacement: step 7, image 3 of 3
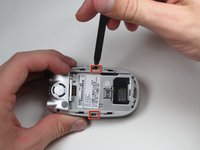
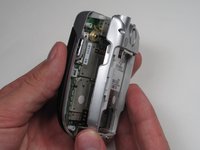
      • Next, insert a spudger into the marked holes. One at a time pry away from the phone to release the internal tabs.

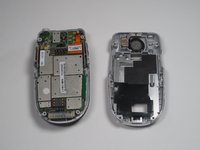
      • Then, separate and detach the rear casing.

      Ask FixBot

      Add Comment

Conclusion

To reassemble your device, follow these instructions in reverse order.

Cancel: I did not complete this guide.

Alex Georges

Member since: 10/02/10

40 Reputation

4 Guides authored

Team

Cal Poly, Team 7-50, Amido Fall 2010 Member of Cal Poly, Team 7-50, Amido Fall 2010

CPSU-AMIDO-F10S7G50

4 Members

120 Guides authored

0 Guide Comments

Add Comment

View Statistics:

Past 24 Hours: 1

Past 7 Days: 8

Past 30 Days: 39

All Time: 1,805