Motorola Droid Pro Screen Replacement

What you need

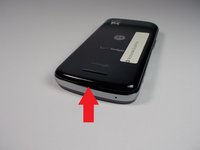
  1. Motorola Droid Pro Screen Replacement, SD Card/SIM Card PCB Board: step 1, image 1 of 2 Motorola Droid Pro Screen Replacement, SD Card/SIM Card PCB Board: step 1, image 2 of 2
    • Remove the back cover and battery by using the thumb tabs.

  2. Motorola Droid Pro Screen Replacement: step 2, image 1 of 1
    • Unscrew the 8 back panel screws using the T4 Torx screwdriver.

  3. Motorola Droid Pro Screen Replacement: step 3, image 1 of 1
    • Use a spudger to open the phone along the sides between the back panel and the chrome trim.

    • It is held together by small clips that lock in. You may have to use a little force to unlock them.

    • Go around on all sides then pull the back panel off.

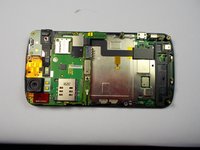
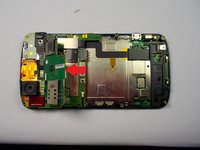
  4. Motorola Droid Pro Screen Replacement: step 4, image 1 of 2 Motorola Droid Pro Screen Replacement: step 4, image 2 of 2
    • Gently lift the SD & SIM card board (PCB) as shown in the following pictures.

    • This will expose the ribbon cable attached to the board and another ribbon cable for the mother board. Remove them both using the spudger.

    • Once the small one is removed the small board can be pulled off.

  5. Motorola Droid Pro Screen Replacement, Screen: step 5, image 1 of 1
    • Unscrew the 6 screws using the T5 Torx screwdriver.

  6. Motorola Droid Pro Screen Replacement: step 6, image 1 of 1
    • Unlock the ribbon cable and then you can pull the screen out.

    • When replacing screen make sure you lock the ribbon cable back in place.

Conclusion

To reassemble your device, follow these instructions in reverse order.

Peter Cakounes

Member since: 10/21/14

19 Reputation

4 Guides authored

Team

0 Comments

Add Comment

View Statistics:

Past 24 Hours: 0

Past 7 Days: 0

Past 30 Days: 0

All Time: 261