Free Shipping on Domestic Orders $75+

Motorola Cliq Camera Replacement

Views: 890

View statistics:

Past 24 Hours:
3
Past 7 Days:
25
Past 30 Days:
93
All Time:
890
Comments: 0

No one has left comments on this guide. Will you be first?

Go to guide comments
Completed: 2

2 people have marked this guide "completed." Will you be next?

Favorites: 0

No one has favorited (and subscribed to) this guide. Will you be the first?

Time Required: 15 - 30 minutes
Difficulty: Moderate
Featured Student Guide

This guide has been the hard work of our awesome students and is found to be exceptionally cool by the iFixit staff.

Motorola Cliq Camera Replacement

Introduction

Go to step 1 ↓

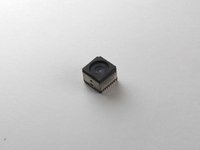
This guide explains how to replace a damaged or broken camera on the Motorola Cliq. The camera is very fragile, so take care getting it out.

What you need

Tools

    1. Motorola Cliq Camera Replacement, Battery: step 1, image 1 of 2 Motorola Cliq Camera Replacement, Battery: step 1, image 2 of 2
      • Turning over your phone, place two fingers on the back cover and apply pressure away from the camera to slide the back cover off.

      Ask FixBot

      Add Comment

    2. Motorola Cliq Camera Replacement: step 2, image 1 of 2 Motorola Cliq Camera Replacement: step 2, image 2 of 2
      • Pinch the battery pull tab located below the camera, pull it upwards, and remove the battery.

      • The pull tab may be tucked under the battery.

      Ask FixBot

      Add Comment

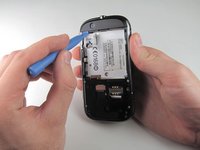
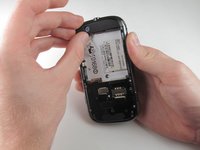
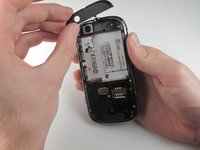
    1. Motorola Cliq Camera Replacement, Rear Casing: step 3, image 1 of 3 Motorola Cliq Camera Replacement, Rear Casing: step 3, image 2 of 3 Motorola Cliq Camera Replacement, Rear Casing: step 3, image 3 of 3
      • Wedge a plastic opening tool behind the panel covering the camera, pry it up, and remove it using your fingers.

      • The panel is held down by adhesive and may require you to wedge and pry the right side of the panel before it can be easily removed.

      Ask FixBot

      Add Comment

    2. Motorola Cliq Camera Replacement: step 4, image 1 of 1
      • Remove the six 4.0 mm T4 Torx screws which line the edge of the back of the phone.

      Ask FixBot

      Add Comment

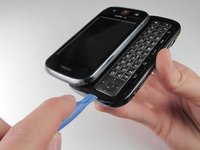
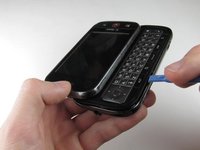
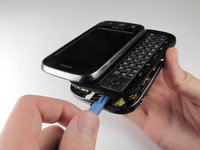
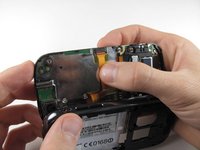
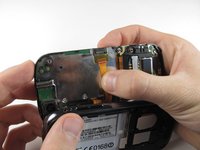
    3. Motorola Cliq Camera Replacement: step 5, image 1 of 3 Motorola Cliq Camera Replacement: step 5, image 2 of 3 Motorola Cliq Camera Replacement: step 5, image 3 of 3
      • Turn the phone over and slide out the keyboard.

      • Wedge a plastic opening tool where the keyboard meets the back casing of the phone next to the headphone jack.

      • Carefully pry open the back casing along the keyboard's edge until at least two corners of the back casing are separated from the keyboard.

      • Do not fully separate the rear panel from the phone. A cable is connecting the two parts together.

      Ask FixBot

      Add Comment

    4. Motorola Cliq Camera Replacement: step 6, image 1 of 1
      • Carefully separate the back casing from the rest of the phone.

      Ask FixBot

      Add Comment

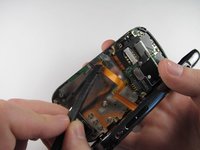
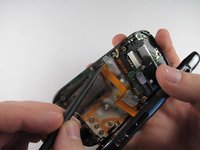
    5. Motorola Cliq Camera Replacement: step 7, image 1 of 2 Motorola Cliq Camera Replacement: step 7, image 2 of 2
      • Gently pry ZIF connector upwards using the flat end of a spudger tool.

      • The ZIF connector is glued down. Be gentle! Ripping it off or breaking it will make your phone inoperable.

      • You may need adhesive to keep your power cable in place when reassembling your phone.

      Ask FixBot

      Add Comment

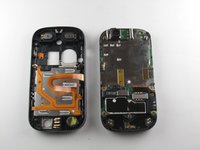
    6. Motorola Cliq Camera Replacement: step 8, image 1 of 3 Motorola Cliq Camera Replacement: step 8, image 2 of 3 Motorola Cliq Camera Replacement: step 8, image 3 of 3
      • Press your thumb against the orange power cable and pull it down slowly to disconnect the power cable from the bottom of the keyboard.

      • The rear casing and the rest of the phone should now be completely separated.

      Ask FixBot

      Add Comment

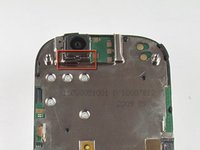
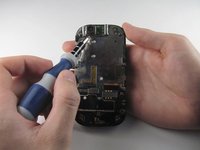
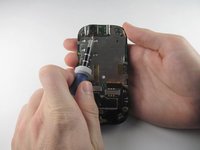
    1. Motorola Cliq Camera Replacement, Camera: step 9, image 1 of 3 Motorola Cliq Camera Replacement, Camera: step 9, image 2 of 3 Motorola Cliq Camera Replacement, Camera: step 9, image 3 of 3
      • Insert a 1.5mm flat head screw in the slit in between the camera housing and the bottom of the camera.

      • Lightly pry upwards and the camera should come loose from the housing.

      Ask FixBot

      Add Comment

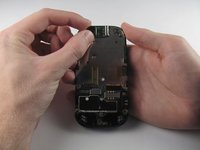
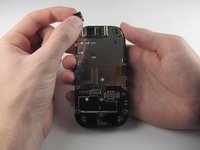
    2. Motorola Cliq Camera Replacement: step 10, image 1 of 3 Motorola Cliq Camera Replacement: step 10, image 2 of 3 Motorola Cliq Camera Replacement: step 10, image 3 of 3
      • Carefully grab the sides of the camera with your fingers and remove the camera.

      • The foam cover on the top of the camera deforms and tears easily, so handle it with care.

      Ask FixBot

      Add Comment

Conclusion

To reassemble your device, follow these instructions in reverse order.

Cancel: I did not complete this guide.

2 other people completed this guide.

Tony Tran

Member since: 04/14/13

84 Reputation

8 Guides authored

Team

Cal Poly, Team 10-42, Amido Spring 2013 Member of Cal Poly, Team 10-42, Amido Spring 2013

CPSU-AMIDO-S13S10G42

4 Members

96 Guides authored

0 Guide Comments

Add Comment

View Statistics:

Past 24 Hours: 3

Past 7 Days: 25

Past 30 Days: 93

All Time: 890