
Moto X Pure Edition Back Plate Replacement

Lucas Dos Santos and one other contributor
Last updated on Oct 29, 2018
Views: 120
View statistics:
- Past 24 Hours:
- 1
- Past 7 Days:
- 3
- Past 30 Days:
- 5
- All Time:
- 120
Comments: 0
No one has left comments on this guide. Will you be first?
Go to guide commentsCompleted: 1 2
1 person has marked this guide "completed." Will you be next?
2 people have marked this guide "completed." Including you — great job!
Favorites: 0 1
No one has favorited (and subscribed to) this guide. Will you be the first?
1 person has favorited (and subscribed to) this guide — and that's you!
Introduction
Go to step 1 ↓This is an old version of this guide. See the new version for the most up-to-date process.
What you need


-
-
-
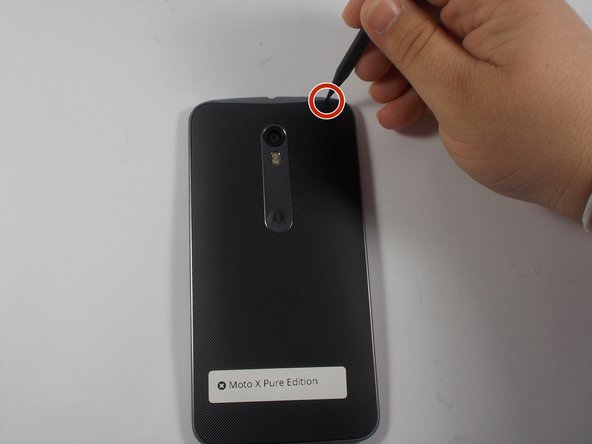
Insert the SIM card removal tool or the point of a spudger into the tiny notch in the frame near the SIM card tray, and pry up.
-
Insert an opening pick or other plastic tool into the gap and slide it around the entire perimeter of the phone to release the adhesive and remove the back plate.
 Ask FixBot
-
-
-
To reassemble your device, follow these instructions in reverse order.
Cancel: I did not complete this guide.
One other person completed this guide.

Team

UMass Dartmouth, Team 5-2, Landers Spring 2016 Member of UMass Dartmouth, Team 5-2, Landers Spring 2016
UMASSD-LANDERS-S16S5G2
3 Members
72 Guides authored
