
Moto X Pure Edition Back Panel Removal

Archived Guide
This guide is retained solely for historical purposes. Use the updated version of the guide to perform your repair.
Prerequisite Only
This guide is only intended to be used as a prerequisite for other guides. It's incomplete by itself.

What you need

  1. Moto X Pure Edition Back Panel Removal, Back Panel: step 1, image 1 of 3 Moto X Pure Edition Back Panel Removal, Back Panel: step 1, image 2 of 3 Moto X Pure Edition Back Panel Removal, Back Panel: step 1, image 3 of 3
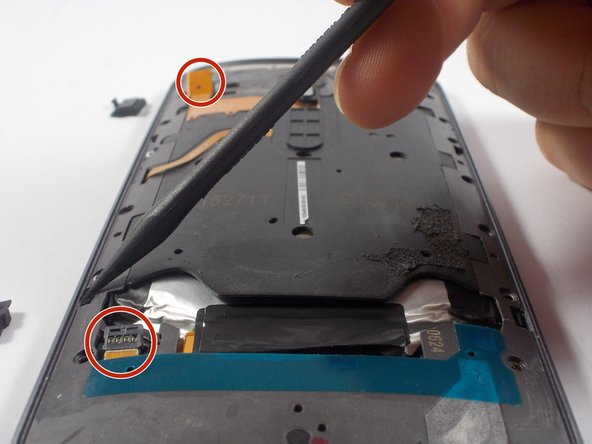
    • Disconnect the two battery connections.

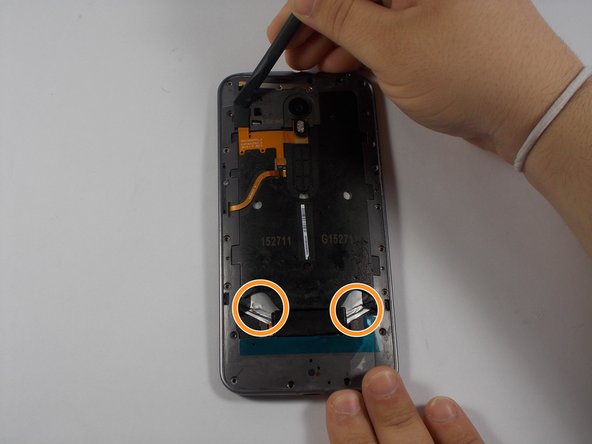
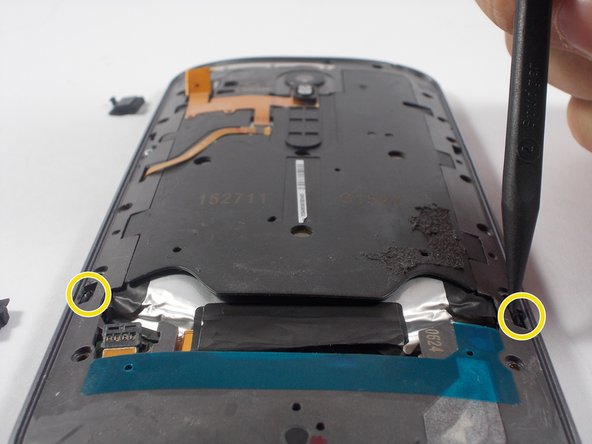
    • Remove the two parallel black tabs by pulling on them.

  2. Moto X Pure Edition Back Panel Removal: step 2, image 1 of 3 Moto X Pure Edition Back Panel Removal: step 2, image 2 of 3 Moto X Pure Edition Back Panel Removal: step 2, image 3 of 3
    • All screw lengths are 2.5mm

    • Using the T3 screw driver, remove all 20 T3 screws.

    • Do NOT remove the silver screw circled in orange.

    • This holds in the Power/Volume buttons and is not necessary to remove. There are 2 very tiny springs behind the volume buttons that are easy to lose if you remove this screw.

    • Using the nylon spudger, remove the two clips holding the panel in place.

Conclusion

To reassemble your device, follow these instructions in reverse order.

2 other people completed this guide.

Lucas Dos Santos

Member since: 03/06/16

1,053 Reputation

5 Guides authored

Team

0 Comments

Add Comment

View Statistics:

Past 24 Hours: 2

Past 7 Days: 7

Past 30 Days: 7

All Time: 155