Introduction
The subwoofer produces the lower frequencies of sounds being played. This guide will show you how to replace the subwoofer in case the cone of the speaker is damaged.
What you need


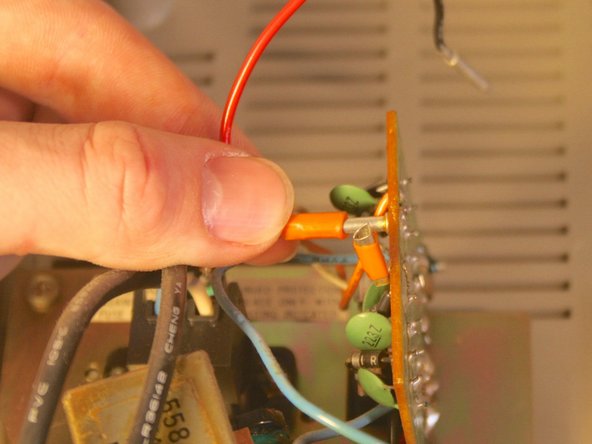

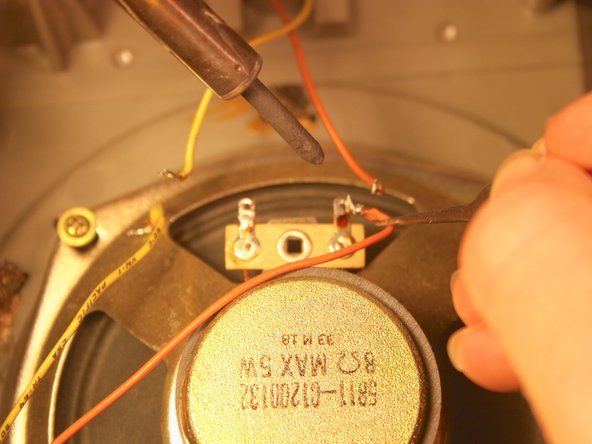


Almost done!
To reassemble your device, follow these instructions in reverse order.
Conclusion
To reassemble your device, follow these instructions in reverse order.
Team

Cal Poly, Team 12-5, Lancaster Spring 2015 Member of Cal Poly, Team 12-5, Lancaster Spring 2015
CPSU-LANCASTER-S15S12G5
4 Members
13 Guides authored