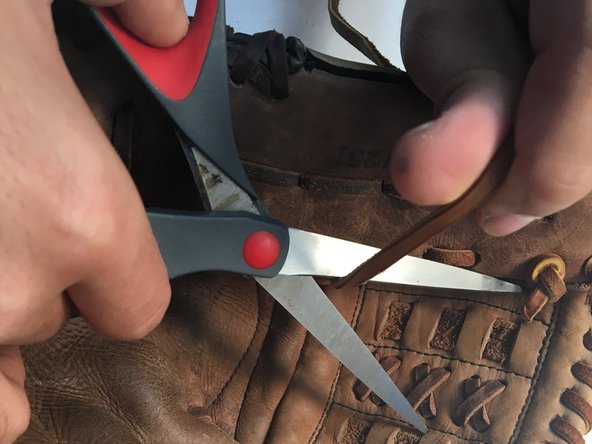
Mizuno GFE1251 Baseball Glove Lacing Replacement

What you need

  1. Mizuno GFE1251 Baseball Glove Lacing Replacement, Lacing: step 1, image 1 of 1
    • Untie the knot 1.

    • If you are having trouble, you can cut it with scissors.

  2. Mizuno GFE1251 Baseball Glove Lacing Replacement: step 2, image 1 of 1
    • From where the knot was, start unweaving the lacing.

    • To unweave the lacing, pull it through all of the holes, until you get to the next section.

    • The lacing is hard to pull through the glove and requires quite a bit of manpower.

    • The first section continues up until the pocket.

  3. Mizuno GFE1251 Baseball Glove Lacing Replacement: step 3, image 1 of 3 Mizuno GFE1251 Baseball Glove Lacing Replacement: step 3, image 2 of 3 Mizuno GFE1251 Baseball Glove Lacing Replacement: step 3, image 3 of 3
    • This section is difficult to unlace and may need the assistance of a tool to get it lose. We have used the unlacing/lacing tool that came with the our kit.

    • This is the pocket section.

  4. Mizuno GFE1251 Baseball Glove Lacing Replacement: step 4, image 1 of 3 Mizuno GFE1251 Baseball Glove Lacing Replacement: step 4, image 2 of 3 Mizuno GFE1251 Baseball Glove Lacing Replacement: step 4, image 3 of 3
    • Trace along the pocket and when you come to the end untie the knot.

    • We have now unlaced all of the glove.

  5. Mizuno GFE1251 Baseball Glove Lacing Replacement: step 5, image 1 of 3 Mizuno GFE1251 Baseball Glove Lacing Replacement: step 5, image 2 of 3 Mizuno GFE1251 Baseball Glove Lacing Replacement: step 5, image 3 of 3
    • Start by weaving the lace through the lacing tool as shown.

    • Weave through spot A and then tie a knot.

    • Weave the lace through the pattern shown

  6. Mizuno GFE1251 Baseball Glove Lacing Replacement: step 6, image 1 of 3 Mizuno GFE1251 Baseball Glove Lacing Replacement: step 6, image 2 of 3 Mizuno GFE1251 Baseball Glove Lacing Replacement: step 6, image 3 of 3
    • Weave the lace through spot B.

    • Follow the pattern shown and tie a knot at spot C.

    • Make sure to pull this section tighter than the rest.

    • Cut off the extra lace.

    • We have now used the first length of lace.

  7. Mizuno GFE1251 Baseball Glove Lacing Replacement: step 7, image 1 of 3 Mizuno GFE1251 Baseball Glove Lacing Replacement: step 7, image 2 of 3 Mizuno GFE1251 Baseball Glove Lacing Replacement: step 7, image 3 of 3
    • Weave through spot D and then tie a knot.

    • Follow the pattern shown.

  8. Mizuno GFE1251 Baseball Glove Lacing Replacement: step 8, image 1 of 3 Mizuno GFE1251 Baseball Glove Lacing Replacement: step 8, image 2 of 3 Mizuno GFE1251 Baseball Glove Lacing Replacement: step 8, image 3 of 3
    • Tie a knot at spot E and cut off the left over lace.

    • We will be using this lace in the next step.

  9. Mizuno GFE1251 Baseball Glove Lacing Replacement: step 9, image 1 of 3 Mizuno GFE1251 Baseball Glove Lacing Replacement: step 9, image 2 of 3 Mizuno GFE1251 Baseball Glove Lacing Replacement: step 9, image 3 of 3
    • Weave through spot F and tie a knot.

    • Follow the pattern shown.

    • Weave through spot G and tie a knot.

    • Spot G has another piece of lace in it but it opens up in two different spots.

  10. Mizuno GFE1251 Baseball Glove Lacing Replacement: step 10, image 1 of 1
    • Congratulations, you now have relaced your old baseball glove!

Conclusion

Enjoy your newly-repaired baseball glove.
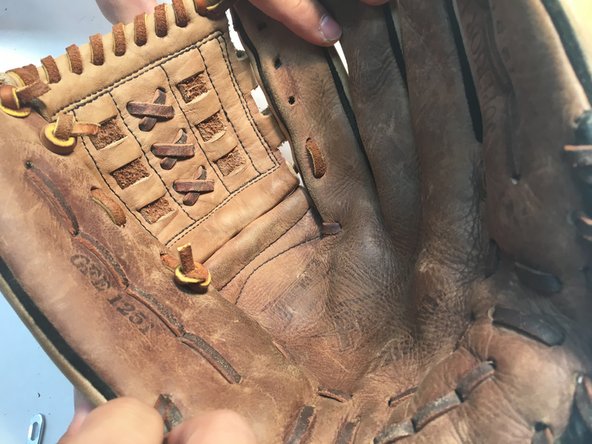
Chandler Torres

Member since: 02/08/17

101 Reputation

1 Guide authored

0 Comments

Add Comment

View Statistics:

Past 24 Hours: 4

Past 7 Days: 21

Past 30 Days: 91

All Time: 3,951