Introduction
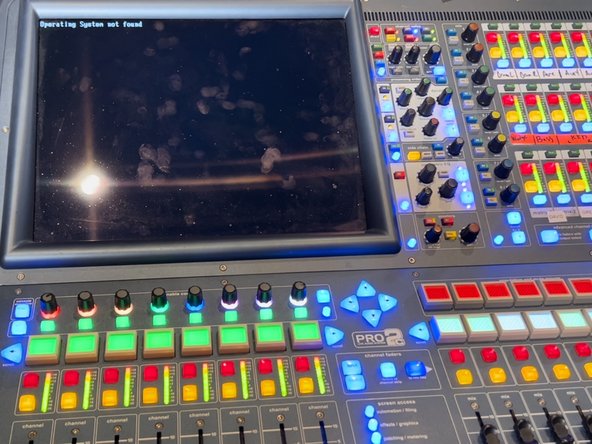
If your Midas Pro 2C Console is producing a screen reading “Operating System Not Found” you may need to replace your CMOS battery. If you are performing the recommended maintenance of replacing it every 3 years, use this guide to replace the CMOS battery.
The CMOS battery is a small battery that allows the computer in the console to remember settings like time and date, and boot sequence order.
When this battery is dead the computer inside of the console is unable to turn on correctly.
Almost every CMOS battery is a CR2032.
What you need
-
-
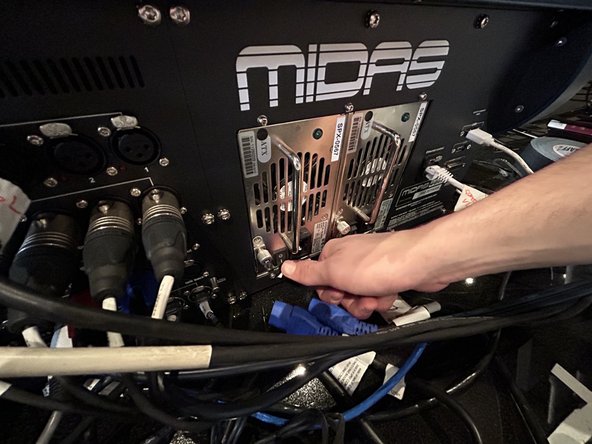
Flip the switches connected to the two power supply units (PSU) to the off position.
-
-
-
Flip both PSU switches back to the on position.
-
Leave the PSUs on for 30 seconds to ensure that the power is fully discharged from the units.
-
-
-
-
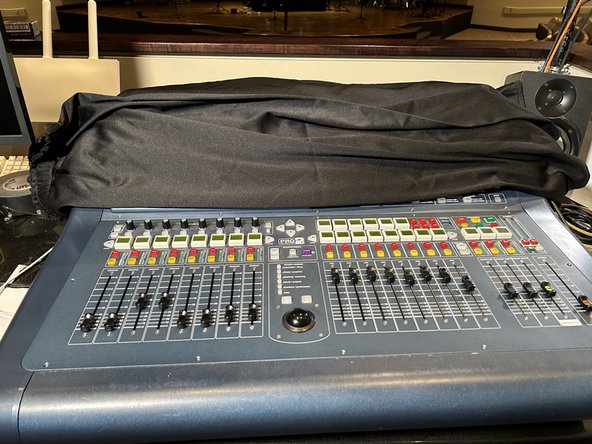
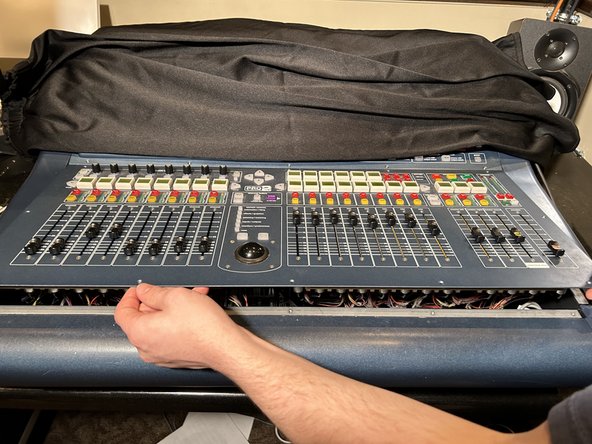
Set a cloth down over the top half of the console to protect it from damage in the following steps.
-
-
-
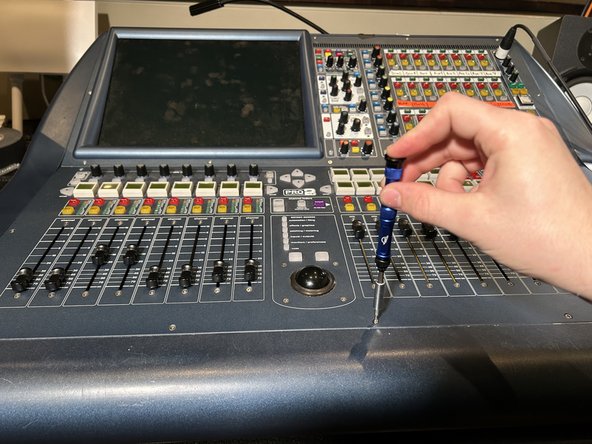
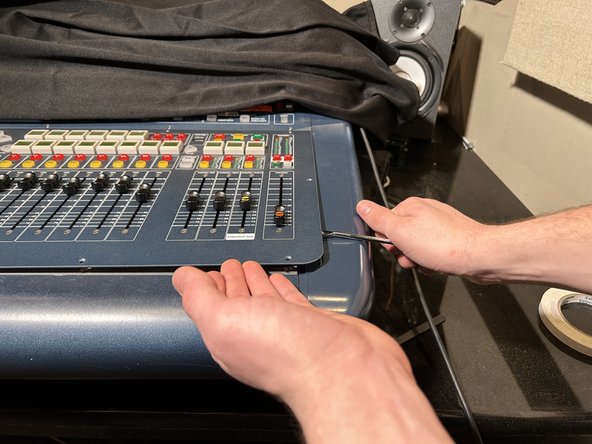
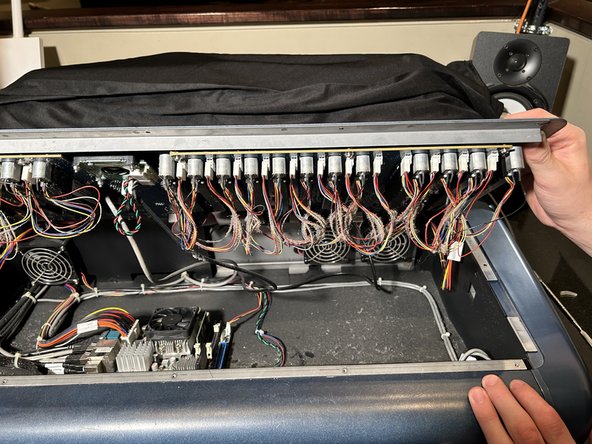
Use a metal spudger to carefully pry the control panel from the console.
-
Work your way around the perimeter with the spudger to undo the clips securing the control panel and remove it from the console.
-
-
-
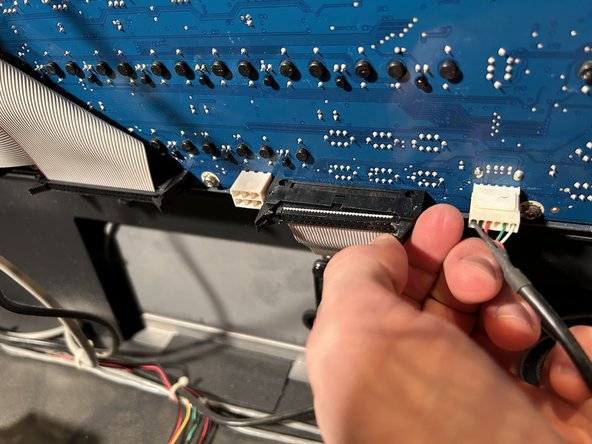
Disconnect the ribbon cable from the control panel by moving the two black latches outward, away from the cable.
-
Pull out the cable.
-
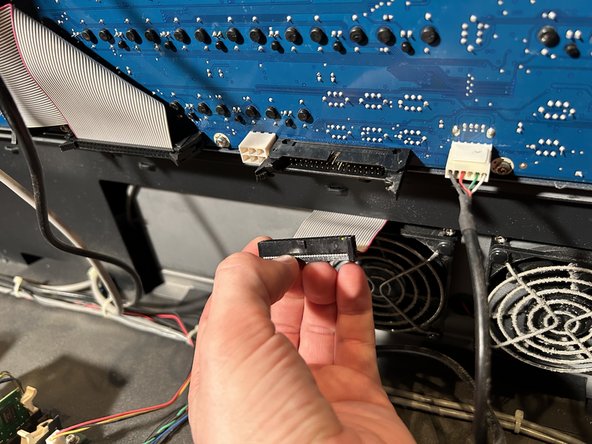
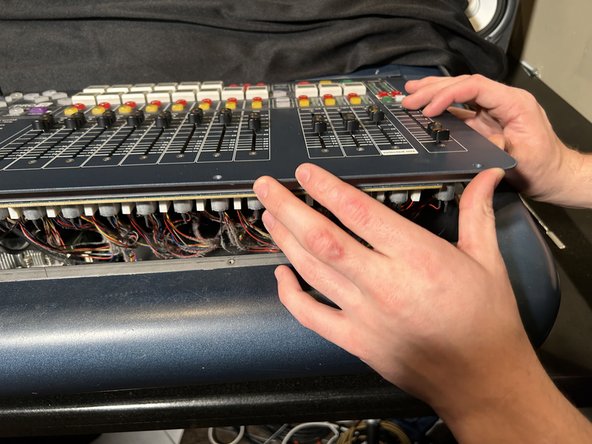
Lay the panel against the material you used to cover the top section of board but make sure panel doesn't slide or fall.
-
-
Tool used on this step:Tweezers$4.99
-
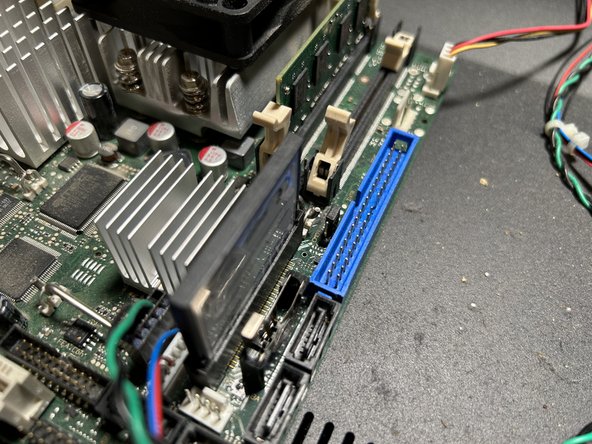
Identify the CMOS battery to the right of the circuit board.
-
To remove the battery, push the metal tab out of the way, and use the tweezers to pull out the old battery.
-
-
-
To insert the new 2032 battery, push the tab back and slide in the new battery.
-
-
-
Reattach the ribbon cable to the control panel.
-
Secure the locking latches by pushing them towards the cable.
-
Replace the screws to attach the control panel to the the console.
-
-
-
Make sure both PSUs are off, then plug the UPC cables back in.
-
Turn both the PSU units on, this should switch the console on.
-
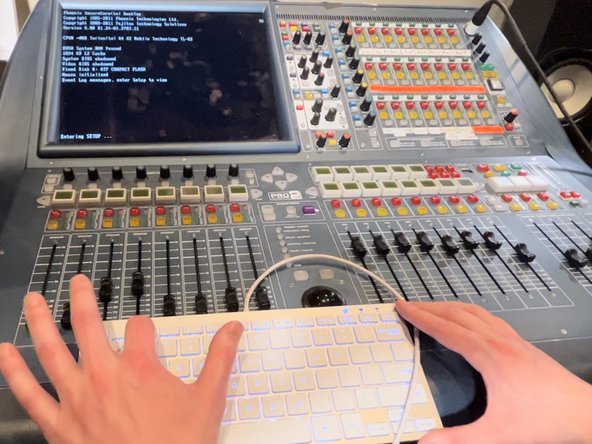
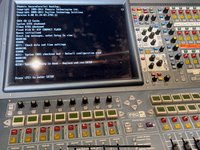
As the console turns on and boots up, press F2 frequently until the console enters into the set-up menu.
-
-
-
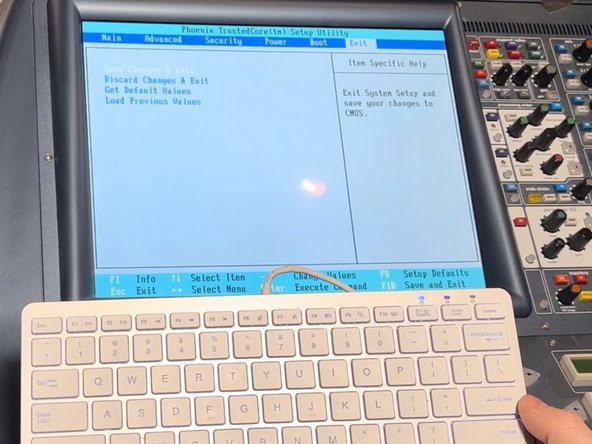
Read directions on the console to navigate through the set up menu.
-
Change the date and time they are correct.
-
-
-
Click down with arrow key to the "excluded from boot order list".
-
Press the X key while “ATP Compact Flash” is highlighted in white.
-
Navigate to the exit.
-
Arrow key down to save and exit.
-
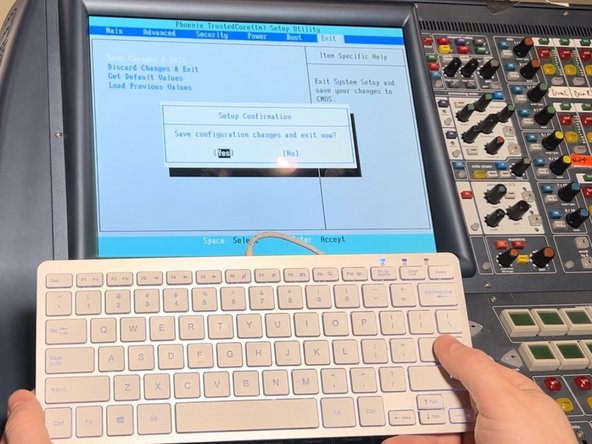
Confirm changes by selecting yes.
-


To reassemble your device, follow these instructions in reverse order.
Cancel: I did not complete this guide.
5 other people completed this guide.
Team

University of Memphis, Team 2-69, Cameron Spring 2023 Member of University of Memphis, Team 2-69, Cameron Spring 2023
UM-CAMERON-S23S2G69
3 Members
3 Guides authored