Introduction
The guide shows the process of disconnecting the Dell Inspiron 15-7547's hard drive.
What you need
-
-
-
Close the display and flip the laptop on its back.
-
Loosen the ten 5.0 mm-long Phillips #0 screws.
-
The four screws marked with orange will remain captive to the cover.
 Ask FixBot
-
-
-
-
-
-
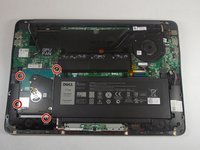
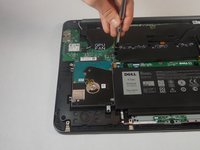
Remove the four 5.0 mm-long Philips #0 screws connecting the hard drive to the chassis.
-
-
-
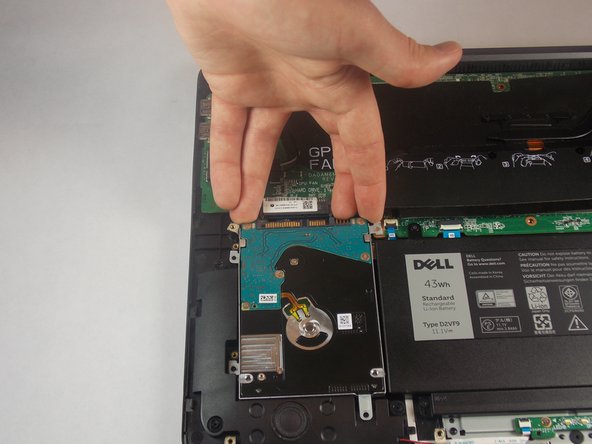
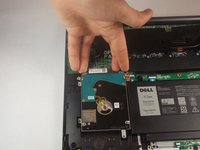
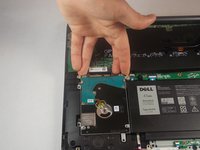
Disconnect the hard drive from the motherboard by placing your fingers at the back, and pulling forward towards the front of the chassis.
-
-




To reassemble your device, follow these instructions in reverse order.
Cancel: I did not complete this guide.
One other person completed this guide.

Team

Appalachian State University, Team S2-G4, Menagarishvili Fall 2018 Member of Appalachian State University, Team S2-G4, Menagarishvili Fall 2018
APSU-MENAGARISHVILI-F18S2G4
3 Members
84 Guides authored
