
Microsoft Bluetooth Ergonomic Mouse Shell Disassembly

Giovanny Tammick-Concepcion and 2 other contributors
Last updated on Jun 2, 2026
Views: 421
View statistics:
- Past 24 Hours:
- 4
- Past 7 Days:
- 20
- Past 30 Days:
- 138
- All Time:
- 421
Comments: 0
No one has left comments on this guide. Will you be first?
Go to guide commentsCompleted: 0 1
No one has marked this guide "completed." Will you be the first?
1 person has marked this guide "completed." It's you — great job!
Favorites: 0 1
No one has favorited (and subscribed to) this guide. Will you be the first?
1 person has favorited (and subscribed to) this guide — and that's you!
Introduction
Go to step 1 ↓If your Microsoft Bluetooth Ergonomic Mouse (model 1955) need any internal modifications or repairs to internal components (excluding batteries), This guide will help you to remove the outer and inner shells for internal access.
If any button, scroll, click, sensor, power, bluetooth hardware, or circuit board and wires are compromised, removal of the ergonomic shells are necessary to repair or replace those components.
When removing the shell with the pry tool be cautious not to damage the plastic of the shell when prying. Try to use plastic pry tools to limit damage on other plastic. Be more cautious if using a metal pry tool.
Before beginning, make sure to power off your mouse completely and disconnect from any external power source.
What you need
Tools


-
-
-
Remove the battery cover and take out both AAA batteries from the mouse.
 Ask FixBot
-
-
-
Insert a thin pry tool beneath the seam near the left and right click buttons.
-
Slide the pry tool toward the rear of the mouse while keeping the tool underneath the upper shell clips.
-
Gently release the retaining clips securing the top shell.
-
Continue working around the shell until the top cover separates from the lower housing.
-
-
-
-
Open the inner shell carefully from left to right to access the internal circuits.
-
-


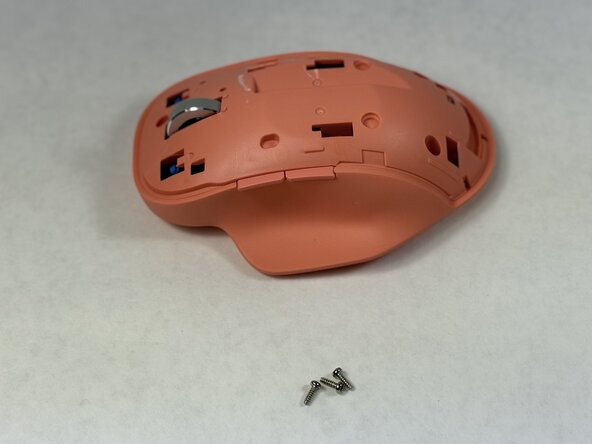


To reassemble your device, follow these instructions in reverse order.

Team

UMass Dartmouth, Team 2-5, Biswokarma Spring 2026 Member of UMass Dartmouth, Team 2-5, Biswokarma Spring 2026
UMASSD-BISWOKARMA-S26S2G5
5 Members
72 Guides authored
