
Microphone Duplicate Guide

iDeleted and
Last updated on Feb 19, 2016
Views: 1.2K
View statistics:
- Past 24 Hours:
- 3
- Past 7 Days:
- 11
- Past 30 Days:
- 25
- All Time:
- 1,204
Comments: 0
No one has left comments on this guide. Will you be first?
Go to guide commentsCompleted: 0 1
No one has marked this guide "completed." Will you be the first?
1 person has marked this guide "completed." It's you — great job!
Favorites: 0 1
No one has favorited (and subscribed to) this guide. Will you be the first?
1 person has favorited (and subscribed to) this guide — and that's you!
Archived Guide
This guide is retained solely for historical purposes. Use the updated version of the guide to perform your repair.
Community-Contributed Guide
An awesome member of our community made this guide. It was not created by iFixit staff.
Introduction
Go to step 1 ↓This guide is for replacing the microphone on your LG VX4500 cell phone.
What you need
Tools
-
-
-
Spudger4.9


-
-
-
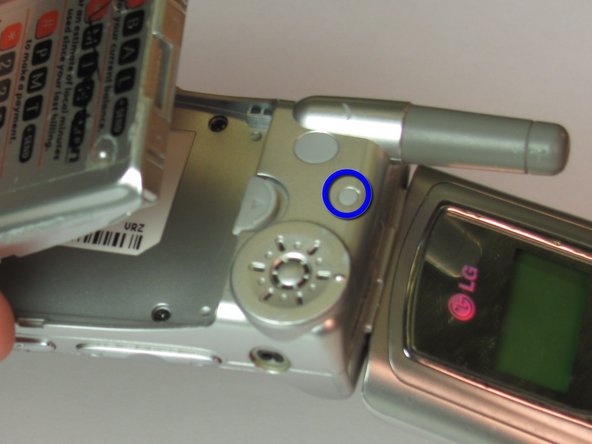
To remove the battery from your LG VX4500, turn the phone so that the back panel is showing.
 Ask FixBot
-
-
-
-
-
-
Using a paper clip, remove all 4 rubber screwcaps from the screw ports.
-
With a Phillips head screwdriver, remove all 4 screws from their ports.
-
Also remove the rubber screwcap in the upper part of the back panel along with the screw under it.
-
The fifth screw will be more difficult to get out because the plastic port has much higher sides.
-
-
-
Run a plastic opening tool along the seam to seperate the keyboard cover and the back panel
-
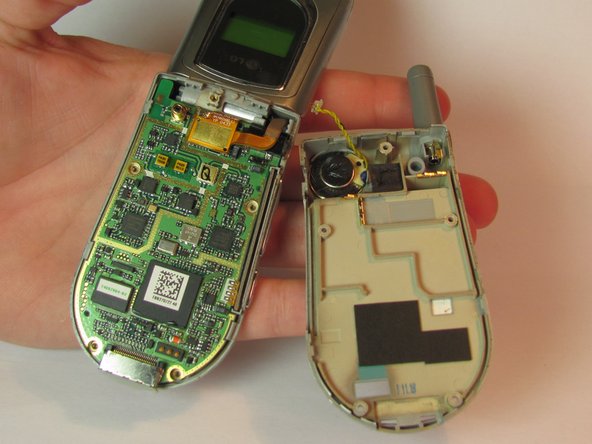
Remove the back panel, now the logic board, keyboard and microphone are exposed.
-
-
-
-
-
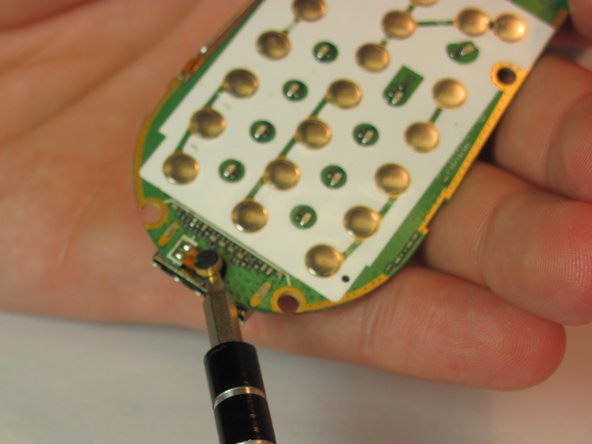
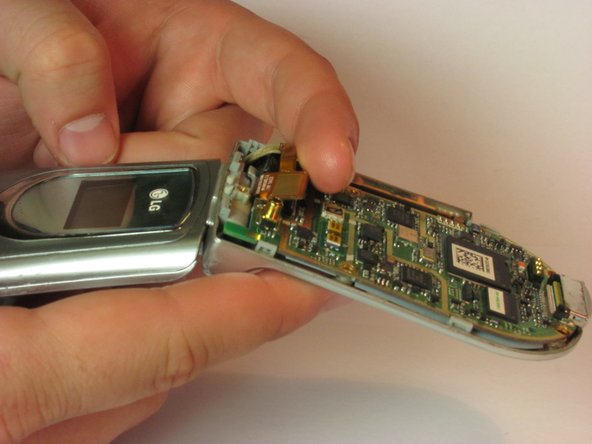
With your fingers, gently lift up the gold connector until it is completely disconnected.
-
-
-








To reassemble your device, follow these instructions in reverse order.

