Introduction
Follow this guide to replace a damaged body on a Microgear CX-20 quadcopter. This is the fastest method to fix cracks, broken arms, or other significant body damage.
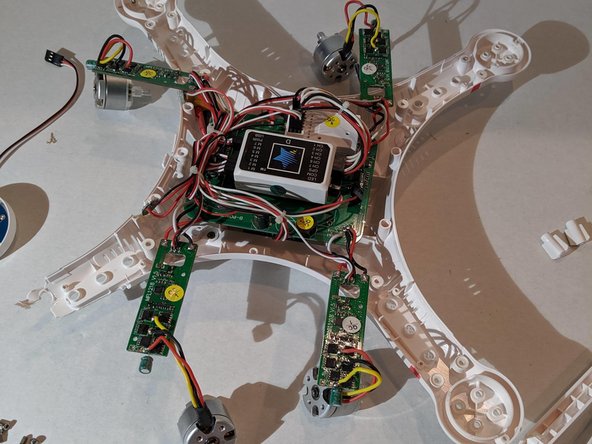
The quadcopter consists of circuit boards, motors, and LEDs which must be extracted and transferred into a new body. The replacement is easy, quick, and requires no special tools.
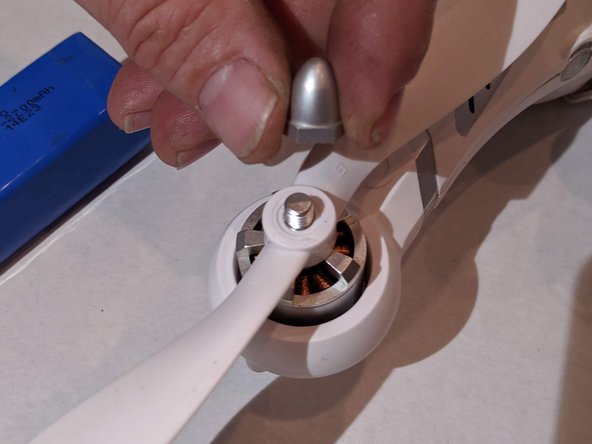
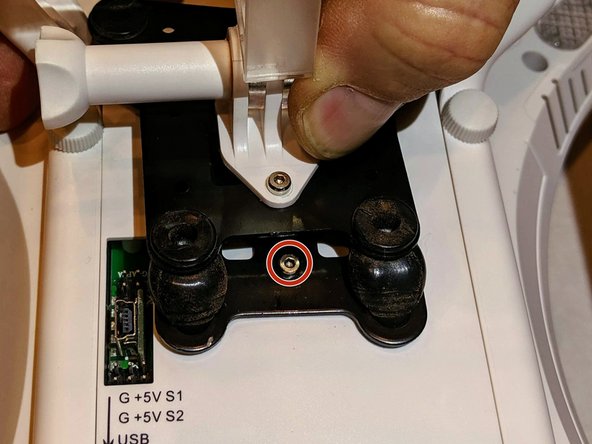
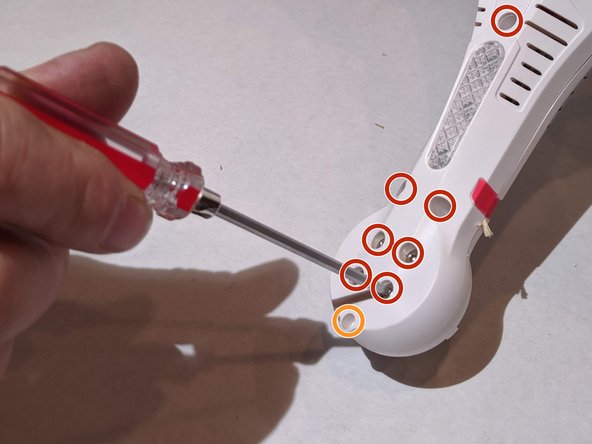
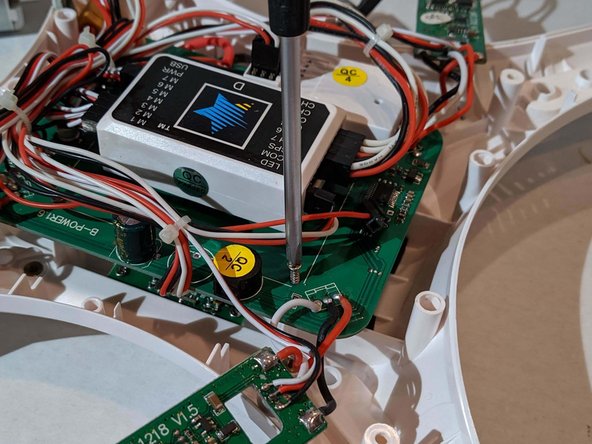
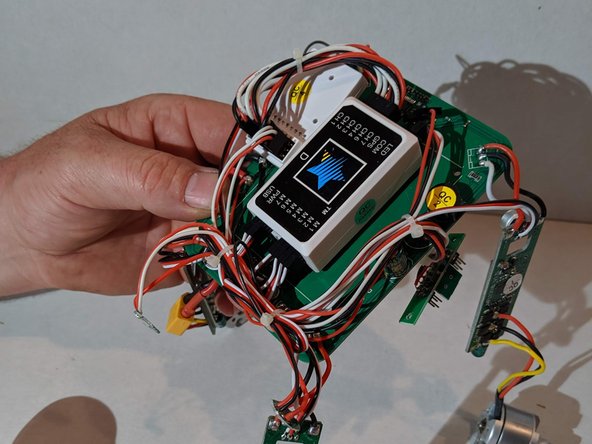
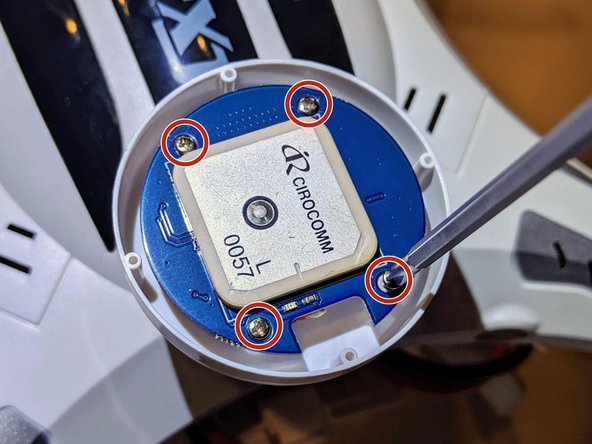
Note that the components in this model are extremely sensitive to direction and must be oriented properly inside the new body. Take special care to record and note the orientation of each component you extract.
What you need


To reassemble your device, follow these instructions in reverse order. The manual that came with the quadcopter also contains assembly instructions.
To reassemble your device, follow these instructions in reverse order. The manual that came with the quadcopter also contains assembly instructions.

Team

University of Advancing Technology, Team S1-G11, Beam Summer 2019 Member of University of Advancing Technology, Team S1-G11, Beam Summer 2019
UAT-BEAM-SU19S1G11
1 Member
1 Guide authored