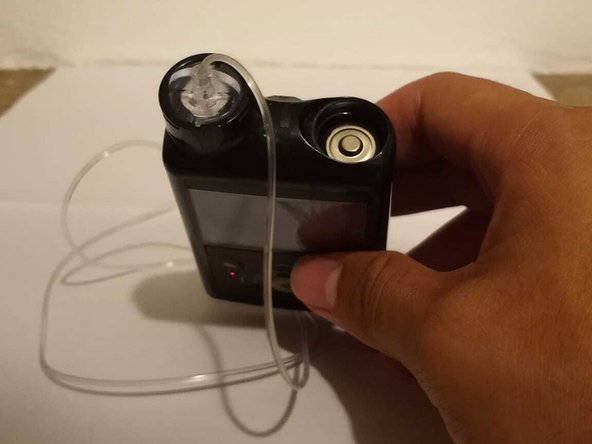
Medtronic 670G Battery Replacement

  1. Medtronic 670G Battery Replacement, Battery: step 1, image 1 of 2 Medtronic 670G Battery Replacement, Battery: step 1, image 2 of 2
    • Detach the clip on the back of the device.

  2. Medtronic 670G Battery Replacement: step 2, image 1 of 3 Medtronic 670G Battery Replacement: step 2, image 2 of 3 Medtronic 670G Battery Replacement: step 2, image 3 of 3
    • Place the small protrusion on the bottom of the clip into the slot on top of the battery housing, and turn it counter clockwise.

  3. Medtronic 670G Battery Replacement: step 3, image 1 of 3 Medtronic 670G Battery Replacement: step 3, image 2 of 3 Medtronic 670G Battery Replacement: step 3, image 3 of 3
    • Remove the battery cap.

    • Dispose of the old battery according to your state guidelines.

  4. Medtronic 670G Battery Replacement: step 4, image 1 of 2 Medtronic 670G Battery Replacement: step 4, image 2 of 2
    • Insert the new battery, making sure the negative end (the flat part of the battery) is facing down.

  5. Medtronic 670G Battery Replacement: step 5, image 1 of 3 Medtronic 670G Battery Replacement: step 5, image 2 of 3 Medtronic 670G Battery Replacement: step 5, image 3 of 3
    • Replace the battery cap tighten until it is aligned.

    • Do not over-tighten the cap as it will make it extremely difficult to unscrew next time.

  6. Medtronic 670G Battery Replacement: step 6, image 1 of 1
    • Turn on the pump and wait until the HOME screen load to make sure the battery is working.

Conclusion

Your Medtronic 670G insulin pump is good-to-go!

2 other people completed this guide.

0 Comments

Add Comment

View Statistics:

Past 24 Hours: 1

Past 7 Days: 13

Past 30 Days: 62

All Time: 1,483