
Free Shipping on Domestic Orders $75+

Maylong MN-1000P Button Panel Replacement

What you need

  1. Maylong MN-1000P Button Panel Replacement, Bottom Cover: step 1, image 1 of 1
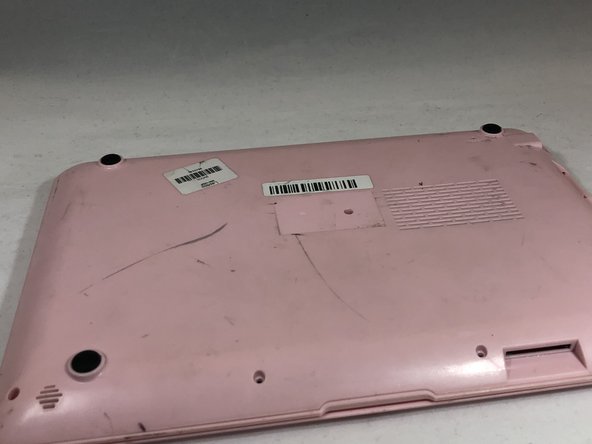
    • Place the netbook top down, with the opening of the netbook facing you.

    Ask FixBot

    Add Comment

  2. Maylong MN-1000P Button Panel Replacement: step 2, image 1 of 1
    • Remove the six 6mm Phillips #00 screws from the netbook.

    Ask FixBot

    Add Comment

  3. Maylong MN-1000P Button Panel Replacement: step 3, image 1 of 3 Maylong MN-1000P Button Panel Replacement: step 3, image 2 of 3 Maylong MN-1000P Button Panel Replacement: step 3, image 3 of 3
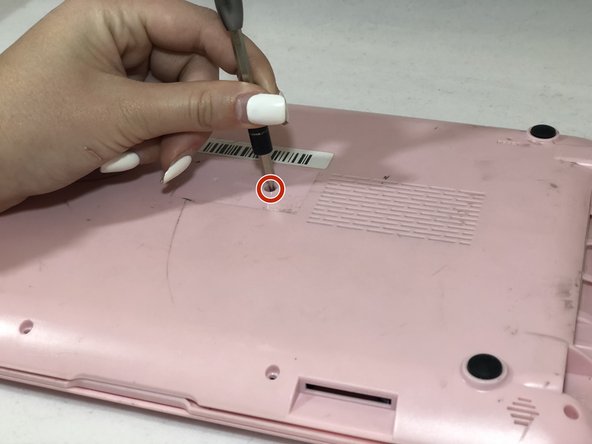
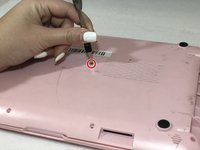
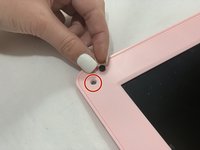
    • Remove the sticker in the middle of the netbook.

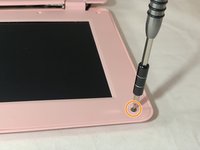
    • Remove the middle 6mm Phillips #00 screw.

    Ask FixBot

    Add Comment

  4. Maylong MN-1000P Button Panel Replacement: step 4, image 1 of 1
    • Using two plastic opening tools, pry off the bottom of the netbook by going around the edges.

    Ask FixBot

    Add Comment

  5. Maylong MN-1000P Button Panel Replacement: step 5, image 1 of 1
    • Remove the bottom of the netbook by lifting the corners.

    Ask FixBot

    Add Comment

  6. Maylong MN-1000P Button Panel Replacement, Battery: step 6, image 1 of 2 Maylong MN-1000P Button Panel Replacement, Battery: step 6, image 2 of 2
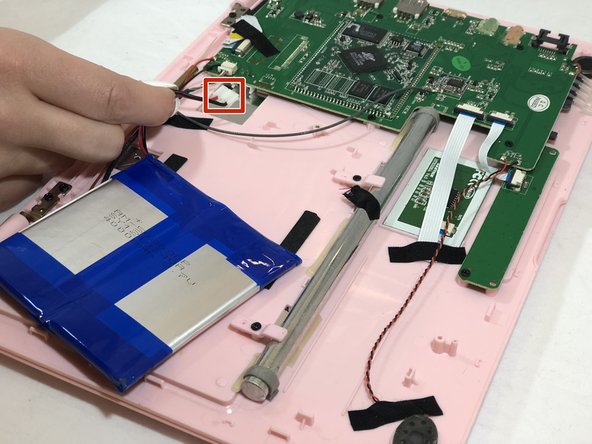
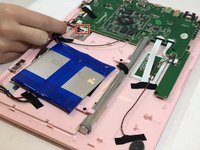
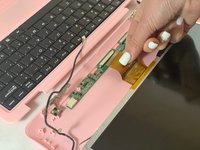
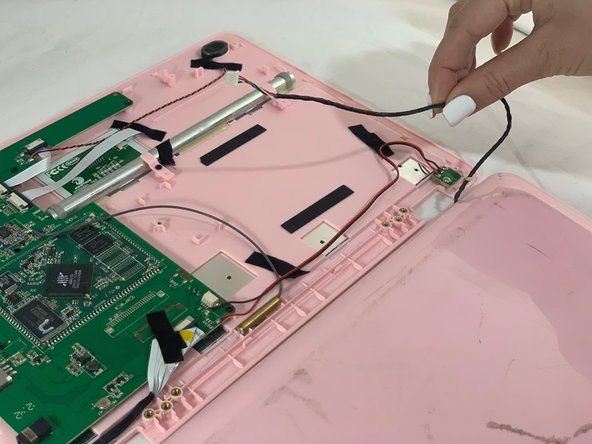
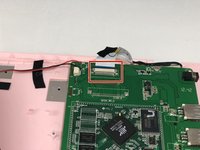
    • Pinch the red and black wires connected to the section closest to the small white connector, and pull to remove them from the motherboard.

    Ask FixBot

    Add Comment

  7. Maylong MN-1000P Button Panel Replacement, Screen: step 7, image 1 of 1
    • Remove the six 6mm Phillips #00 screws from both sides of the netbook.

    Ask FixBot

    Add Comment

  8. Maylong MN-1000P Button Panel Replacement: step 8, image 1 of 2 Maylong MN-1000P Button Panel Replacement: step 8, image 2 of 2
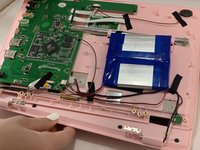
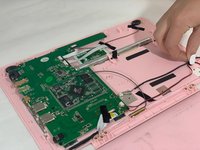
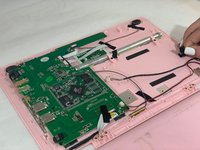
    • Pull the top of the computer and the back side of the computer away from each other until they are detached.

    • Flip the entire computer over so you can see both the screen and keyboard.

    Ask FixBot

    Add Comment

  9. Maylong MN-1000P Button Panel Replacement: step 9, image 1 of 2 Maylong MN-1000P Button Panel Replacement: step 9, image 2 of 2
    • Remove all the black circular pads from around the screen.

    • Remove all 6mm Phillips #00 screws from around the screen bezel.

    Ask FixBot

    Add Comment

  10. Maylong MN-1000P Button Panel Replacement: step 10, image 1 of 1
    • Using a plastic opening tool, pry off the screen bezel.

    • After detaching the screen bezel, pull up on the bezel near the hinge area.

    Ask FixBot

    Add Comment

  11. Maylong MN-1000P Button Panel Replacement: step 11, image 1 of 1
    Tool used on this step:
    Tweezers
    $4.99
    Buy
    • Use tweezers to gently pull on the black and white wires at the top of the netbook until the white connector detaches.

    Ask FixBot

    Add Comment

  12. Maylong MN-1000P Button Panel Replacement: step 12, image 1 of 1
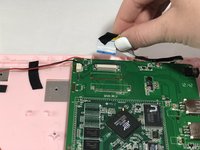
    • Use your fingers to pull on the green, red, black, and white intertwined wires at the bottom of the netbook until the white connector detaches.

    Ask FixBot

    Add Comment

  13. Maylong MN-1000P Button Panel Replacement: step 13, image 1 of 3 Maylong MN-1000P Button Panel Replacement: step 13, image 2 of 3 Maylong MN-1000P Button Panel Replacement: step 13, image 3 of 3
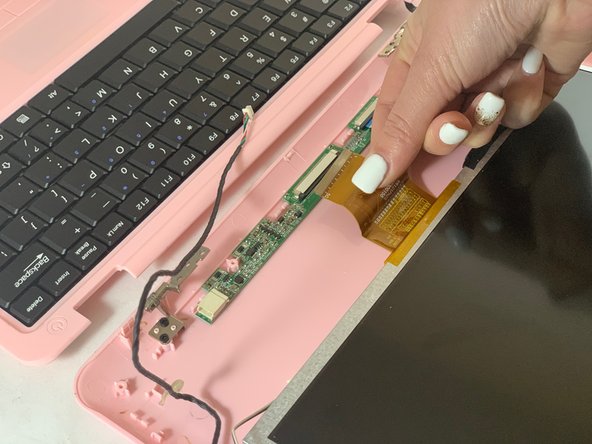
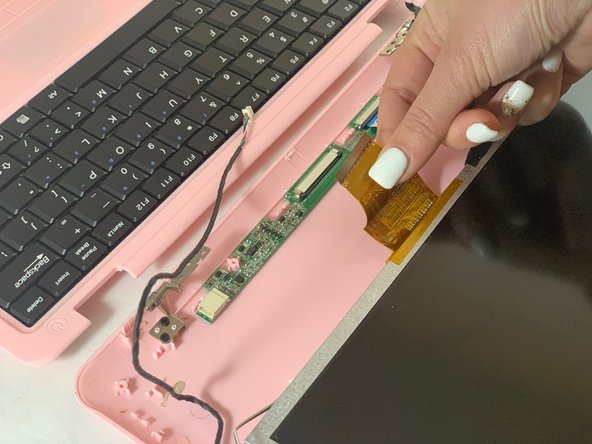
    • Detach the wide yellow ribbon cable connected to the screen from the computer.

    Ask FixBot

    Add Comment

  14. Maylong MN-1000P Button Panel Replacement: step 14, image 1 of 2 Maylong MN-1000P Button Panel Replacement: step 14, image 2 of 2
    • Flip the computer over.

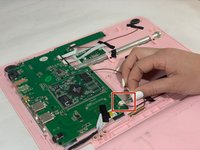
    • Disconnect the red, green, black, and white intertwined wires from the connector to the motherboard.

    Ask FixBot

    Add Comment

  15. Maylong MN-1000P Button Panel Replacement: step 15, image 1 of 3 Maylong MN-1000P Button Panel Replacement: step 15, image 2 of 3 Maylong MN-1000P Button Panel Replacement: step 15, image 3 of 3
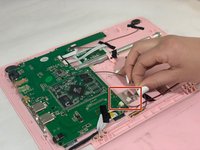
    • Remove the black tape holding down the red, green, black, and white intertwined wires.
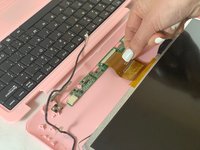
    • Remove the screen.

    Ask FixBot

    Add Comment

  16. Maylong MN-1000P Button Panel Replacement, Motherboard: step 16, image 1 of 1
    • Remove the six 6mm Phillips #00 screws from the motherboard.

    Ask FixBot

    Add Comment

  17. Maylong MN-1000P Button Panel Replacement: step 17, image 1 of 1
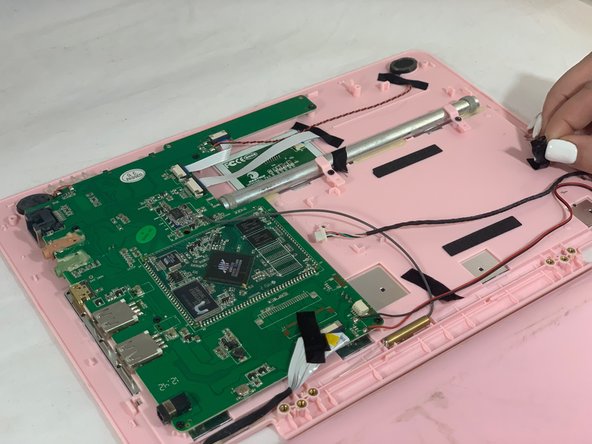
    • Remove the two 6mm silver screws from the small circuit board connected to the motherboard by the red and black wires.

    Ask FixBot

    Add Comment

  18. Maylong MN-1000P Button Panel Replacement: step 18, image 1 of 1
    • Remove the two small black speakers on the corners connected to the motherboard by the black and red wires.

    Ask FixBot

    Add Comment

  19. Maylong MN-1000P Button Panel Replacement: step 19, image 1 of 1
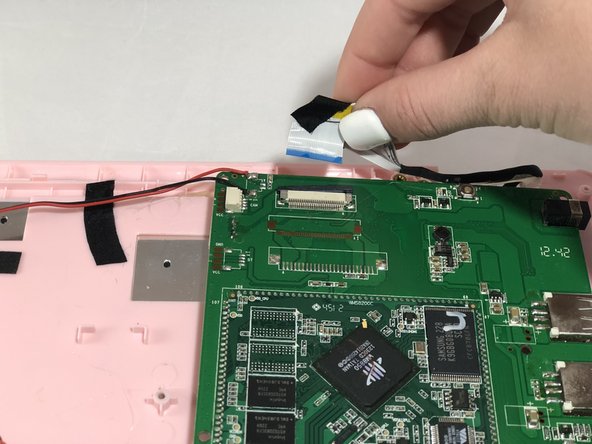
    • Disconnect the black connectors from the motherboard by pulling on the white ribbon cable.

    Ask FixBot

    Add Comment

  20. Maylong MN-1000P Button Panel Replacement: step 20, image 1 of 2 Maylong MN-1000P Button Panel Replacement: step 20, image 2 of 2
    • Remove the black covered wire connected to the motherboard by pulling the white ribbon cable away from the motherboard.

    Ask FixBot

    Add Comment

  21. Maylong MN-1000P Button Panel Replacement: step 21, image 1 of 1
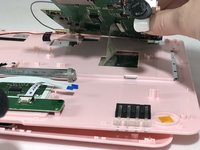
    • Using a spudger, remove the gold cylinder out of the indent at the bottom of the computer.

    Ask FixBot

    Add Comment

  22. Maylong MN-1000P Button Panel Replacement: step 22, image 1 of 2 Maylong MN-1000P Button Panel Replacement: step 22, image 2 of 2
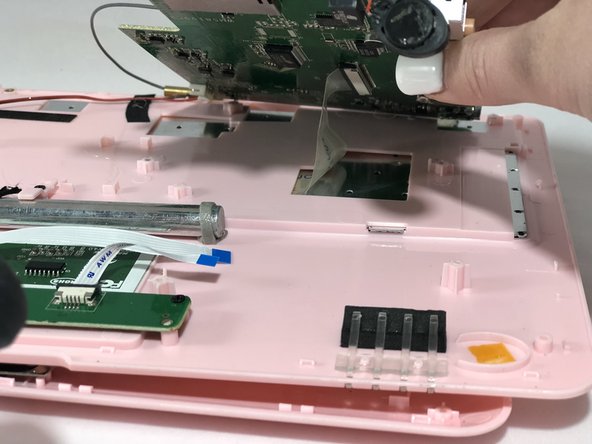
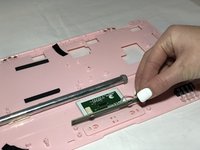
    • Lift the motherboard up.

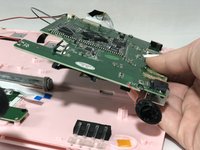
    • Remove the motherboard by detaching the clear tape from underneath the motherboard.

    Ask FixBot

    Add Comment

  23. Maylong MN-1000P Button Panel Replacement, Button Panel: step 23, image 1 of 1
    • Remove the four 6mm Phillips #00 screws from the button panel.

    Ask FixBot

    Add Comment

  24. Maylong MN-1000P Button Panel Replacement: step 24, image 1 of 2 Maylong MN-1000P Button Panel Replacement: step 24, image 2 of 2
    • Lift up the button panel and replace.

    Ask FixBot

    Add Comment

Conclusion

To reassemble your device, follow these instructions in reverse order.

Cancel: I did not complete this guide.

0 Guide Comments

Add Comment

View Statistics:

Past 24 Hours: 1

Past 7 Days: 7

Past 30 Days: 30

All Time: 251