Introduction
This prerequisite guide is intended to facilitate the replacement of any internal components of the Marshall Stanmore II Bluetooth Speaker. It may also be used to check inside and clean out any water or debris.
Before using this guide, ensure that all steps have been taken on the Stanmore II Troubleshooting page in case the issue can be solved without disassembling the device.
Before removing the panel, make sure that power is removed from the speaker. This includes turning off the speaker and unplugging the power cord from the back of the device and the wall outlet.
What you need
-
-
-
Lay the speaker with the back panel facing up on a flat, stable work surface.
 Ask FixBot
-
-
-
-
Use a Phillips #2 screwdriver to remove the ten 20.5 mm screws that secure the rear panel to the chassis.
-
-
-
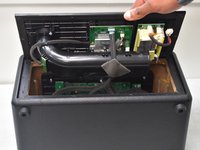
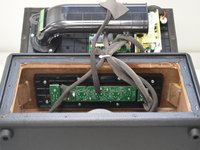
Carefully lift the rear panel and let it rest on an object, like a stack of books, to avoid straining the cables.
-
-


To reassemble your device, follow these instructions in reverse order.

Team

University of North Texas, Team 2-1, Kilpatrick Spring 2024 Member of University of North Texas, Team 2-1, Kilpatrick Spring 2024
UNT-KILPATRICK-S24S2G1
5 Members
18 Guides authored
