Makita GA4030K Disk Cover Removal

Prerequisite Only
This guide is only intended to be used as a prerequisite for other guides. It's incomplete by itself.

What you need

  1. Makita GA4030K Disk Cover Removal, Disk Cover: step 1, image 1 of 1
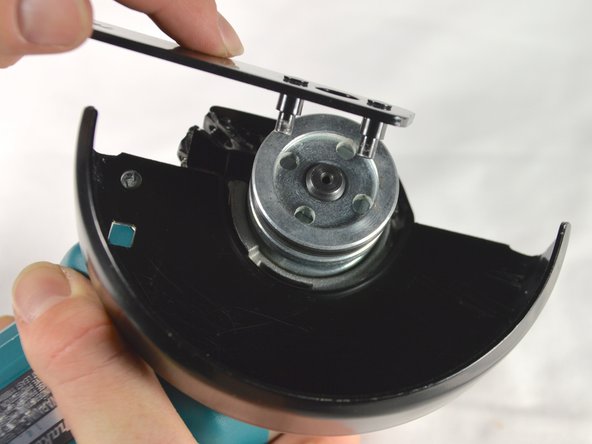
    • Check for the provided lock nut wrench. This is used for loosening the piece that keeps the disk and cover attached.

  2. Makita GA4030K Disk Cover Removal: step 2, image 1 of 1
    • Unscrew the handle unit until it is removed completely.

  3. Makita GA4030K Disk Cover Removal: step 3, image 1 of 2 Makita GA4030K Disk Cover Removal: step 3, image 2 of 2
    • Hold the black switch located on the front casing.

    • Still holding the switch, use the lock nut wrench to loosen the silver disk holding everything in place.

    • Once loose, remove the silver disk and/or your grinding disk.

  4. Makita GA4030K Disk Cover Removal: step 4, image 1 of 2 Makita GA4030K Disk Cover Removal: step 4, image 2 of 2
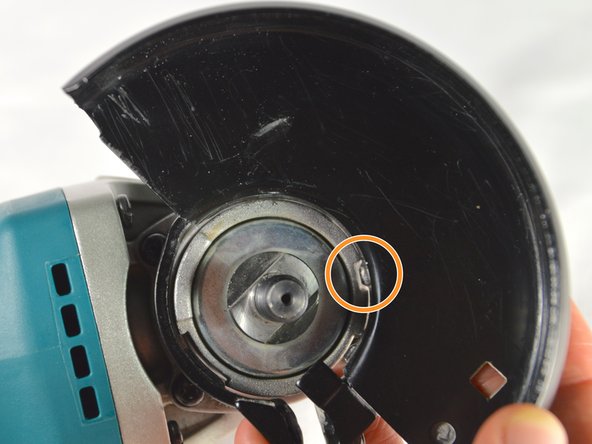
    • Use a Phillips #02 screwdriver to remove the 15 mm pan head screw that holds the cover in place.

    • Remove the cover by lining up the knob on the cover with the notch in face plate.

Conclusion

To reassemble your device, follow these instructions in reverse order.

One other person completed this guide.

Nyssa Backes

Member since: 04/01/15

467 Reputation

3 Guides authored

Team

Cal Poly, Team 12-5, Lancaster Spring 2015 Member of Cal Poly, Team 12-5, Lancaster Spring 2015

CPSU-LANCASTER-S15S12G5

4 Members

13 Guides authored

0 Comments

Add Comment

View Statistics:

Past 24 Hours: 0

Past 7 Days: 0

Past 30 Days: 0

All Time: 48