This translation was generated by a machine and has not been reviewed by a person yet. Speak this language? Review it.
Introduction
Please note that the heating elements are different between the upper and lower positions. Ensure you obtain the correct heating element.
The upper heating elements are marked 'U' on their base. The lower heating elements are marked 'L'.
-
-
-
Remove the crumb tray
-
Removal of the bottom screws
-
Turn the device over
-
Remove the 3 Phillips screws under each of the side panels
 Ask FixBot
-
-
-
Removal of the top screws
-
Unlock the side glass panels
-
Remove the top screws
-
The side panel is now unlocked and can be removed by sliding it upward
-
-
-
-
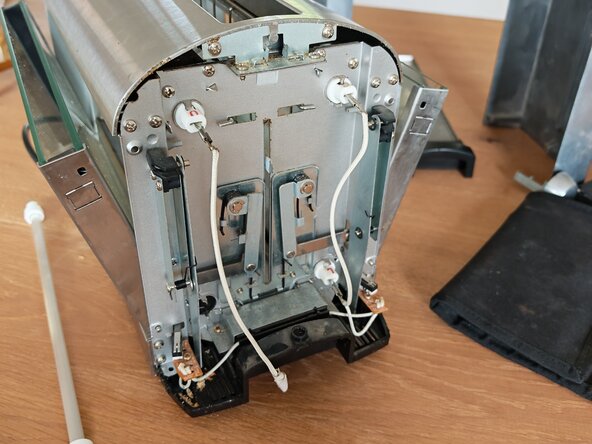
The ends of the four resistances appear on each side.
-
Unplug the terminals on each side of the resistance.
-
The resistance is held in place on the frame by tabs. Carefully spread the 2 tabs on each side of the resistance. Remove the resistance from its housing by sliding it out.
-
If the resistance is broken inside the device, remove all the pieces.
-
-
-
Insert the new resistance by sliding it into its slot from either side.
-
Return the tabs to their position on each side.
-
Connect the power wires on each side.
-
-
-
Install the cheeks by sliding them from top to bottom.
-
Reinstall the upper screws.
-
Reinstall the lower screws.
-
-




To reassemble your device, follow the instructions in reverse order.

