
Magellan RoadMate 5120-LMTX Screen Replacement

What you need

  1. Magellan RoadMate 5120-LMTX Screen Replacement, Back Cover: step 1, image 1 of 3 Magellan RoadMate 5120-LMTX Screen Replacement, Back Cover: step 1, image 2 of 3 Magellan RoadMate 5120-LMTX Screen Replacement, Back Cover: step 1, image 3 of 3
    • Power off the Magellan RoadMate before beginning.

    • Remove the six 5mm Phillips #00 screws from the back of device.

  2. Magellan RoadMate 5120-LMTX Screen Replacement: step 2, image 1 of 3 Magellan RoadMate 5120-LMTX Screen Replacement: step 2, image 2 of 3 Magellan RoadMate 5120-LMTX Screen Replacement: step 2, image 3 of 3
    • Pry back cover off with a plastic opening tool just enough to see where the speaker is attached to the motherboard.

    • Do not fully open the back cover or you risk damaging the speaker wire.

    • Use a spudger to disconnect the speaker connection from the motherboard.

  3. Magellan RoadMate 5120-LMTX Screen Replacement, Motherboard: step 3, image 1 of 3 Magellan RoadMate 5120-LMTX Screen Replacement, Motherboard: step 3, image 2 of 3 Magellan RoadMate 5120-LMTX Screen Replacement, Motherboard: step 3, image 3 of 3
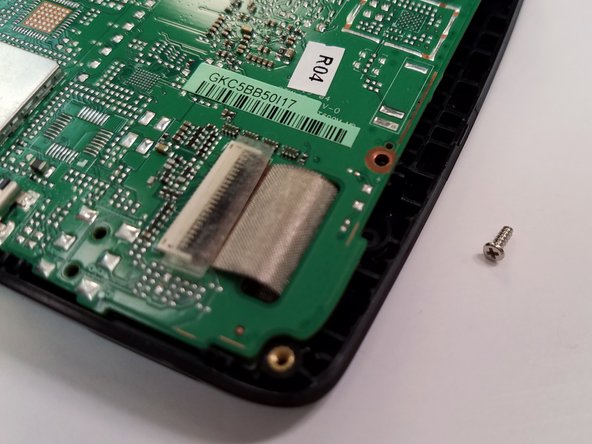
    • There will be two 5mm Phillips #00 screws that need to be removed from the motherboard.

  4. Magellan RoadMate 5120-LMTX Screen Replacement: step 4, image 1 of 3 Magellan RoadMate 5120-LMTX Screen Replacement: step 4, image 2 of 3 Magellan RoadMate 5120-LMTX Screen Replacement: step 4, image 3 of 3
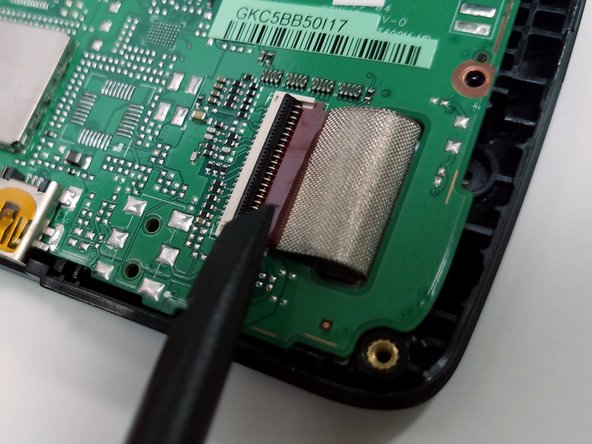
    • Some devices may have a piece of tape or plastic over the ribbon cable latch. If your device has this, remove it before continuing.

    • Carefully lift the black ribbon cable latch upwards with a spudger or other similar tool.

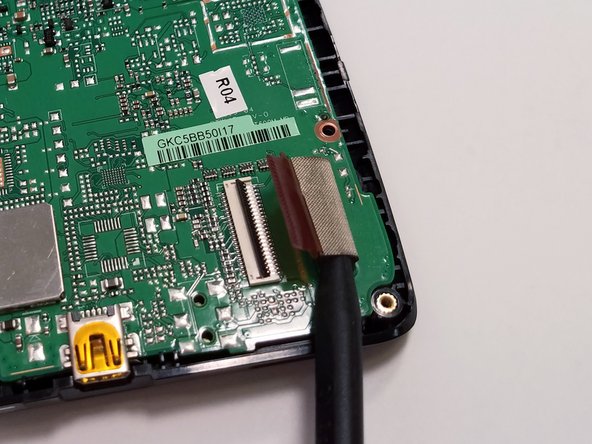
    • Once the ribbon cable latch is opened, insert the pointed end of the spudger, or other similar tool, underneath the ribbon cable.

    • Slowly pull out the ribbon cable in a straight, flat motion with respect to the latch.

  5. Magellan RoadMate 5120-LMTX Screen Replacement: step 5, image 1 of 2 Magellan RoadMate 5120-LMTX Screen Replacement: step 5, image 2 of 2
    • Be careful not to touch any of the electrical components on the motherboard as damage may ensue.

    • Carefully lift the motherboard out of the plastic housing by the edges while guiding the ribbon cable through the slot.

    • Store the motherboard on a safe non-conductive surface, preferably an anti-static mat.

  6. Magellan RoadMate 5120-LMTX Screen Replacement, Screen: step 6, image 1 of 3 Magellan RoadMate 5120-LMTX Screen Replacement, Screen: step 6, image 2 of 3 Magellan RoadMate 5120-LMTX Screen Replacement, Screen: step 6, image 3 of 3
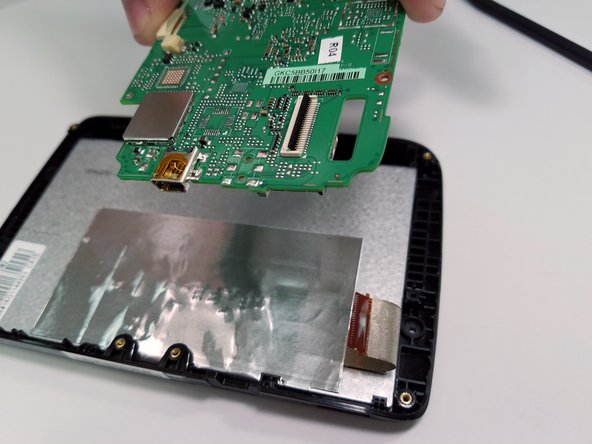
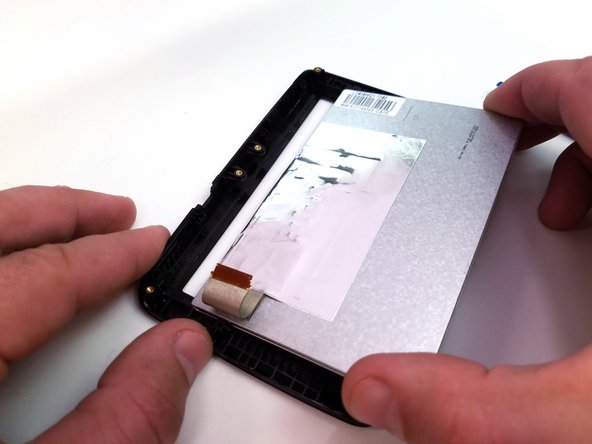
    • Use a plastic opening tool to release the screen from the tabs.

    • Using too much force can break the tabs.

    • Lift and slide the screen out from the housing.

    • If the screen is cracked, be careful of sharp or loose glass shards.

Conclusion

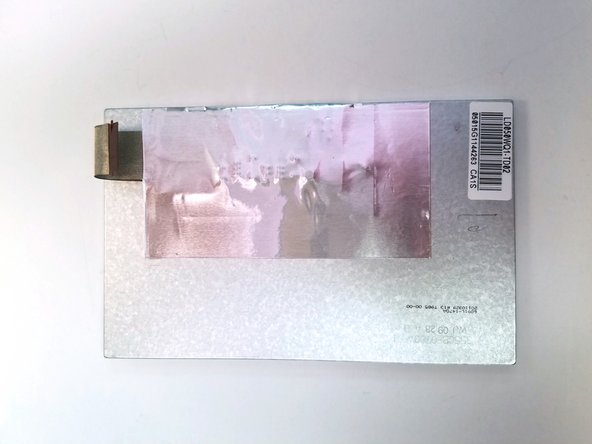
To reassemble your device, follow these instructions in reverse order.

One other person completed this guide.

Chris Blaskowski

Member since: 10/08/16

370 Reputation

3 Guides authored

Team

IUPUI, Team 4-4, Wilson Fall 2016 Member of IUPUI, Team 4-4, Wilson Fall 2016

IUPUI-WILSON-F16S4G4

4 Members

6 Guides authored

0 Comments

Add Comment

View Statistics:

Past 24 Hours: 0

Past 7 Days: 1

Past 30 Days: 2

All Time: 360