Introduction
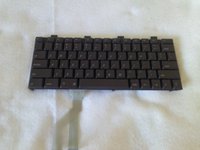
The trackpad is used to move the cursor on the screen. It is located below the keyboard.
What you need
-
-
With the laptop upside down and with the battery removed, use a Torx #9 screw driver to remove the three .84 in. screws shown.
-
-
-
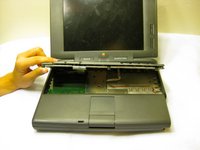
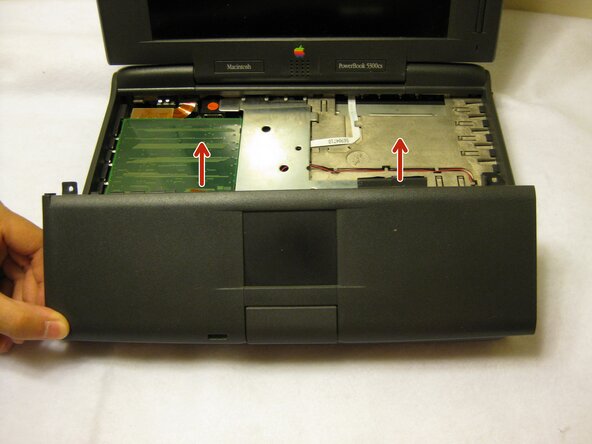
Remove the front plastic panel of the laptop by carefully lifting it up and forward.
-
-
-
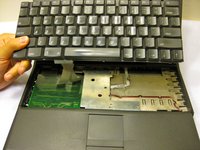
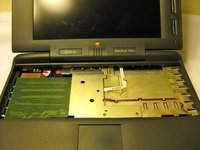
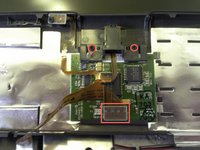
With a Torx #9 screwdriver, remove the two .20 in. screws circled in red that are holding the trackpad in place. This will disconnect the mouse button.
-
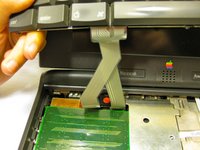
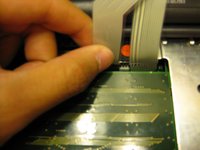
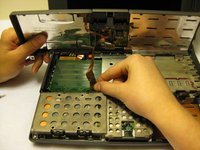
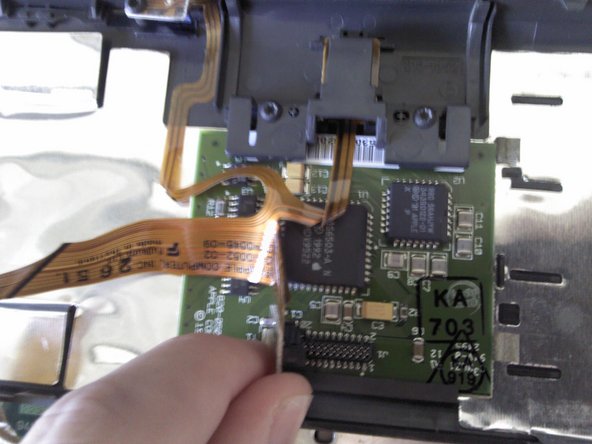
Following this action, disconnect the ribbon highlighted with the red rectangle connecting the trackpad to the laptop.
-
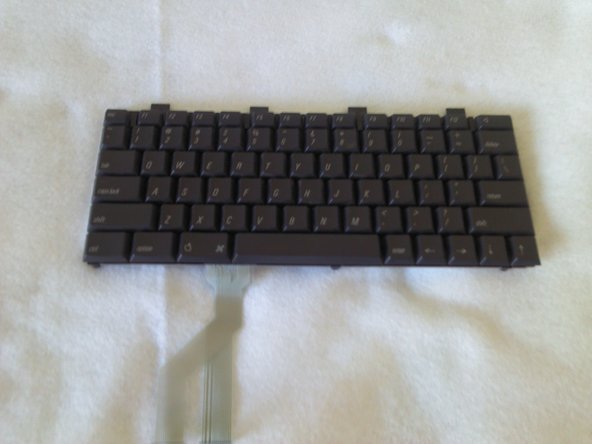
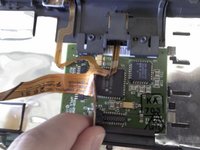
Remove the mouse button by sliding it out from the top of the orange ribbon.
-


To reassemble your device, follow these instructions in reverse order.
Cancel: I did not complete this guide.
2 other people completed this guide.
Team

Cal Poly, Team 6-1, Regan Fall 2011 Member of Cal Poly, Team 6-1, Regan Fall 2011
CPSU-REGAN-F11S6G1
4 Members
6 Guides authored