Free Shipping on Domestic Orders $75+

MacBook Pro 16" 2023 Battery Disconnection

Views: 222

View statistics:

Past 24 Hours:
2
Past 7 Days:
8
Past 30 Days:
21
All Time:
222
Comments: 2

2 comments on steps.

Completed: 0

No one has marked this guide "completed." Will you be the first?

Favorites: 0

No one has favorited (and subscribed to) this guide. Will you be the first?

Time Required: No estimate
Difficulty: Moderate
MacBook Pro 16" 2023 Battery Disconnection
Prerequisite Only This is a prerequisite-only guide! This guide is part of another procedure and isn’t meant to be used alone.

Introduction

Go to step 1 ↓

This guide demonstrates how to disconnect the battery in your MacBook Pro 16" 2023.

What you need

Tools

    1. MacBook Pro 16" 2023 Battery Disconnection, Unfasten the lower case: step 1, image 1 of 1
      Tool used on this step:
      FixMat
      $36.95
      Buy
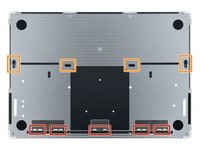
      • Use a P5 pentalobe driver to remove the eight screws securing the lower case:

      • Four 9.1 mm‑long screws

      • Four 6 mm‑long screws

      • Throughout this repair, keep track of each screw and make sure it goes back exactly where it came from.

      Ask FixBot

      Add Comment

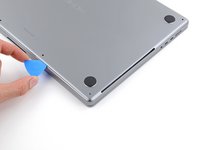
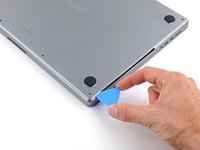
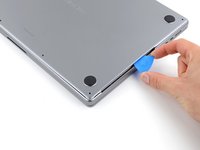
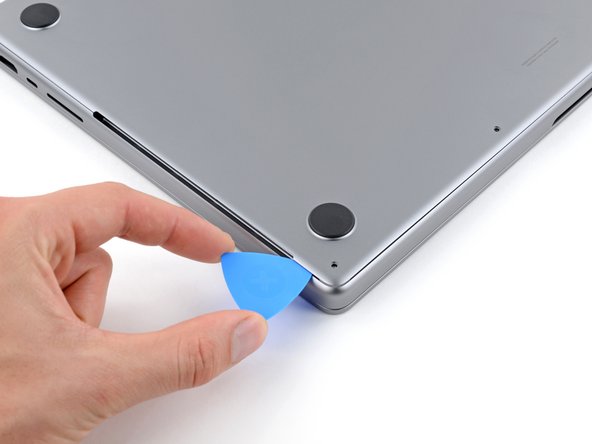
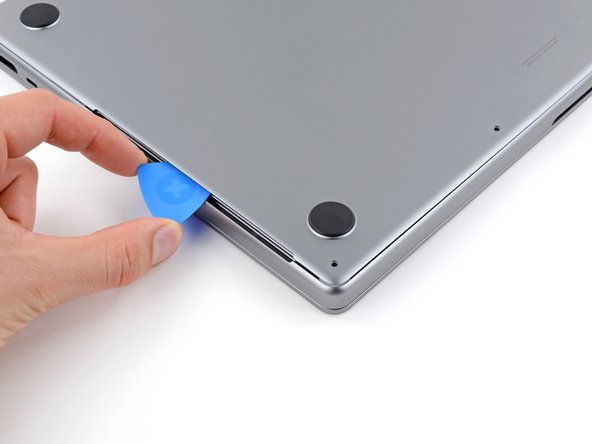
    2. MacBook Pro 16" 2023 Battery Disconnection, Insert an opening pick: step 2, image 1 of 3 MacBook Pro 16" 2023 Battery Disconnection, Insert an opening pick: step 2, image 2 of 3 MacBook Pro 16" 2023 Battery Disconnection, Insert an opening pick: step 2, image 3 of 3
      • Apply a suction handle to the center of the lower case's front edge.

      • Pull up on the suction handle to create a gap between the lower case and the frame.

      • Insert an opening pick into the gap.

      Ask FixBot

      Add Comment

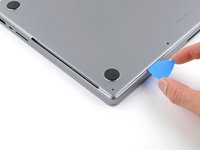
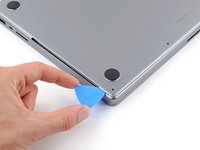
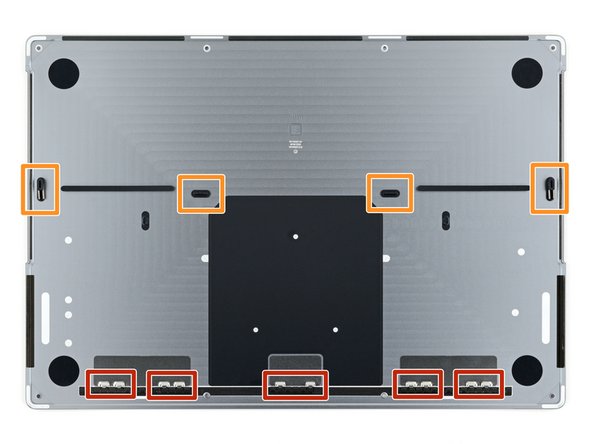
    3. MacBook Pro 16" 2023 Battery Disconnection, Release the right clips: step 3, image 1 of 3 MacBook Pro 16" 2023 Battery Disconnection, Release the right clips: step 3, image 2 of 3 MacBook Pro 16" 2023 Battery Disconnection, Release the right clips: step 3, image 3 of 3
      • Slide your opening pick around the bottom right corner and up the right edge of the lower case.

      • If your pick gets stuck at the cutout, use your fingers to lift the lower case up slightly to allow your pick to slide underneath.

      • Slide your pick until it reaches the middle of the cutout, or until the rightmost clip stops it from sliding.

      • Twist your pick to release the two right clips.

      • You'll hear and feel a pop when each of the two clips releases.

      Ask FixBot

      Add Comment

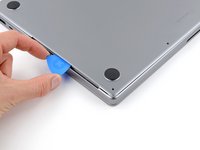
    4. MacBook Pro 16" 2023 Battery Disconnection, Release the left clips: step 4, image 1 of 3 MacBook Pro 16" 2023 Battery Disconnection, Release the left clips: step 4, image 2 of 3 MacBook Pro 16" 2023 Battery Disconnection, Release the left clips: step 4, image 3 of 3
      • Slide your opening pick around the bottom left corner and up the left edge of the lower case.

      • If your pick gets stuck at the cutout, pry the lower case up slightly to allow your pick to slide underneath.

      • Slide your pick until it reaches the middle of the cutout, or until the leftmost clip stops it from sliding.

      • Twist your pick to release the left two clips.

      • You'll hear and feel a pop when each of the two clips releases.

      Ask FixBot

      Add Comment

    5. MacBook Pro 16" 2023 Battery Disconnection, Release the sliding clips: step 5, image 1 of 3 MacBook Pro 16" 2023 Battery Disconnection, Release the sliding clips: step 5, image 2 of 3 MacBook Pro 16" 2023 Battery Disconnection, Release the sliding clips: step 5, image 3 of 3
      • Sliding clips along the back edge of the MacBook further secure the lower case. Separating these clips may require a lot of force—consider using gloves to protect your hands from the sharp edges of the lower case.

      • Firmly pull the lower case away from the back edge, one corner at a time, to disengage the sliding clips.

      • Keep the lower case flat to the MacBook. Don't pull upward until it's completely separated.

      Ask FixBot

      Add Comment

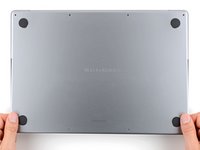
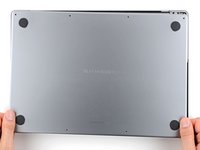
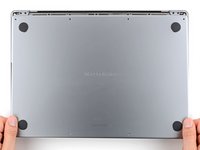
    6. MacBook Pro 16" 2023 Battery Disconnection, Remove the lower case: step 6, image 1 of 2 MacBook Pro 16" 2023 Battery Disconnection, Remove the lower case: step 6, image 2 of 2
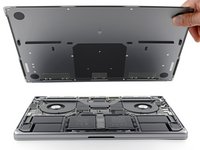
      • Remove the lower case.

      • To reinstall the lower case:

      • Lay it down and align the sliding clips with the back edge of the MacBook. Press down on the lower case and slide it toward the back edge to engage the clips.

      • When one side is engaged, it may push the other out of alignment. Check both sides as you push.

      • Once the back corners of the lower case are secured and flush with the frame, press down along the middle of the lower case to engage the four remaining clips.

      • You'll hear and feel each clip snap into place.

      Ask FixBot

      Add Comment

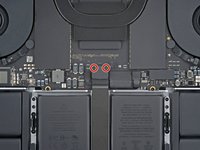
    1. MacBook Pro 16" 2023 Battery Disconnection, Remove the trackpad cable bracket: step 7, image 1 of 3 MacBook Pro 16" 2023 Battery Disconnection, Remove the trackpad cable bracket: step 7, image 2 of 3 MacBook Pro 16" 2023 Battery Disconnection, Remove the trackpad cable bracket: step 7, image 3 of 3
      • Use a 3IP Torx Plus driver to remove the two 2.1 mm screws securing the trackpad cable bracket.

      • Remove the bracket.

      Ask FixBot

      Add Comment

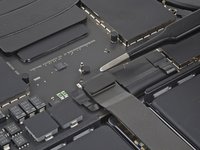
    2. MacBook Pro 16" 2023 Battery Disconnection, Disconnect the trackpad: step 8, image 1 of 2 MacBook Pro 16" 2023 Battery Disconnection, Disconnect the trackpad: step 8, image 2 of 2
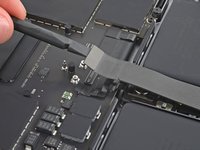
      • Use the flat end of your spudger to pry up and disconnect the trackpad cable press connector from the logic board.

      • To re-attach press connectors like this one, carefully align and press down on one side until it clicks into place, then repeat on the other side. Don't press down in the middle. If the connector is misaligned, the pins can bend and cause permanent damage.

      Ask FixBot

      Add Comment

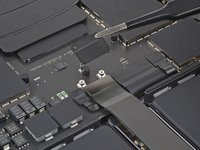
    3. MacBook Pro 16" 2023 Battery Disconnection, Move the trackpad cable: step 9, image 1 of 3 MacBook Pro 16" 2023 Battery Disconnection, Move the trackpad cable: step 9, image 2 of 3 MacBook Pro 16" 2023 Battery Disconnection, Move the trackpad cable: step 9, image 3 of 3
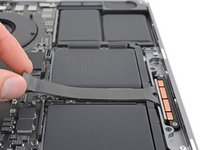
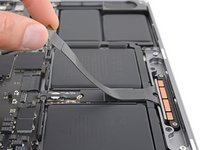
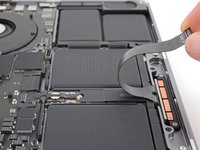
      • The trackpad cable is lightly adhered to the battery board.

      • Peel the trackpad cable from the battery board.

      • Move the cable over the front edge of the MacBook.

      • Be careful not to crease the cable.

      Ask FixBot

      Add Comment

    4. MacBook Pro 16" 2023 Battery Disconnection, Uncover the battery data cable connector: step 10, image 1 of 2 MacBook Pro 16" 2023 Battery Disconnection, Uncover the battery data cable connector: step 10, image 2 of 2
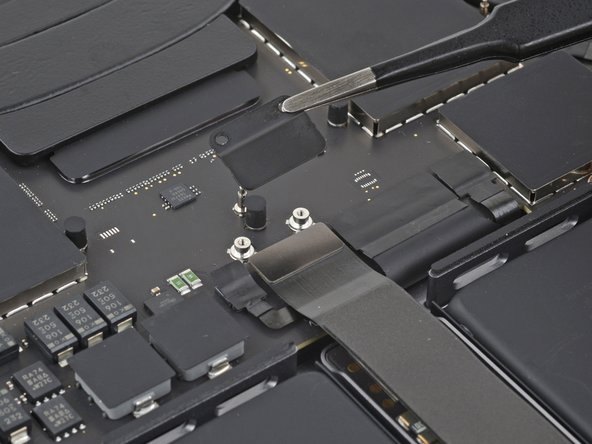
      • Peel back the tape covering the battery data cable connector on the logic board.

      Ask FixBot

      Add Comment

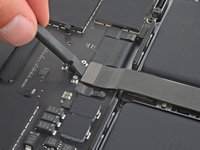
    5. MacBook Pro 16" 2023 Battery Disconnection, Unlatch the connector: step 11, image 1 of 2 MacBook Pro 16" 2023 Battery Disconnection, Unlatch the connector: step 11, image 2 of 2
      • Use the point of a spudger or a clean fingernail to flip up the small locking flap on the battery data cable ZIF connector.

      Ask FixBot

      Add Comment

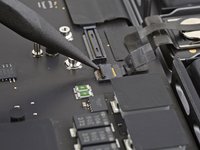
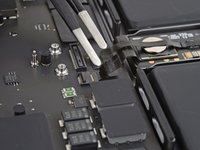
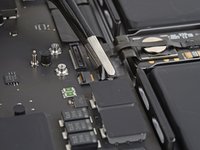
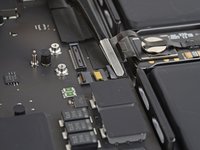
    6. MacBook Pro 16" 2023 Battery Disconnection, Disconnect the battery data cable: step 12, image 1 of 3 MacBook Pro 16" 2023 Battery Disconnection, Disconnect the battery data cable: step 12, image 2 of 3 MacBook Pro 16" 2023 Battery Disconnection, Disconnect the battery data cable: step 12, image 3 of 3
      Tool used on this step:
      Tweezers
      $4.99
      Buy
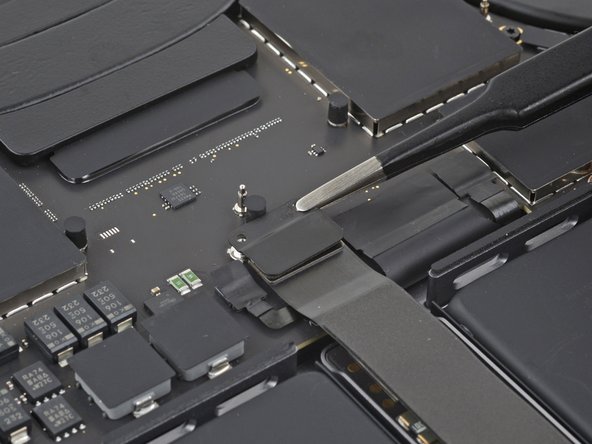
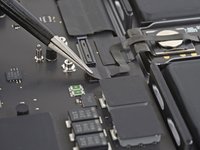
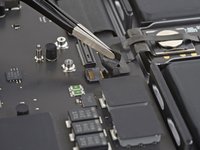
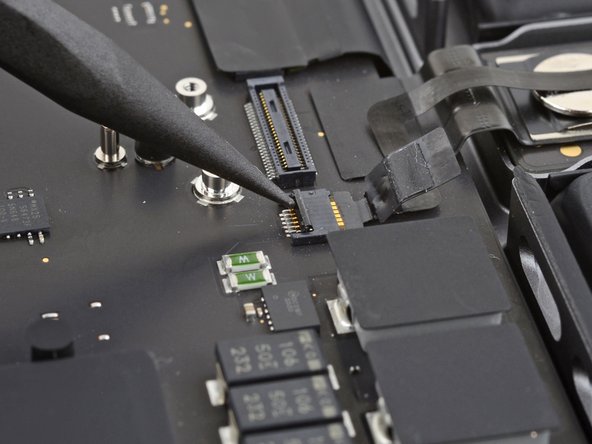
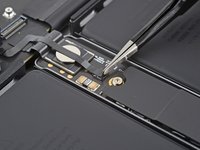
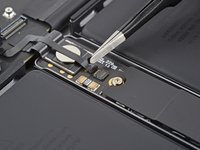
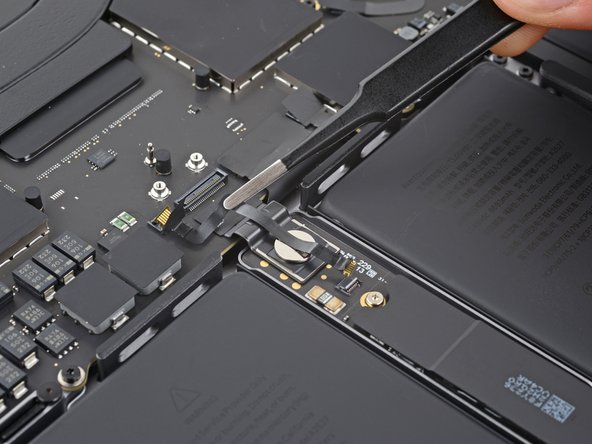
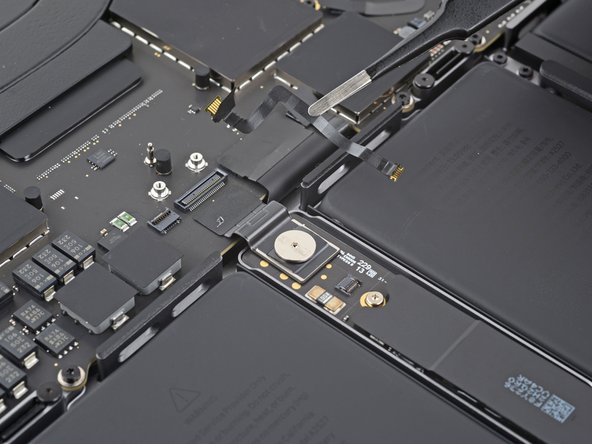
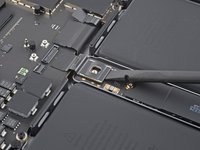
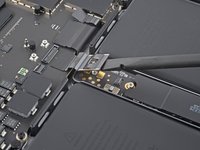
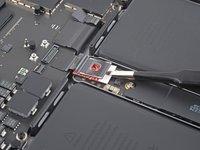
      • Slide one arm of your blunt nose tweezers under the battery data cable.

      • Grip the cable just below the head of the connector.

      • Slide the connector straight out of its socket.

      Ask FixBot

      Add Comment

    7. MacBook Pro 16" 2023 Battery Disconnection, Uncover the connector: step 13, image 1 of 2 MacBook Pro 16" 2023 Battery Disconnection, Uncover the connector: step 13, image 2 of 2
      • Peel back the tape covering the battery data cable connector on the battery board.

      Ask FixBot

      Add Comment

    8. MacBook Pro 16" 2023 Battery Disconnection, Disconnect the battery data cable: step 14, image 1 of 3 MacBook Pro 16" 2023 Battery Disconnection, Disconnect the battery data cable: step 14, image 2 of 3 MacBook Pro 16" 2023 Battery Disconnection, Disconnect the battery data cable: step 14, image 3 of 3
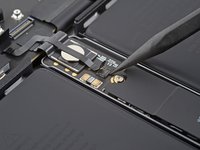
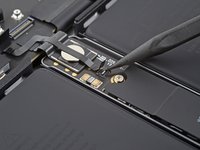
      • Use the point of your spudger or a clean fingernail to flip up the small locking flap on the battery data cable ZIF connector.

      • Use blunt nose tweezers to grab the battery data cable just under the head of the connector and slide it straight out of its socket.

      Ask FixBot

      Add Comment

    9. MacBook Pro 16" 2023 Battery Disconnection, Remove the battery data cable: step 15, image 1 of 3 MacBook Pro 16" 2023 Battery Disconnection, Remove the battery data cable: step 15, image 2 of 3 MacBook Pro 16" 2023 Battery Disconnection, Remove the battery data cable: step 15, image 3 of 3
      • The battery data cable is adhered to the battery board and logic board.

      • Peel the cable from the battery board and the logic board.

      • Remove the cable.

      Ask FixBot

      Add Comment

    10. MacBook Pro 16" 2023 Battery Disconnection, Unfasten the battery connector: step 16, image 1 of 1
      • Use a T5 Torx driver to remove the 3.9 mm pancake screw securing the battery connector.

      Ask FixBot

      Add Comment

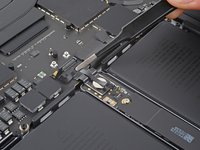
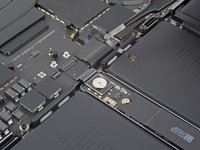
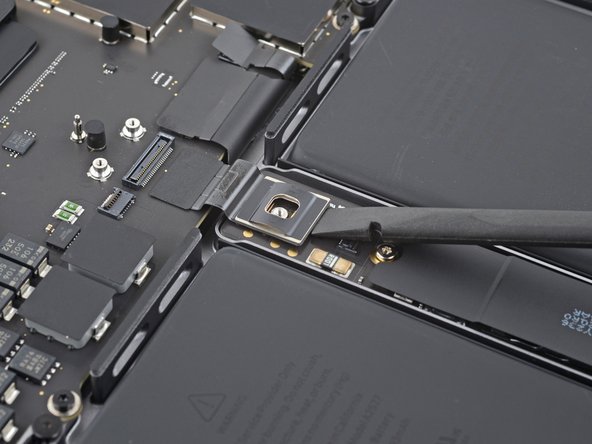
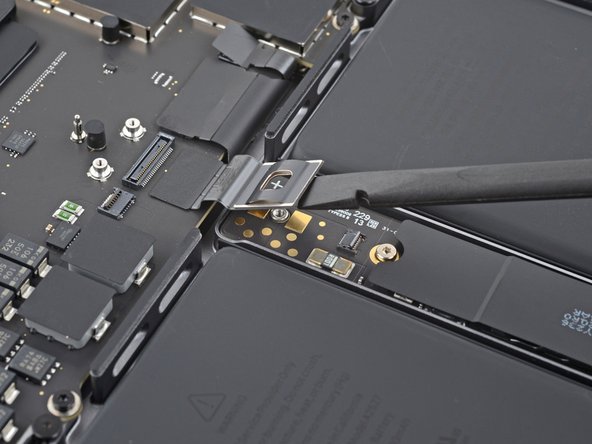
    11. MacBook Pro 16" 2023 Battery Disconnection, Disconnect the battery: step 17, image 1 of 3 MacBook Pro 16" 2023 Battery Disconnection, Disconnect the battery: step 17, image 2 of 3 MacBook Pro 16" 2023 Battery Disconnection, Disconnect the battery: step 17, image 3 of 3
      • Use the flat end of your spudger to lift the battery connector away from the battery board, disconnecting the battery.

      • Lift the connector high enough that it doesn't accidentally make contact during the repair, but no more than 45 degrees to prevent damaging its hinge.

      • For added safety, place a barrier, such as a piece of a playing card, between the connector and board.

      Ask FixBot

      Add Comment

Conclusion

To reassemble your device, follow these instructions in reverse order.

Cancel: I did not complete this guide.

Clay Eickemeyer

Member since: 09/19/22

108,178 Reputation

471 Guides authored

Team

Guide Team Member of Guide Team

Staff

10 Members

62,132 Guides authored

0 Guide Comments

Add Comment

View Statistics:

Past 24 Hours: 2

Past 7 Days: 8

Past 30 Days: 21

All Time: 222