Introduction
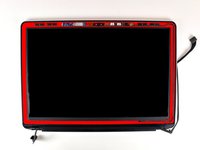
Save money by replacing just the LCD rather than the whole display assembly. This guide is not applicable for anti-glare displays.
What you need
-
-
With the case closed, place the Unibody top-side down on a flat surface.
-
Depress the grooved side of the access door release latch enough to grab the free end. Lift the release latch until it is vertical.
-
-
-
Grab the translucent plastic tab and pull the battery up and out of the Unibody.
-
If the latch is depressed it will lock the battery in place.
-
-
-
Remove the following eight screws securing the lower case to the chassis:
-
One 5.4 mm Phillips screw.
-
Three 14 mm Phillips screws.
-
Four 3.5 mm Phillips screws.
-
-
-
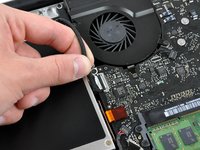
Disconnect the camera cable by pulling the male end straight away from its socket toward the optical drive opening.
-
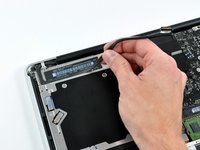
Deroute the camera data cable from the channel in the optical drive.
-
-
-
-
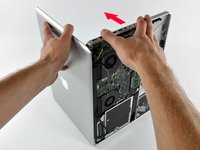
Grab the upper case with your right hand and rotate it slightly toward the top of the display so the upper display bracket clears the edge of the upper case.
-
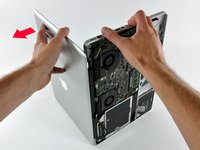
Rotate the display slightly away from the upper case.
-
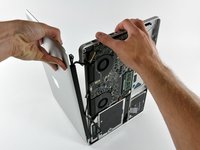
Lift the display away from the upper case, minding any brackets or cables that may get caught.
-
-
-
Before starting, be sure to clean the display glass with lint-free cloth moistened with a mild solution; it will make the suction cup adhere better, and will make checking for dust on reassembly easier
-
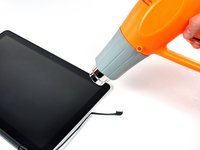
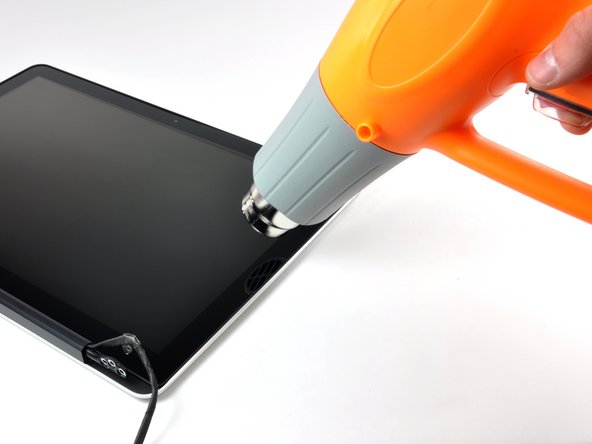
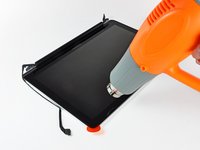
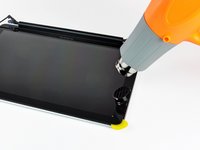
With the heat gun set to low, start by heating the outer black border near the upper right corner of the glass panel.
-
-
-
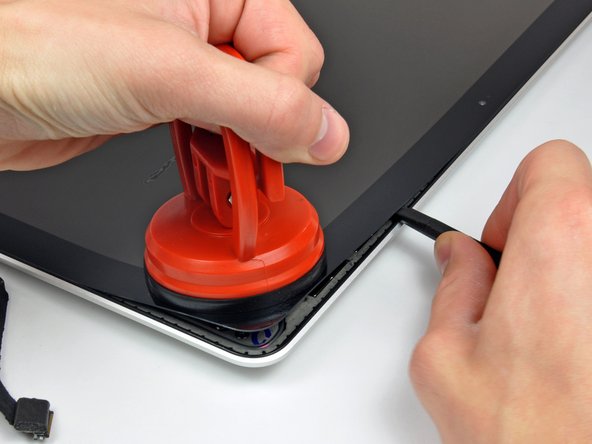
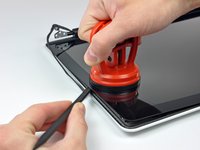
Gently lift the corner of the display glass enough to insert a spudger between it and the display assembly.
-
Use the flat end of a spudger to gently pry up the adhesive securing the front glass to the display.
-
Pry up the glass panel a few inches away from the upper right corner along the top and right edges of the display.
-
-
-
Use a heat gun to soften the adhesive under the black strip along the right side of the front glass panel.
-
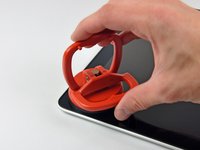
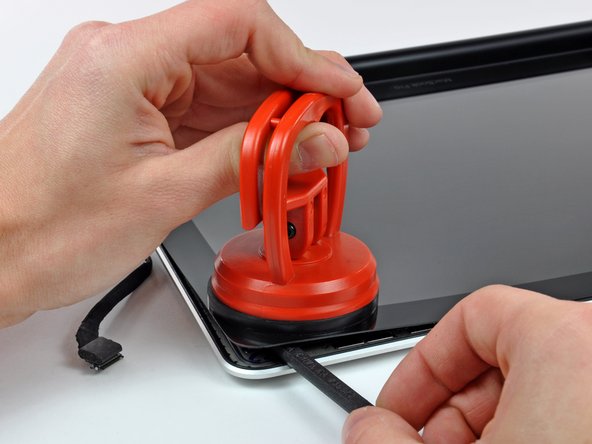
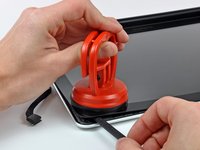
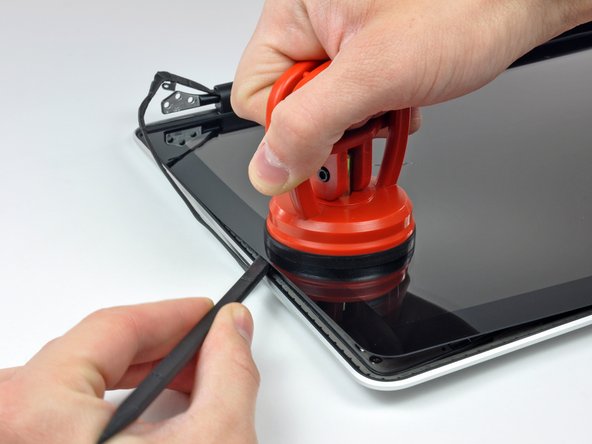
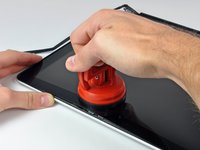
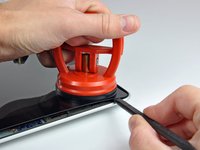
Attach a suction cup along the right side of the front glass panel.
-
Pull up on the glass panel while you use the flat end of a spudger to separate it from the rest of the display assembly.
-
Continue working along the right edge of the front display glass until it is separated from the display.
-
-
-
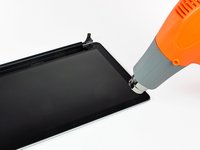
Use your heat gun to soften the adhesive under the black strip along the top edge of the glass display panel.
-
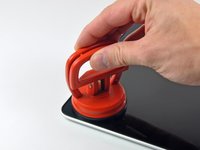
Attach a suction cup near the top edge of the glass display panel and use it to pull the glass panel up off the display.
-
Work along the top edge of the glass panel, carefully using the flat end of a spudger to separate the adhesive if necessary.
-
-
-
Use a heat gun to soften the adhesive under the black strip near the upper left corner of the glass display panel.
-
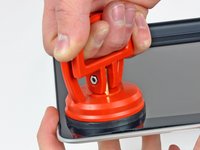
Attach a suction cup near the upper left corner of the glass display panel.
-
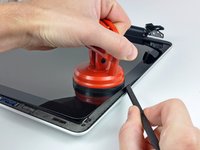
Pull up on the suction cup and use the flat end of a spudger to carefully pry the glass display panel out of the display assembly.
-
-
-
Use a heat gun to soften the adhesive under the black strip along the left side of the front glass panel.
-
Attach a suction cup along the left side of the front glass panel.
-
Pull up on the glass panel while you use the flat end of a spudger to separate it from the rest of the display assembly.
-
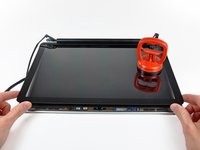
Continue working along the left edge of the front display glass until it is separated from the display.
-
-
-
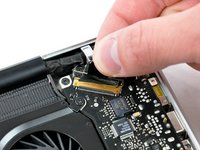
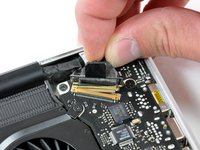
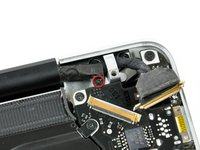
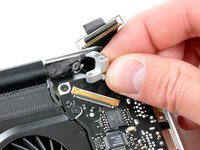
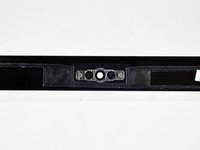
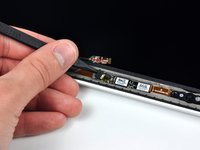
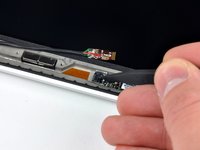
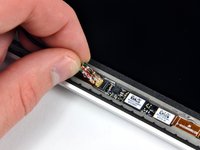
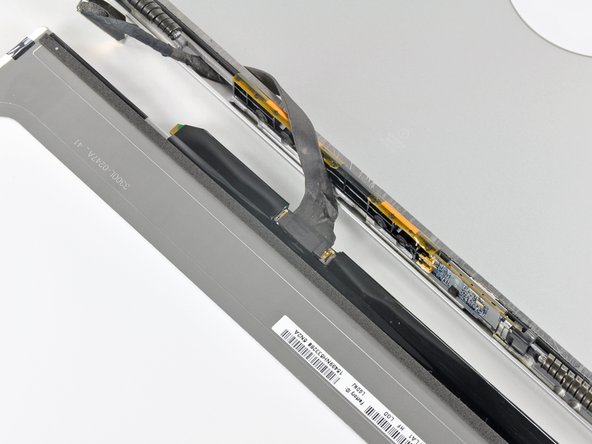
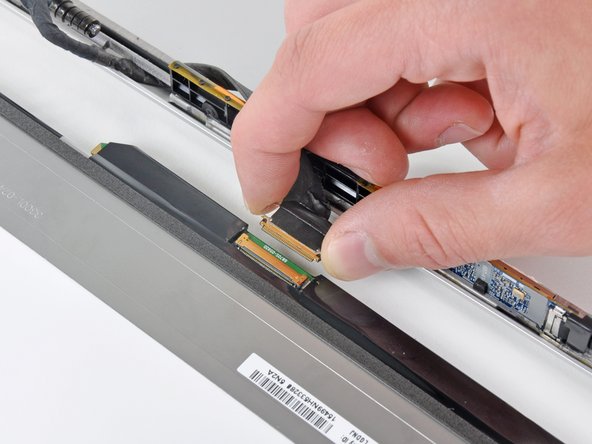
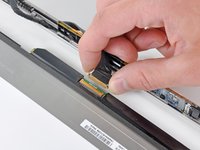
To reconnect the cable, first use the tip of a spudger to remove the piece of foam tape over the camera cable ZIF socket.
-
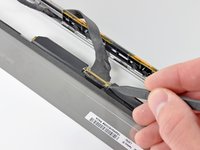
Use the tip of a spudger to flip up the ZIF cable retainer on the camera cable socket.
-
Insert the camera cable into its socket on the camera board and use the tip of a spudger to snap down the ZIF cable retainer, locking the cable in place.
-
-
-
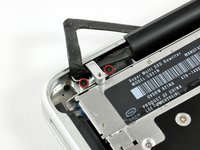
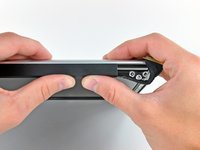
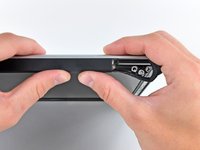
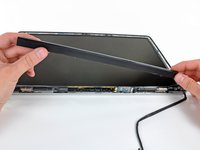
Starting at its far left end, rock the clutch cover along its long axis while pulling it away from the clutch hinge.
-
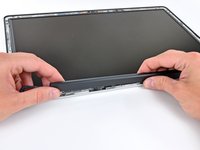
Working from right to left, carefully continue to release and lift the clutch along the lower edge of the display assembly.
-
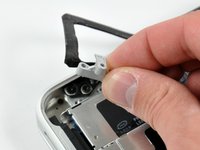
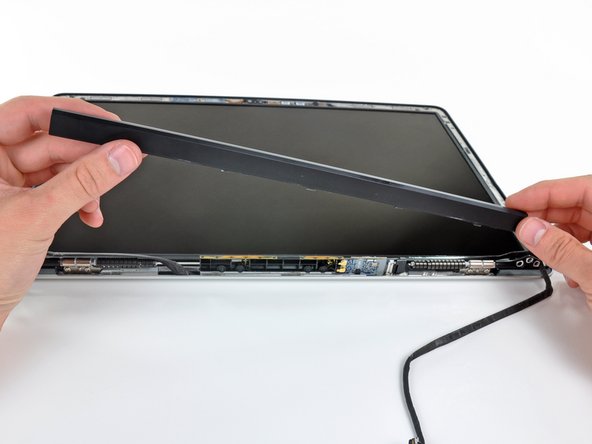
Lift the clutch cover up off the front bezel and set it aside.
-























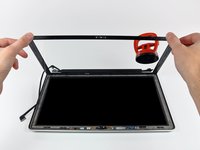
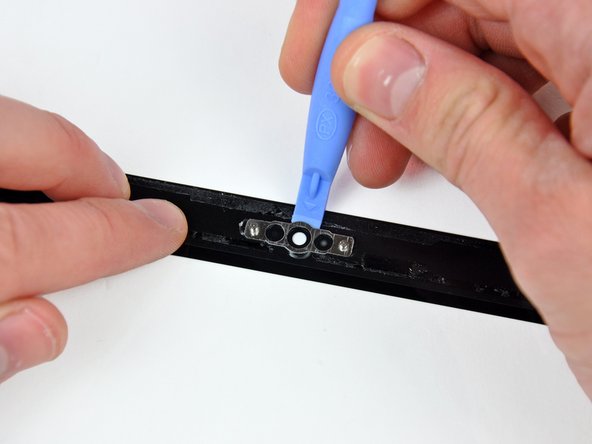
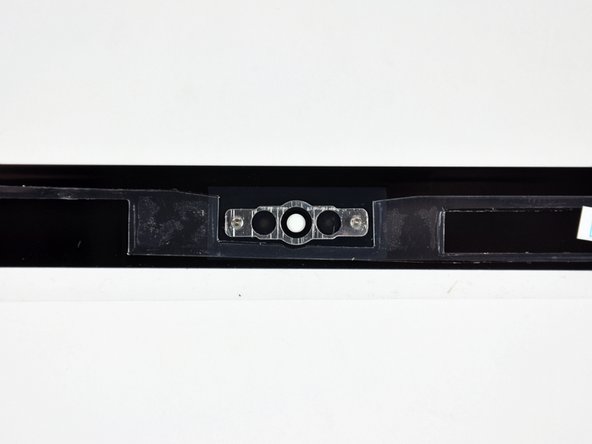








To reassemble your device, follow these instructions in reverse order.
Cancel: I did not complete this guide.
53 other people completed this guide.


6 Guide Comments
Amazing and wonderful. With a hairdryer, a loving wife who knows how to clean glass much much better than I do, the tools listed here and some patience, I now have a wonderfully ugraded 2008 unibody MBP with a high resolution display (wasn't offered until 2009). My display issues are gone as indeed my vertical banding was caused by a broken display.
Does one have to buy the LVDS display cable or can the one that is in the macbook already, be used?
I'm by no means an expert, or even vaguely knowledgable :), but i would assume you can just use the old cable, if it's just the actual LCD itself that is damaged and the cable seems fine.
Mal -
Great guide, i thought it was going to be tricky, but following this made it easy! I was actually replacing the display rear panel and the glass - my LCD was fine - so i had to improvise slightly taking hinges etc from damaged panel, but this guide made everything seem pretty straightforward, thanks guys!
THANK YOU THANK YOU THANK YOU for saving me from a $600 Apple Store repair bill! The instructions were excellent and I felt very comfortable working my way through the repair.
I lucked out getting the glass off. I heated the upper right corner until it was warm to the touch, attached the suction cup and... pop. The glass came off instantly in one piece. Unfortunately, I broke it trying to get the camera bracket off, but it looked like shite after being knocked around for seven years and I was planning on replacing it anyway. I also replaced the LVDS cable along with the LCD and bezel. The display looks as good as the day I took it home from the Apple Store back in 2008.
I'm giddy that I have my laptop back. Tablets are all the rage nowadays, but they really do have their limitations. You need a proper keyboard to do any serious work.
Thanks tons for putting out these repair guides and the great tools.
