Introduction
Use this guide to remove and replace the keyboard in your MacBook Pro 15" Core 2 Duo A1226 or A1260.
This guide shows where to find all the hidden screws you must remove when replacing the keyboard.
What you need
-
-
Use your fingers to push both battery release tabs away from the battery, and lift the battery out of the computer.
-
-
-
Remove the three identical 2mm Phillips screws from the memory door.
-
Lift the memory door up enough to grip it and slide it toward you, pulling it away from the casing.
-
-
-
Remove the two 2.8 mm Phillips screws in the battery compartment near the latch.
-
-
-
-
Lift up at the rear of the case and work your fingers along the sides, freeing the case as you go. Once you have freed the sides, you may need to rock the case up and down to free the front of the upper case.
-
There are four plastic clips above the DVD slot, and another above and to the left of the IR sensor. These clips can be very difficult to disengage without prying. They can also be difficult to re-engage during reassembly.
-
-
-
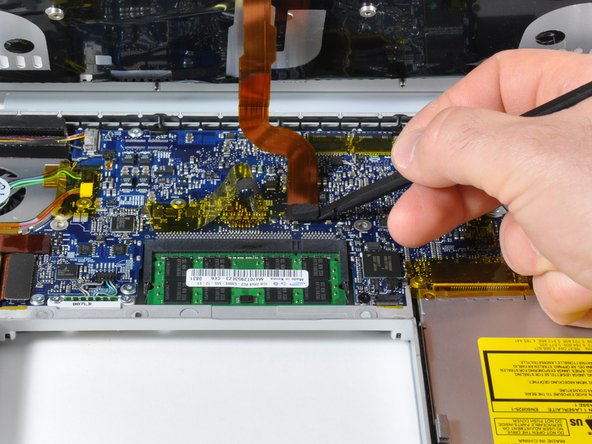
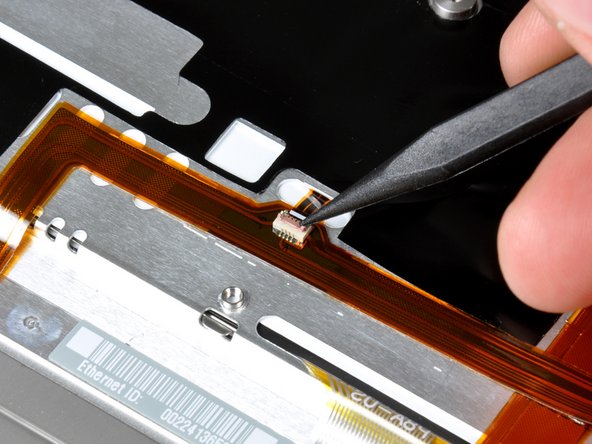
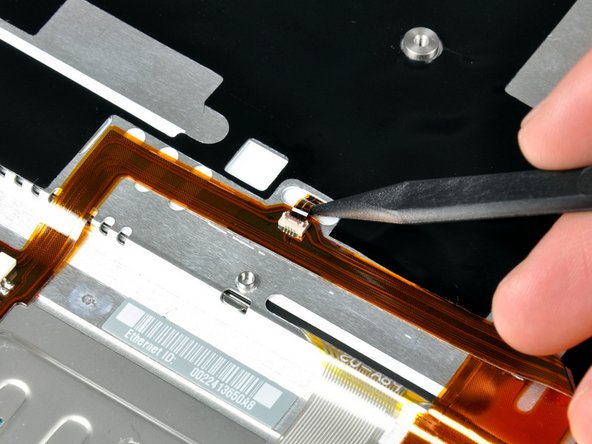
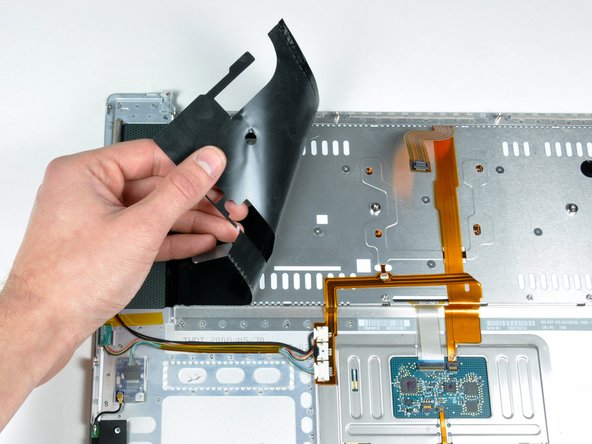
Use a spudger to pry up the translucent plastic sheath covering the keyboard connector.
-
-
-
Place the upper casing on its edge and use a spudger to push the keyboard away from the casing, poking the spudger through the central keyboard screw hole. Grasp the keyboard as it separates from the casing.
-
Maintaining your hold on the keyboard, lay the casing flat and gently bow the keyboard until the two tabs on either side of the keyboard come free.
-
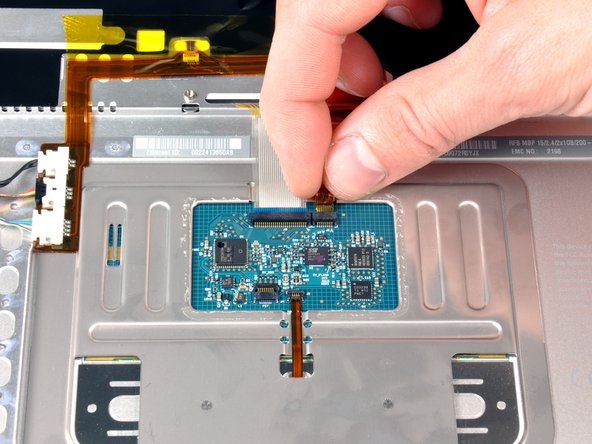
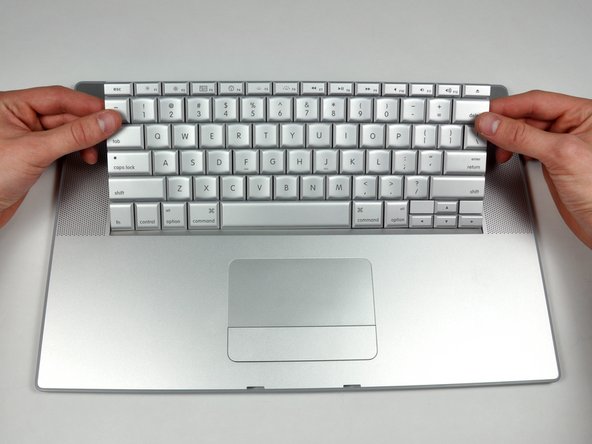
Slide the keyboard away from the trackpad and out of the upper case.
-
To reassemble your device, follow these instructions in reverse order.
To reassemble your device, follow these instructions in reverse order.
Cancel: I did not complete this guide.
152 other people completed this guide.
2 Comments
Excellent guide as always. Both the keyboard I got from iFixIt and the guide worked perfectly. Thanks!
This was such an excellent fix-it guide. I was able to swap out my keyboard while watching the Seahawks lose to the St. Louis Rams (sadly). One recommendation: have 12 or so ziplock bags each numbered with a step number that requires a screw or part to be removed and put the screws/parts from that step in the bag and zip it closed. You won't mix up screw sizes from the various steps.
Thanks again to ifixit.com for this excellent repair tool. My new keyboard functions perfectly!!


