MacBook Pro 13" Unibody Mid 2012 Ram Upgrade

Archived Guide
This guide is retained solely for historical purposes. Use the updated version of the guide to perform your repair.
  1. MacBook Pro 13" Unibody Mid 2012 Ram Upgrade, Shut Down Macbook: step 1, image 1 of 1
    • Shut Down Mac To Prevent Damage

  2. MacBook Pro 13" Unibody Mid 2012 Ram Upgrade, Gently Flip MacBook On Its Back: step 2, image 1 of 1
    • Make Sure That The Surface Is Steady

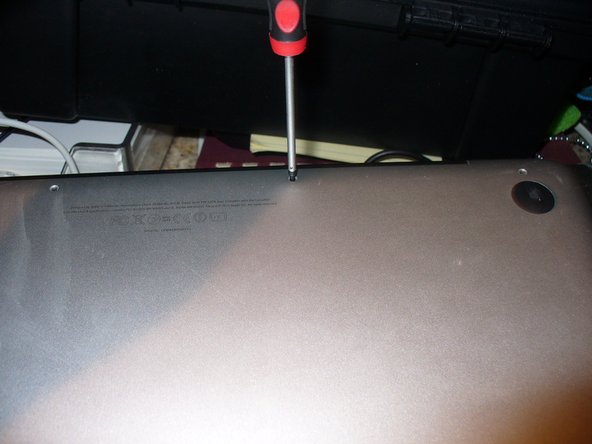
  3. MacBook Pro 13" Unibody Mid 2012 Ram Upgrade, Unscrew All Screws: step 3, image 1 of 1
    • Make Sure That Your Screws Are Organized.

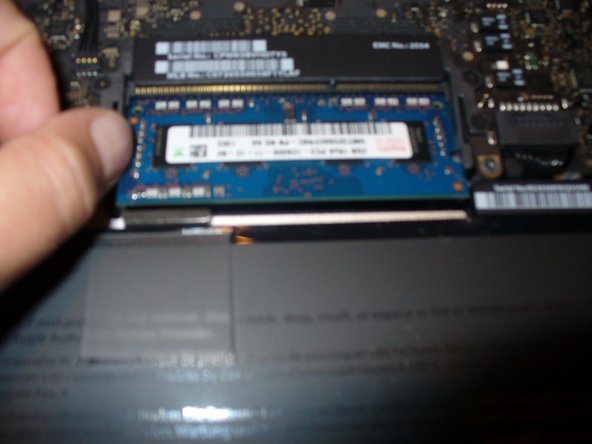
  4. MacBook Pro 13" Unibody Mid 2012 Ram Upgrade, Remove Ram: step 4, image 1 of 1
    • Gently Push The 2 Tabs Away From Each Other

  5. MacBook Pro 13" Unibody Mid 2012 Ram Upgrade, Installing Ram: step 5, image 1 of 2 MacBook Pro 13" Unibody Mid 2012 Ram Upgrade, Installing Ram: step 5, image 2 of 2
    • Slide In At An Angle Then Gently Push down

  6. MacBook Pro 13" Unibody Mid 2012 Ram Upgrade, Do steps 4 and 5 on bottom: step 6, image 1 of 1
    • The Steps Are The Same.

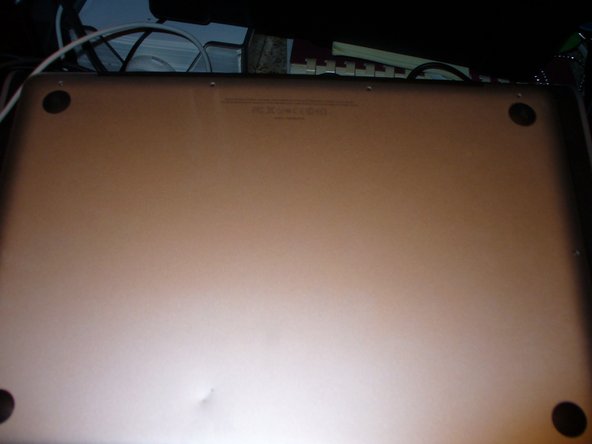
  7. MacBook Pro 13" Unibody Mid 2012 Ram Upgrade, Replace The Cover: step 7, image 1 of 1
    • Put the cover back on the MacBook.

  8. MacBook Pro 13" Unibody Mid 2012 Ram Upgrade, Screw back all 10 Screws: step 8, image 1 of 1
    • Take Care To not Over-Tighten screws.

Conclusion

Thank you for viewing my Guide. Please like and share.

3 other people completed this guide.

Apple Maniac

Member since: 06/25/19

309 Reputation

1 Guide authored

0 Comments

Add Comment

View Statistics:

Past 24 Hours: 0

Past 7 Days: 4

Past 30 Days: 11

All Time: 853