Free Shipping on Domestic Orders $75+

Asus Vivobook Max X541SA-PD0703X Hard Drive Replacement

What you need

    1. Asus Vivobook Max X541SA-PD0703X Hard Drive Replacement, Hard Drive: step 1, image 1 of 1
      • Flip the laptop upside down so that the back of the laptop faces you.

      Ask FixBot

      Add Comment

    2. Asus Vivobook Max X541SA-PD0703X Hard Drive Replacement: step 2, image 1 of 1
      • Remove the following ten Phillips #0 screws from the bottom of the laptop:

      • Six 13mm screws.

      • Four 11mm screws.

      Ask FixBot

      Add Comment

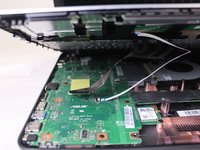
    3. Asus Vivobook Max X541SA-PD0703X Hard Drive Replacement: step 3, image 1 of 3 Asus Vivobook Max X541SA-PD0703X Hard Drive Replacement: step 3, image 2 of 3 Asus Vivobook Max X541SA-PD0703X Hard Drive Replacement: step 3, image 3 of 3
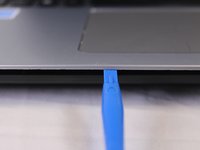
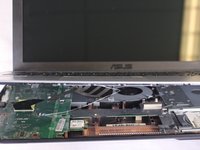
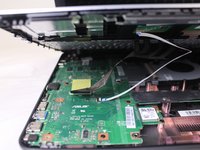
      • Using a plastic opening tool, pry up the palm rest from the bottom case of the laptop.

      • Don't completely remove as there are ribbon cables connecting the two halves.

      Ask FixBot

      Add Comment

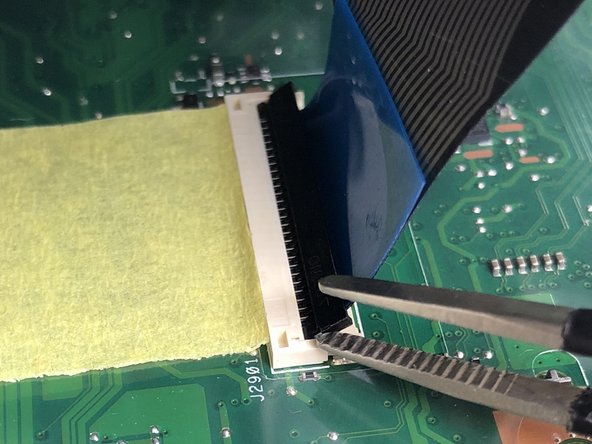
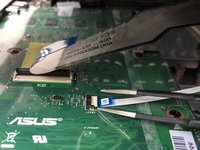
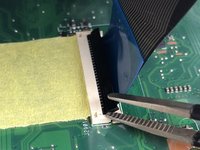
    4. Asus Vivobook Max X541SA-PD0703X Hard Drive Replacement: step 4, image 1 of 3 Asus Vivobook Max X541SA-PD0703X Hard Drive Replacement: step 4, image 2 of 3 Asus Vivobook Max X541SA-PD0703X Hard Drive Replacement: step 4, image 3 of 3
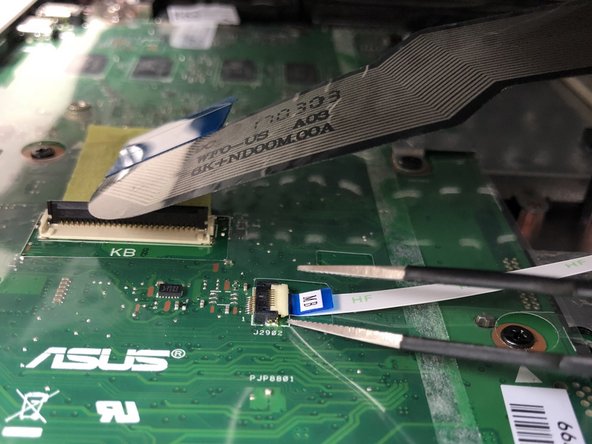
      • Use a spudger to flip up the retaining flaps on both keyboard ribbon cable ZIF sockets.

      • Pull the ribbon cables out of their sockets.

      Ask FixBot

      Add Comment

    5. Asus Vivobook Max X541SA-PD0703X Hard Drive Replacement: step 5, image 1 of 1
      • Remove the three 6mm Phillips #0 screws from the motherboard.

      Ask FixBot

      Add Comment

    6. Asus Vivobook Max X541SA-PD0703X Hard Drive Replacement: step 6, image 1 of 2 Asus Vivobook Max X541SA-PD0703X Hard Drive Replacement: step 6, image 2 of 2
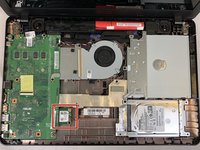
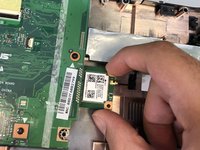
      • Pull the Wi-Fi card out of the motherboard.

      Ask FixBot

      Add Comment

    7. Asus Vivobook Max X541SA-PD0703X Hard Drive Replacement: step 7, image 1 of 1
      • Remove the hard drive by pulling it towards the right, and removing it from the laptop case

      Ask FixBot

      Add Comment

Conclusion

To reassemble your device, follow these instructions in reverse order.

Cancel: I did not complete this guide.

4 other people completed this guide.

Mayar Eskandarani

Member since: 02/22/18

436 Reputation

2 Guides authored

Team

USF Tampa, Team S1-G4, Cagle Spring 2018 Member of USF Tampa, Team S1-G4, Cagle Spring 2018

USFT-CAGLE-S18S1G4

4 Members

84 Guides authored

2 Guide Comments

Thanx a million

Eli Rottenberg - Reply Share

is it possible to upgrade the hard drive of any laptop? from 500GB to 1T?

kevin ross s. rosento - Reply Share

Add Comment

View Statistics:

Past 24 Hours: 2

Past 7 Days: 11

Past 30 Days: 49

All Time: 3,296