Free Shipping on Domestic Orders $75+

HP Chromebook 11 G3 Screen Bezel Replacement

Prerequisite Only
This is a prerequisite-only guide! This guide is part of another procedure and isn’t meant to be used alone.

What you need

  1. HP Chromebook 11 G3  Screen Bezel Replacement, Keyboard Mount: step 1, image 1 of 2 HP Chromebook 11 G3  Screen Bezel Replacement, Keyboard Mount: step 1, image 2 of 2
    • Flip the laptop upside down so that the lid lies flat on the table.

    • Remove the nine 6mm Phillips #00 screws that line the border.

    Ask FixBot
  2. HP Chromebook 11 G3  Screen Bezel Replacement: step 2, image 1 of 2 HP Chromebook 11 G3  Screen Bezel Replacement: step 2, image 2 of 2
    Tool used on this step:
    Tweezers
    $4.99
    Buy
    • Remove the two rubber feet closest to the hinge using tweezers.

    • Remove the two 6mm Phillips #00 screws revealed under these rubber feet.

    • The rubber feet may tear while removal; preventing this can be difficult, but it won’t harm the laptop. If desired, replace these rubber feet during reassembly.

    Ask FixBot
  3. HP Chromebook 11 G3  Screen Bezel Replacement: step 3, image 1 of 1
    • Flip the laptop so it is in the upright position.

    • Open the lid.

    • Unsnap the keyboard mount along the border of the laptop using a plastic opening tool.

    • This may require more force than expected. Hearing loud clicks as the plastic opening tool slides along the seam is normal.

    Ask FixBot
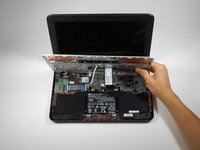
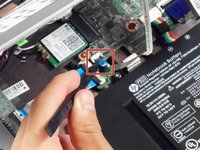
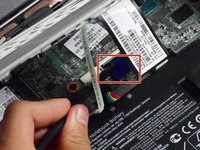
  4. HP Chromebook 11 G3  Screen Bezel Replacement: step 4, image 1 of 3 HP Chromebook 11 G3  Screen Bezel Replacement: step 4, image 2 of 3 HP Chromebook 11 G3  Screen Bezel Replacement: step 4, image 3 of 3
    • Tilt the keyboard mount up.

    • Use a spudger to flip up the two ZIF connector retaining flaps for the ribbon cables that connect the keyboard mount to the motherboard.

    • Gently remove both ribbon cables.

    Ask FixBot
  5. HP Chromebook 11 G3  Screen Bezel Replacement: step 5, image 1 of 1
    • Lift the keyboard mount out of the laptop.

    Ask FixBot
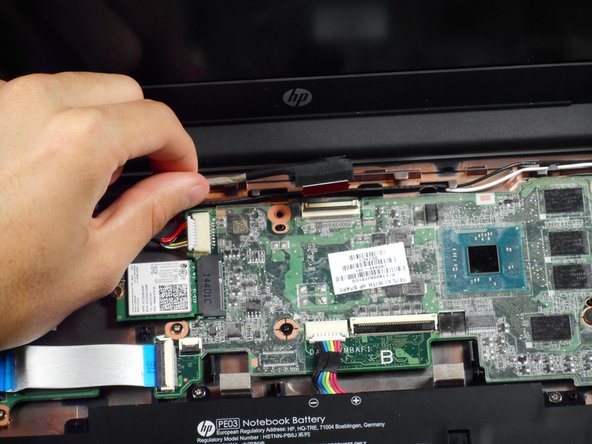
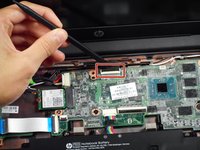
  6. HP Chromebook 11 G3  Screen Bezel Replacement, Display Assembly: step 6, image 1 of 1
    • Gently tug on the black and white wires connected to the Wi-Fi module to disconnect them.

    Ask FixBot
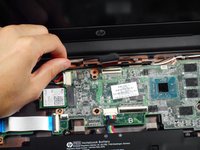
  7. HP Chromebook 11 G3  Screen Bezel Replacement: step 7, image 1 of 2 HP Chromebook 11 G3  Screen Bezel Replacement: step 7, image 2 of 2
    • Using a spudger, lift the ZIF retaining flap that secures the display’s ribbon cable to the motherboard.

    • Gently pull the ribbon cable out of its socket.

    Ask FixBot
  8. HP Chromebook 11 G3  Screen Bezel Replacement: step 8, image 1 of 1
    • Free the wire from the casing.

    Ask FixBot
  9. HP Chromebook 11 G3  Screen Bezel Replacement: step 9, image 1 of 1
    • Remove the two 6mm Phillips #00 screws located near the upper left and right corners of the hinge mounts.

    • Hold the lid so that it is folded slightly inwards while removing the screws so that the lid doesn’t fall.

    Ask FixBot
  10. HP Chromebook 11 G3  Screen Bezel Replacement: step 10, image 1 of 1
    • Rotate the lid to a 90-degree angle with the table.

    • Shimmy the lid out of the laptop.

    Ask FixBot
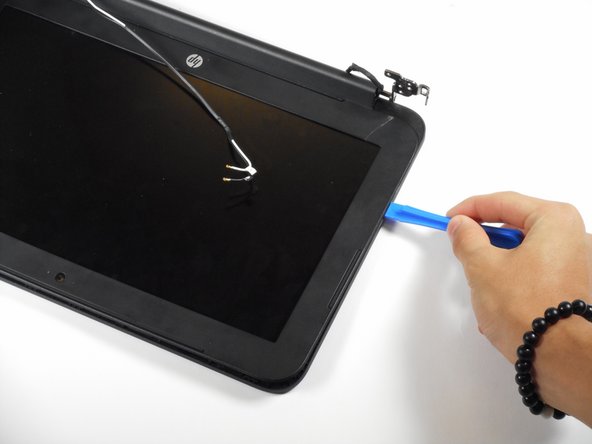
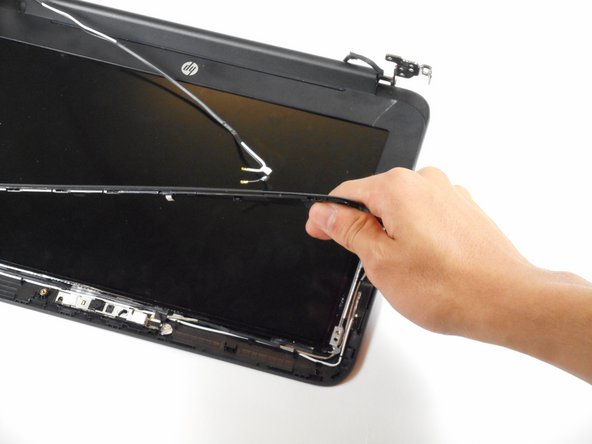
  11. HP Chromebook 11 G3  Screen Bezel Replacement, Screen Bezel: step 11, image 1 of 3 HP Chromebook 11 G3  Screen Bezel Replacement, Screen Bezel: step 11, image 2 of 3 HP Chromebook 11 G3  Screen Bezel Replacement, Screen Bezel: step 11, image 3 of 3
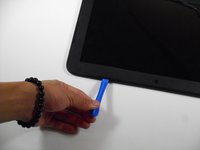
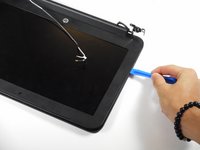
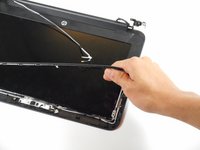
    • Use the plastic opening tool to pry the left and right side of the top of the lid, and proceed inwards from the sides.

    • Do not attempt to remove the entire frame; this isn't necessary for removing the camera.

    • Do not pry at the center of the lid; this may damage the camera inside.

    Ask FixBot
Conclusion

To reassemble your device, follow these instructions in reverse order.

Rahul Goyal

Member since: 04/26/17

1,401 Reputation

10 Guides authored

0 Guide Comments

Add Comment

View Statistics:

Past 24 Hours: 0

Past 7 Days: 4

Past 30 Days: 21

All Time: 113