
Mac Pro First Generation Hard Disk Drive (HDD) Replacement

Charlie Franklin and
Last updated on Dec 26, 2014
Views: 27K
View statistics:
- Past 24 Hours:
- 7
- Past 7 Days:
- 50
- Past 30 Days:
- 183
- All Time:
- 27,184
Comments: 0
No one has left comments on this guide. Will you be first?
Go to guide commentsCompleted: 10 11
10 people have marked this guide "completed." Will you be next?
11 people have marked this guide "completed." Including you — great job!
Favorites: 5 6
5 people have favorited (and subscribed to) this guide. Will you be next?
6 people have favorited (and subscribed to) this guide — including you!
Introduction
Go to step 1 ↓Replacing the hard drive is straight forward and all you need is a Phillips head screw driver. Use this guide to replace a hard drive in your Mac Pro.
IMPORTANT
Make sure you back up your files onto the replacement hard drive before swapping in the machine. If switching to a brand new hard drive you will probably have to re install your operating system in order to keep your computer running as usual.
Also be careful with your hard drive as damaging it can mean that you lose your files.
What you need
Tools

-
-
Tool used on this step:Anti-Static Wrist Strap$7.95
-
Remove the side panel of the Mac Pro.
-
-
-
-
-
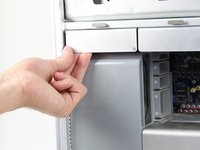
Locate the desired hard drive bay after opening the case .
-
This is usually the drive closest to the front of the case.
-
-
-
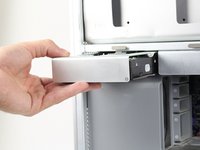
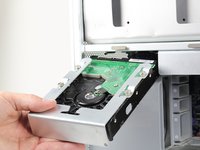
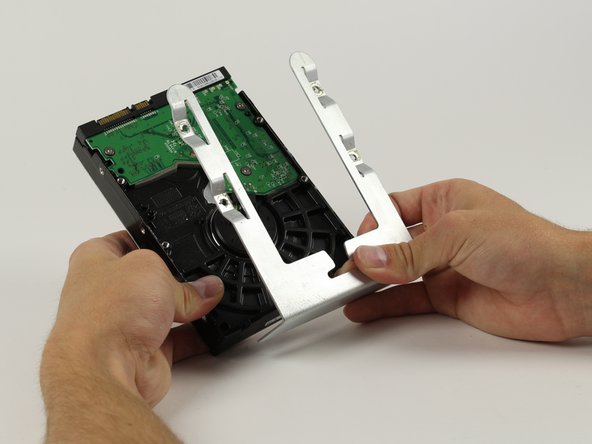
Pull the Hard Drive straight out by grabbing the metal sled from the bottom. It may be hard to pull out at first, but after it gets released the sled shouldn't take a lot of effort to remove.
-
-
-
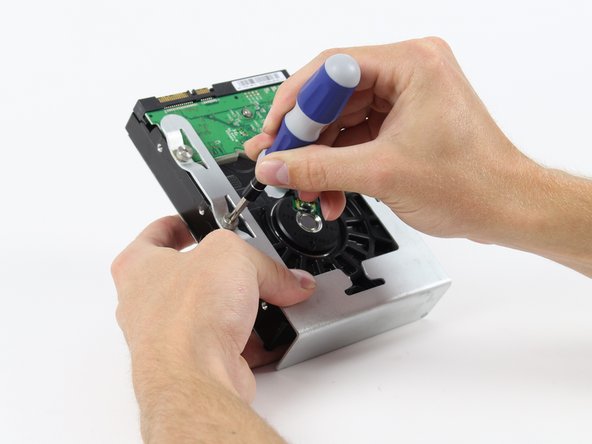
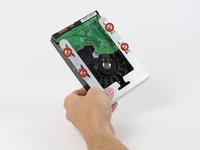
Locate the four 6-32 type screws on the Hard Drive sled.
-
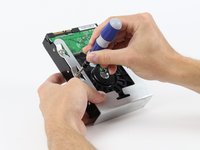
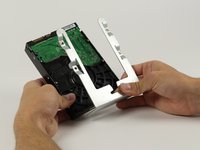
Using a Phillips head screw driver remove the four screws and separate the metal sled from the Hard Drive
-
-

 Ask FixBot



To reassemble your device, follow these instructions in reverse order.
Cancel: I did not complete this guide.
10 other people completed this guide.

Team

Cal Poly, Team 6-24, Maness Fall 2014 Member of Cal Poly, Team 6-24, Maness Fall 2014
CPSU-MANESS-F14S6G24
4 Members
72 Guides authored
