Introduction
Please remember that I am not an expert. I am a computer user with a hobby of fixing and upgrading old computers. Please notifiy me if you find any errors in my guide.
What you need
-
-
Turn the 140 upside down and remove the 4 screws in the bottom with a T10 star-headed screwdriver
-
-
-
Being careful to hold the top and bottom halves of the computer together, turn to the back side of the computer and remove the final screw with a T17 Star-headed screwdriver.
-
-
-
-
Slide the battery panel or switch(depending on your battery) toward the front of the computer, then pull the battery straight out.
-
-
-
CAREFULLY lift the back of the screen and keyboard unit(the top of the computer) and GENTLY push the front left and right corners away from the bottom unit until a click is heard. Then, SLOWLY lift the top unit and remove the interconnect cable (the large somewhat brittle cable connecting the two halves) from its socket in the sisterboard.
-
-
-
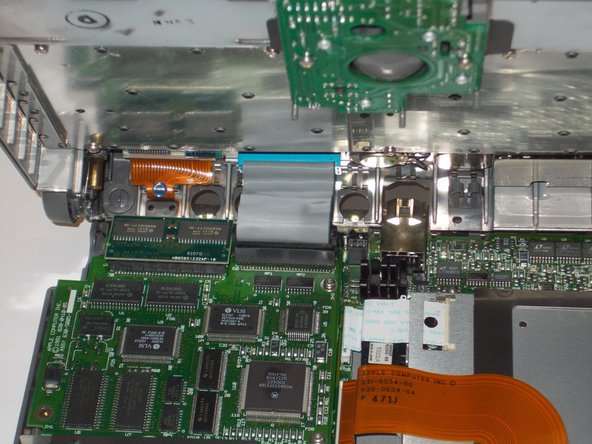
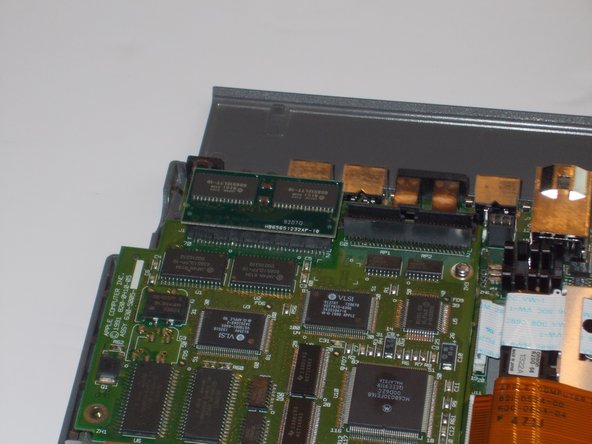
Use the T17 Star-headed screwdriver to remove the 4 screws holding the sisterboard in place. NOTE THE FOLLOWING: If your computer has a RAM or PRAM extention card, remove it. Also, some screws may be VERY tightly inserted. To remove the stubborn screws, CAREFULLY and TIGHTLY grip the screw with needle-nosed pliers, and twist the screw loose
-
-
-
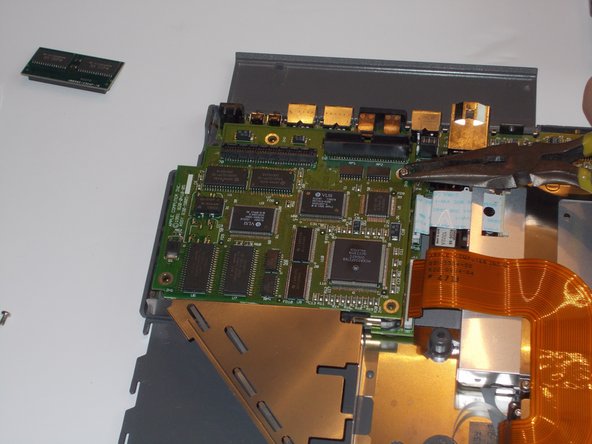
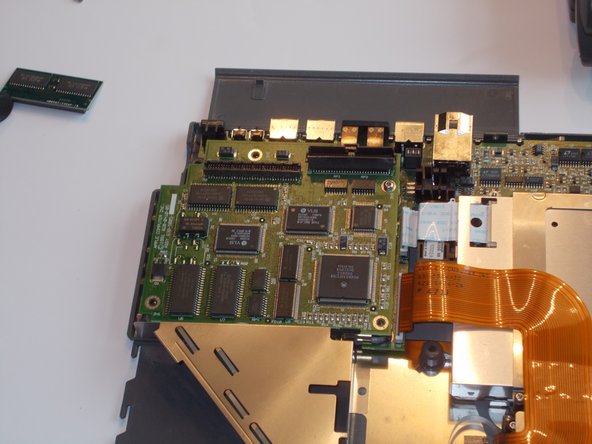
On the left side of the sisterboard, gently pull up to separate the sisterboard from the motherboard. Being careful not to confuse the old and new sisterboard, place the new sisterboard where the old one was. Be sure that all pins connecting the mother and sisterboards and straight and in the socket of the sisterboard.
-