Free Shipping on Domestic Orders $75+

MODRETRO Chromatic Disassembly

What you need

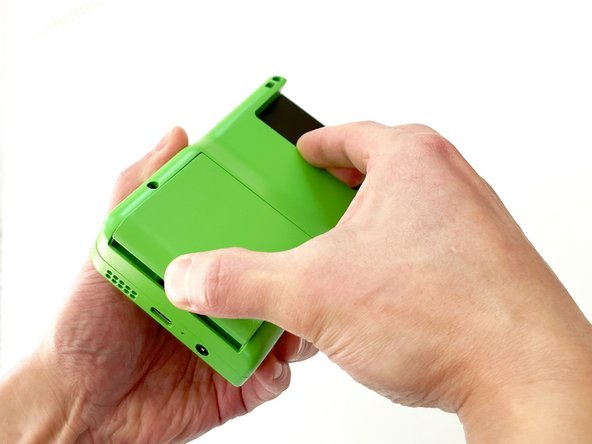
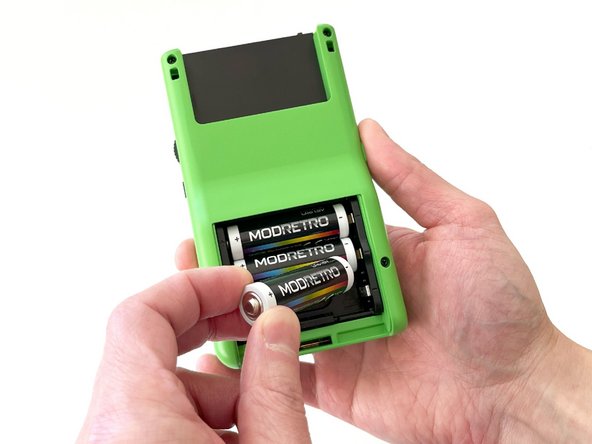
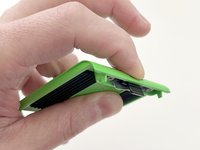
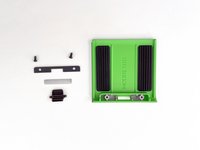
  1. MODRETRO Chromatic Disassembly, Battery Cover and Batteries: step 1, image 1 of 3 MODRETRO Chromatic Disassembly, Battery Cover and Batteries: step 1, image 2 of 3 MODRETRO Chromatic Disassembly, Battery Cover and Batteries: step 1, image 3 of 3
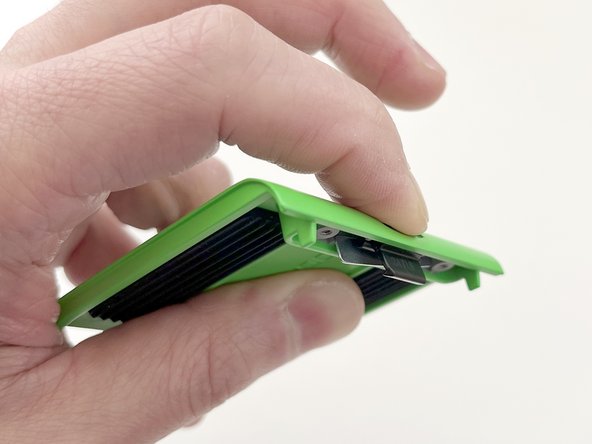
    • To remove the battery cover, push upward on the battery cover lock. The battery cover will pop open.

    • Lift the battery cover off and set aside.

    • Remove the batteries.

    • Always remove the batteries before working on your Chromatic!

    Ask FixBot

    Add Comment

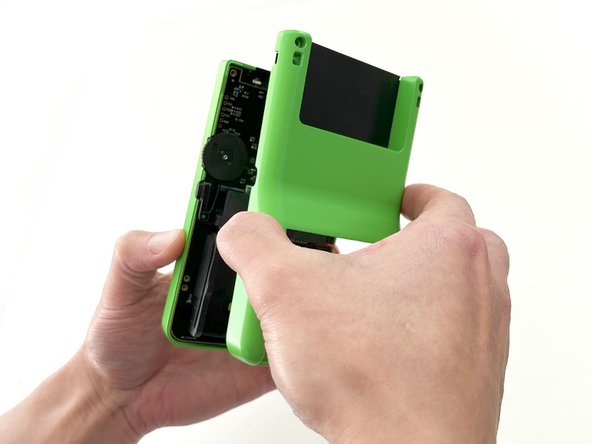
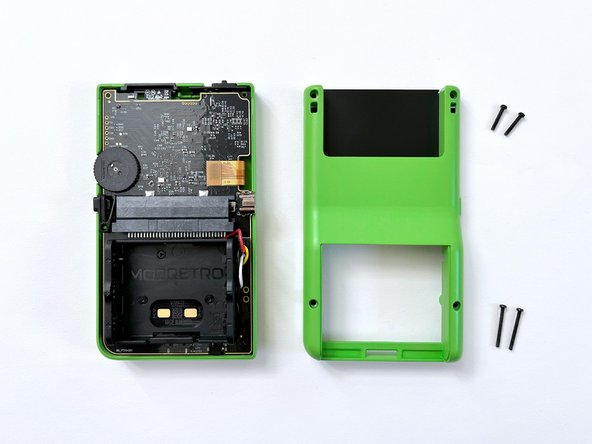
  2. MODRETRO Chromatic Disassembly, Back Shell: step 2, image 1 of 3 MODRETRO Chromatic Disassembly, Back Shell: step 2, image 2 of 3 MODRETRO Chromatic Disassembly, Back Shell: step 2, image 3 of 3
    • Remove the back shell screws (x4) using a Tri-wing Y1 Screwdriver.

    • A Tri-wing Y1.5 will also work for all screws.

    • The screws near the top are a different length than the screws near the bottom of the shell.

    • Remove the back shell by lifting away from the device.

    Ask FixBot

    Add Comment

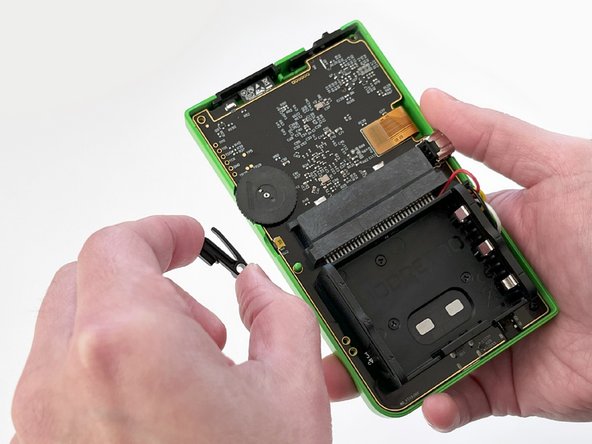
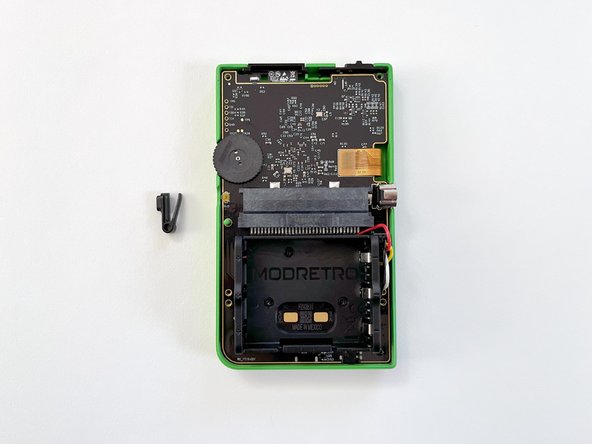
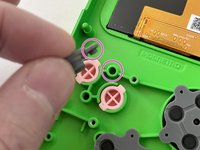
  3. MODRETRO Chromatic Disassembly, Menu Button: step 3, image 1 of 3 MODRETRO Chromatic Disassembly, Menu Button: step 3, image 2 of 3 MODRETRO Chromatic Disassembly, Menu Button: step 3, image 3 of 3
    • Remove the menu button by lifting it off the post. It will remove with little resistance.

    Ask FixBot

    Add Comment

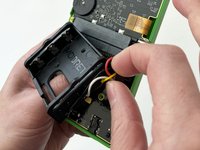
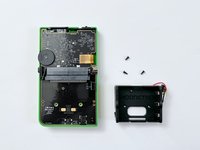
  4. MODRETRO Chromatic Disassembly, Battery Tray: step 4, image 1 of 3 MODRETRO Chromatic Disassembly, Battery Tray: step 4, image 2 of 3 MODRETRO Chromatic Disassembly, Battery Tray: step 4, image 3 of 3
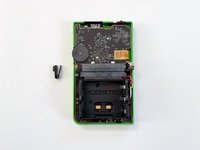
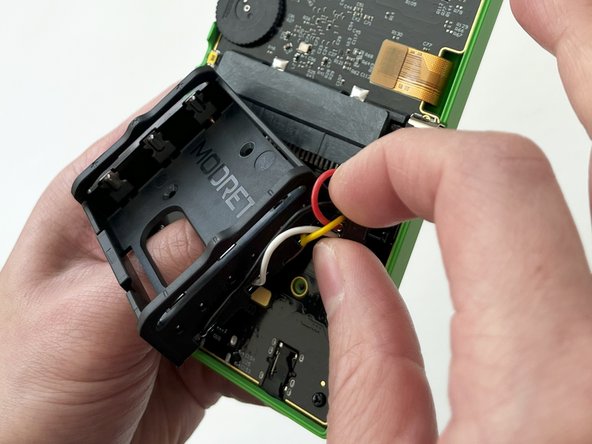
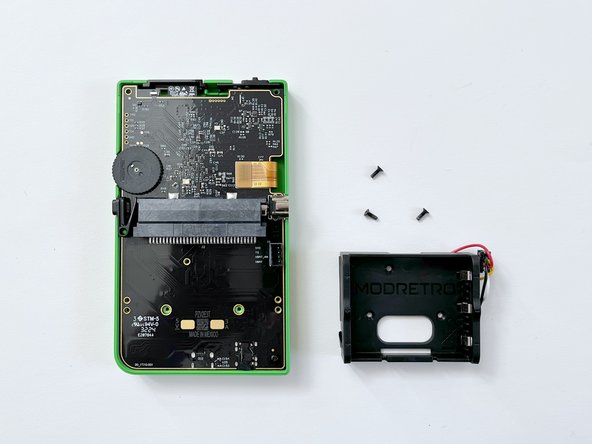
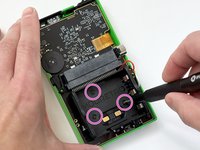
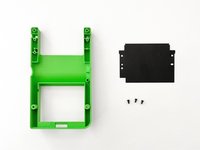
    • Remove the battery tray screws (x3) using a Tri-wing Y1 Screwdriver.

    • Remove the battery tray connector.

    • It is helpful to press lightly against the PCB with your off hand while working the connector loose.

    Ask FixBot

    Add Comment

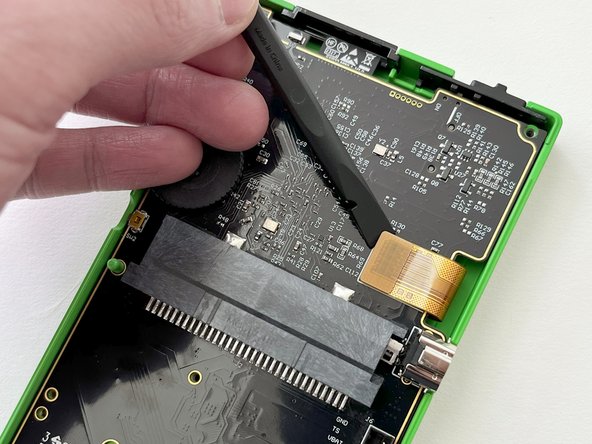
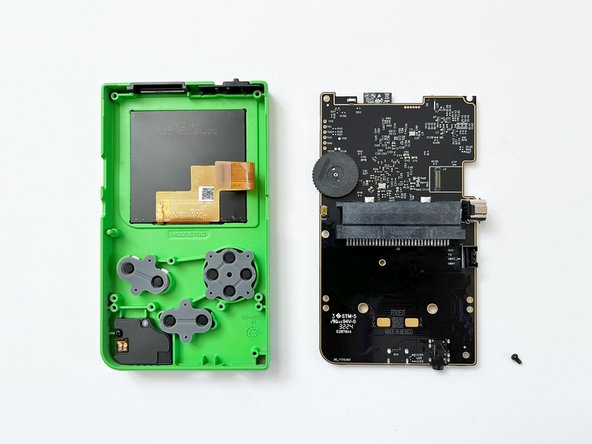
  5. MODRETRO Chromatic Disassembly, PCB: step 5, image 1 of 3 MODRETRO Chromatic Disassembly, PCB: step 5, image 2 of 3 MODRETRO Chromatic Disassembly, PCB: step 5, image 3 of 3
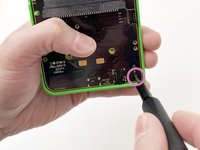
    • Remove the PCB screw (x1) using a Tri-wing Y1 Screwdriver.

    • Carefully lift the LCD screen ribbon cable from the PCB.

    • Handle with care!

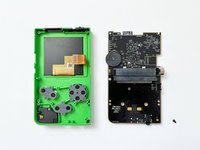
    • Carefully remove the PCB from the front shell.

    • Lifting at a slight angle will help clear the headphone jack on the bottom more easily. This is also important during re-assembly.

    Ask FixBot

    Add Comment

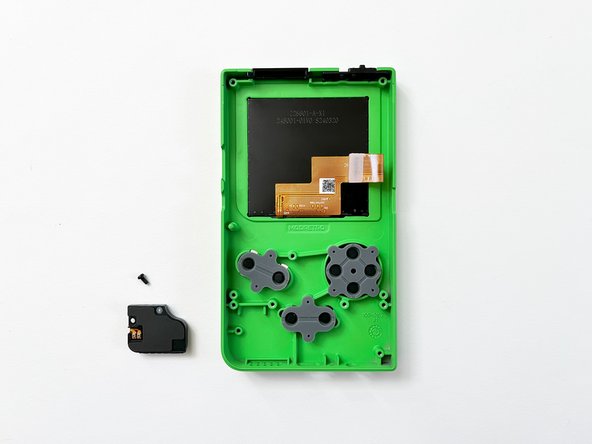
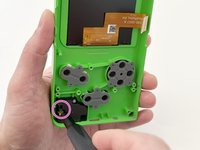
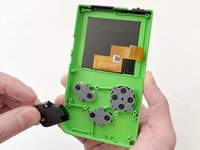
  6. MODRETRO Chromatic Disassembly, Speaker Module: step 6, image 1 of 3 MODRETRO Chromatic Disassembly, Speaker Module: step 6, image 2 of 3 MODRETRO Chromatic Disassembly, Speaker Module: step 6, image 3 of 3
    • Remove the speaker module screw (x1) using a Tri-wing Y1 Screwdriver.

    • Carefully remove the speaker module from the front shell.

    Ask FixBot

    Add Comment

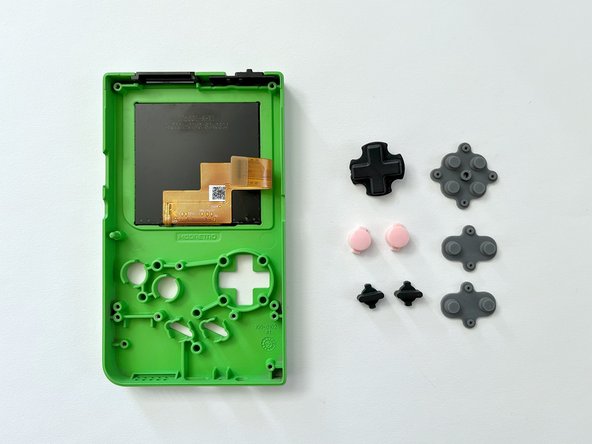
  7. MODRETRO Chromatic Disassembly, Buttons and Membranes: step 7, image 1 of 3 MODRETRO Chromatic Disassembly, Buttons and Membranes: step 7, image 2 of 3 MODRETRO Chromatic Disassembly, Buttons and Membranes: step 7, image 3 of 3
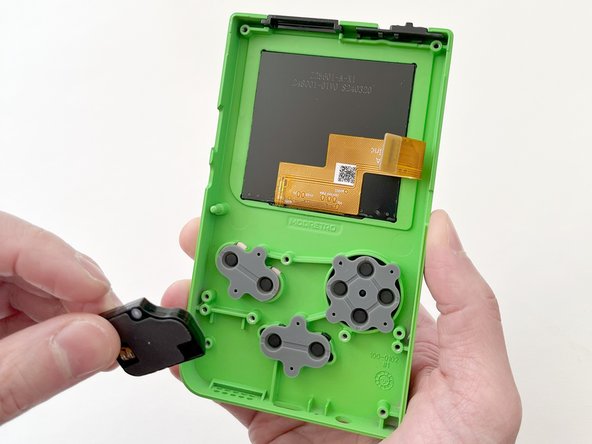
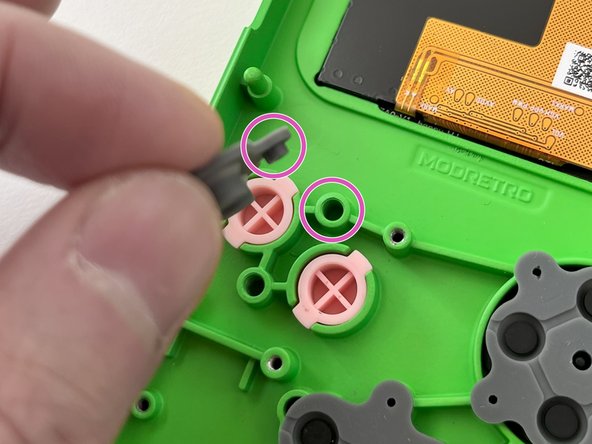
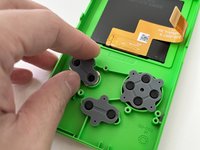
    • Remove the rubber button membranes (x3) from their pockets.

    • Remove the buttons and the D-pad from the shell with tweezers or by hand. If you flip the shell over, they will fall out freely.

    • The buttons will come out easily once the membranes are removed.

    • When re-attaching the rubber button membranes, be sure the positive features on the membranes seat securely into the pockets on the shell.

    Ask FixBot

    Add Comment

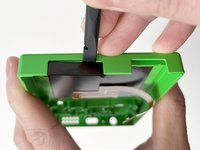
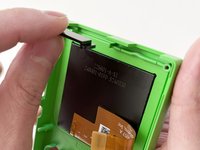
  8. MODRETRO Chromatic Disassembly, IR Window: step 8, image 1 of 3 MODRETRO Chromatic Disassembly, IR Window: step 8, image 2 of 3 MODRETRO Chromatic Disassembly, IR Window: step 8, image 3 of 3
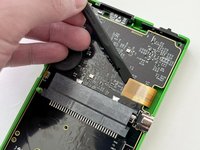
    • Carefully separate the IR window by gently wedging a plastic spudger between the IR window and the front shell.

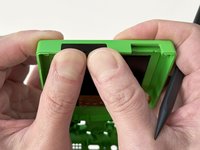
    • Re-installing the IR window:

    • Note the side with the lip is inserted towards the front shell first.

    • Press in firmly until fully seated against the shell.

    • If the IR window fits loosely, the orientation is incorrect. The fit should be snug.

    Ask FixBot

    Add Comment

  9. MODRETRO Chromatic Disassembly, Power Switch: step 9, image 1 of 1
    • Remove the power switch by lifting away from the front shell. It will remove with little resistance.

    • When re-assembling the power switch, make sure it is inserted in the OFF position.

    Ask FixBot

    Add Comment

  10. MODRETRO Chromatic Disassembly, Cartridge Backer: step 10, image 1 of 3 MODRETRO Chromatic Disassembly, Cartridge Backer: step 10, image 2 of 3 MODRETRO Chromatic Disassembly, Cartridge Backer: step 10, image 3 of 3
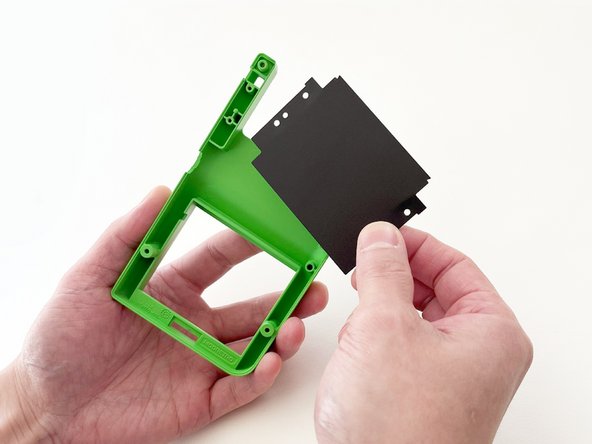
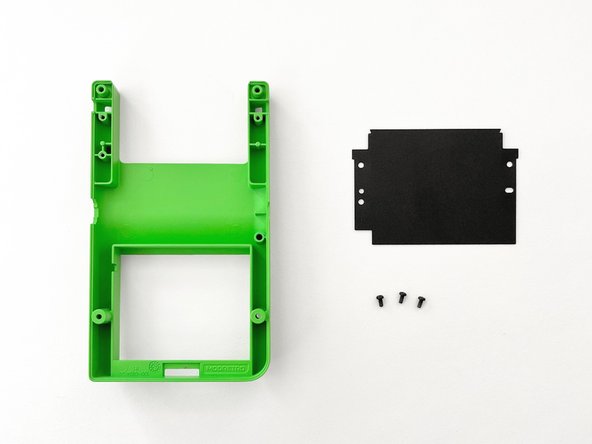
    • Remove the cartridge backer screws (x3) using a Tri-wing Y1 Screwdriver.

    Ask FixBot

    Add Comment

  11. MODRETRO Chromatic Disassembly, Battery Cover Disassembly: step 11, image 1 of 3 MODRETRO Chromatic Disassembly, Battery Cover Disassembly: step 11, image 2 of 3 MODRETRO Chromatic Disassembly, Battery Cover Disassembly: step 11, image 3 of 3
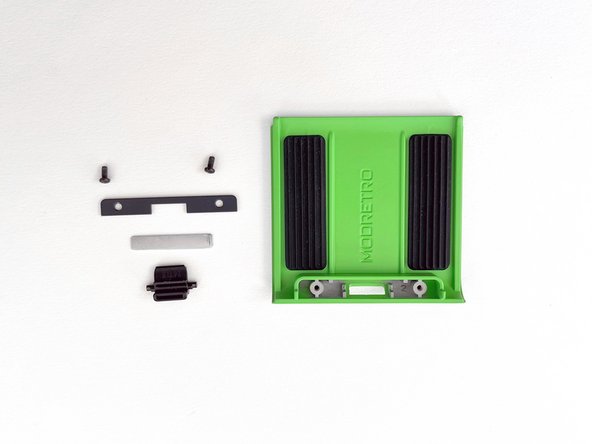
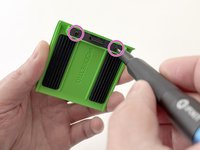
    • Remove the screws (x2) securing the latch cover using a Tri-wing Y1 Screwdriver.

    • Remove the door plate spring by fully depressing the battery cover lock. The spring should pop out.

    • Use a spudger if the spring does not fully dislodge.

    • Once the spring is removed, the battery cover lock can be removed without resistance through the underside of the battery cover.

    Ask FixBot

    Add Comment

Finish Line

Cancel: I did not complete this guide.

3 other people completed this guide.

MODRETRO

Member since: 12/05/24

255 Reputation

1 Guide authored

0 Guide Comments

Add Comment

View Statistics:

Past 24 Hours: 1

Past 7 Days: 25

Past 30 Days: 151

All Time: 4,502