
Acer Aspire E5-573G Fan Replacement

Lara Mustafa and one other contributor
Last updated on Jun 3, 2021
Views: 1.7K
View statistics:
- Past 24 Hours:
- 1
- Past 7 Days:
- 17
- Past 30 Days:
- 82
- All Time:
- 1,729
Comments: 0
No one has left comments on this guide. Will you be first?
Go to guide commentsCompleted: 1 2
1 person has marked this guide "completed." Will you be next?
2 people have marked this guide "completed." Including you — great job!
Favorites: 0 1
No one has favorited (and subscribed to) this guide. Will you be the first?
1 person has favorited (and subscribed to) this guide — and that's you!
Introduction
Go to step 1 ↓After a while, your laptop fan could get clogged with dust and start overheating or it could get damaged due to excessive usage. Fans remove heat from the interior of the laptop. move heat away from hardware. The main objective of this is to prevent overheating, something electronics is severely sensitive with as well. This guide will help you replace your Acer Aspire E5-573G fan with easy to moderate steps that can be done at home to prevent internal damage to your hardware.
What you need


-
-
-
Remove the seventeen 5 mm screws from the back cover using a Phillips #00 screwdriver.
 Ask FixBot
-
-
-
Remove the three 2 mm screws from the disc drive bay using a Phillips #00 screwdriver.
-
-
-
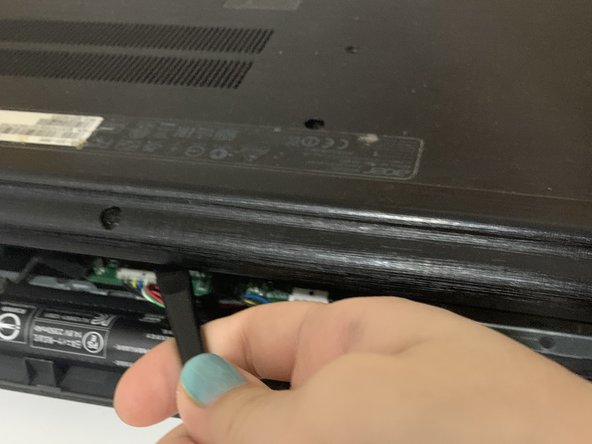
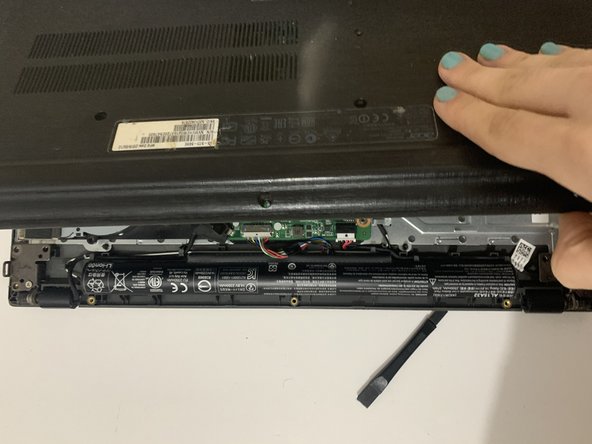
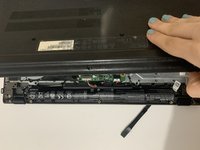
Use the spudger to pry open the back cover by sliding it along the sides.
-
Slowly lift the cover upwards.
-
-
-
-
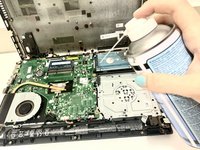
Apply canned air or use a bellows to remove the dust on the motherboard.
-
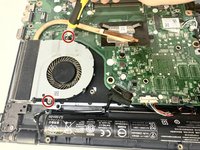
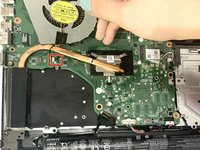
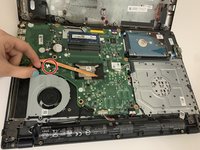
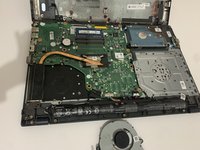
Remove the two 2 mm screws holding the fan to the motherboard using Phillips #00 screwdriver.
-
-






To reassemble your device, follow these instructions in reverse order.
Cancel: I did not complete this guide.
One other person completed this guide.

Team

York University, Team S1-G20, O'Regan Winter 2021 Member of York University, Team S1-G20, O'Regan Winter 2021
YORK-O'REGAN-W21S1G20
2 Members
12 Guides authored
