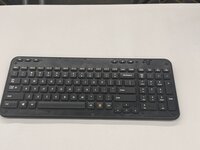
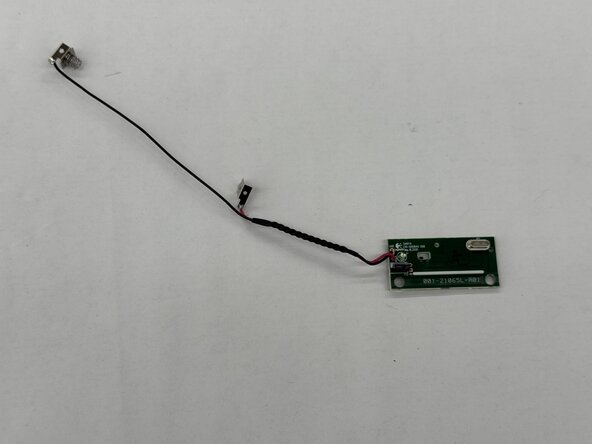
Logitech Wireless K360 Printed Circuit Board (PCB) Replacement

What you need

  1. Logitech Wireless K360 Printed Circuit Board (PCB) Replacement, Battery: step 1, image 1 of 1
    • Turn the keyboard face down.

  2. Logitech Wireless K360 Printed Circuit Board (PCB) Replacement: step 2, image 1 of 1
    • With your thumbs on both sides of the battery tab, push upwards.

    • You should feel it disconnect.

    • Remove the cover exposing the batteries.

  3. Logitech Wireless K360 Printed Circuit Board (PCB) Replacement: step 3, image 1 of 1
    • Remove the old batteries.

    • Make sure the keyboard turns on and works.

    • Double check that the cover is back on correctly; you don't want it coming off and have the batteries fall out!

  4. Logitech Wireless K360 Printed Circuit Board (PCB) Replacement, Printed Circuit Board (PCB): step 4, image 1 of 3 Logitech Wireless K360 Printed Circuit Board (PCB) Replacement, Printed Circuit Board (PCB): step 4, image 2 of 3 Logitech Wireless K360 Printed Circuit Board (PCB) Replacement, Printed Circuit Board (PCB): step 4, image 3 of 3
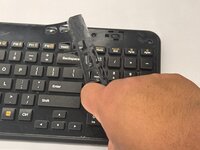
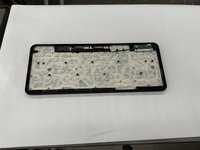
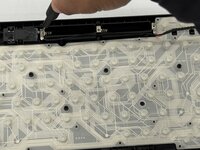
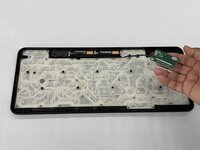
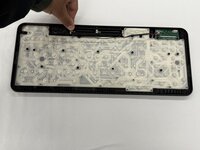
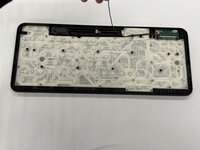
    • Remove the keyboard cover.

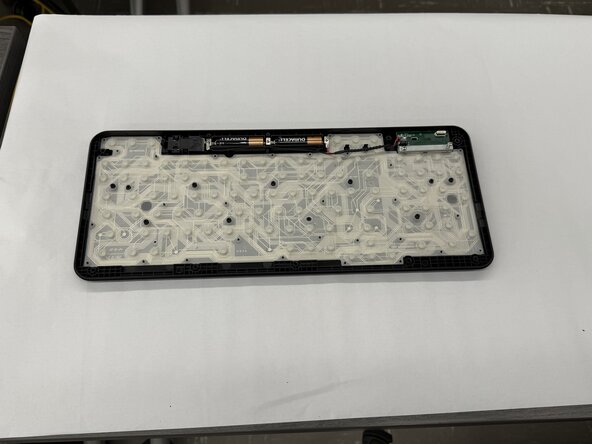
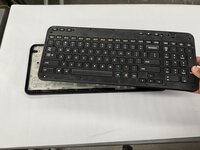
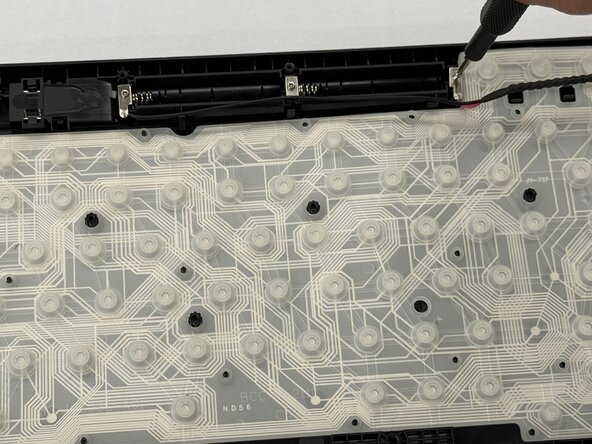
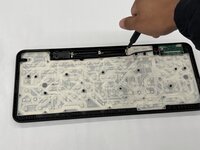
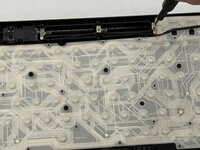
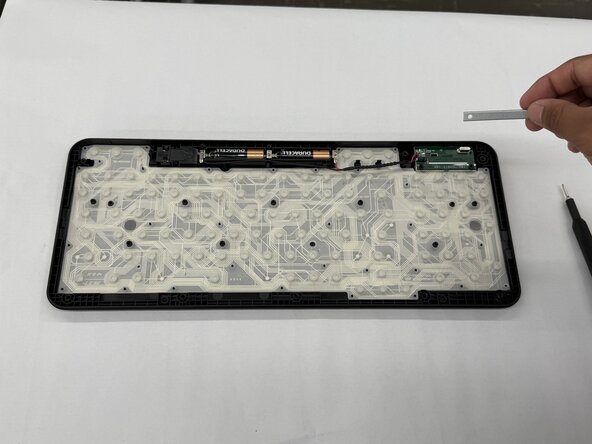
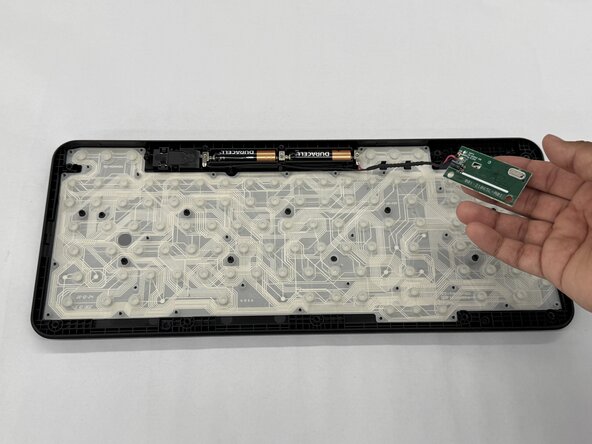
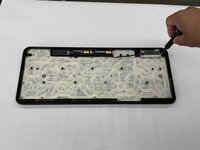
    • Remove the screws using a Phillips #0 screwdriver.

    • There are a total of eight 8mm screws and twelve 6mm screws.

  5. Logitech Wireless K360 Printed Circuit Board (PCB) Replacement: step 5, image 1 of 2 Logitech Wireless K360 Printed Circuit Board (PCB) Replacement: step 5, image 2 of 2
    • Remove the top half of the keyboard carefully.

    • If there are issues removing the top half of the keyboard, you can try using something thin to get into the crevices.

  6. Logitech Wireless K360 Printed Circuit Board (PCB) Replacement: step 6, image 1 of 3 Logitech Wireless K360 Printed Circuit Board (PCB) Replacement: step 6, image 2 of 3 Logitech Wireless K360 Printed Circuit Board (PCB) Replacement: step 6, image 3 of 3
    • Unscrew the two 2.0 mm silver screws using a Phillips #0 screwdriver.

  7. Logitech Wireless K360 Printed Circuit Board (PCB) Replacement: step 7, image 1 of 3 Logitech Wireless K360 Printed Circuit Board (PCB) Replacement: step 7, image 2 of 3 Logitech Wireless K360 Printed Circuit Board (PCB) Replacement: step 7, image 3 of 3
    • Unscrew the two 2.0 mm silver screws on either side of the printed circuit board (PCB) using a Phillips #0 screwdriver.

  8. Logitech Wireless K360 Printed Circuit Board (PCB) Replacement: step 8, image 1 of 3 Logitech Wireless K360 Printed Circuit Board (PCB) Replacement: step 8, image 2 of 3 Logitech Wireless K360 Printed Circuit Board (PCB) Replacement: step 8, image 3 of 3
    • Lift the entire printed circuit board (PCB) out of the panel.

Conclusion

To reassemble your device, follow these instructions in reverse order.

2 other people completed this guide.

Othon Sanchez

Member since: 02/20/25

321 Reputation

2 Guides authored

Team

0 Guide Comments

Add Comment

View Statistics:

Past 24 Hours: 2

Past 7 Days: 10

Past 30 Days: 35

All Time: 231