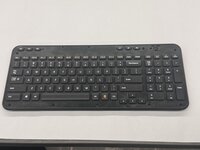
Logitech Wireless K360 Key Cap Replacement

What you need

  1. Logitech Wireless K360 Key Cap Replacement, Key Cap: step 1, image 1 of 3 Logitech Wireless K360 Key Cap Replacement, Key Cap: step 1, image 2 of 3 Logitech Wireless K360 Key Cap Replacement, Key Cap: step 1, image 3 of 3
    • Use a Jimmy to pry off the keyboard cover.

    • When reapplying the keyboard cover, glue may be required to keep adhesive properties.

  2. Logitech Wireless K360 Key Cap Replacement: step 2, image 1 of 2 Logitech Wireless K360 Key Cap Replacement: step 2, image 2 of 2
    • Remove the eight 6 mm screws using a Phillips #0 screwdriver.

  3. Logitech Wireless K360 Key Cap Replacement: step 3, image 1 of 3 Logitech Wireless K360 Key Cap Replacement: step 3, image 2 of 3 Logitech Wireless K360 Key Cap Replacement: step 3, image 3 of 3
    • Remove the top half of the keyboard.

    • If there are issues removing the top half of the keyboard you can try using something thin to get into the crevices.

  4. Logitech Wireless K360 Key Cap Replacement: step 4, image 1 of 3 Logitech Wireless K360 Key Cap Replacement: step 4, image 2 of 3 Logitech Wireless K360 Key Cap Replacement: step 4, image 3 of 3
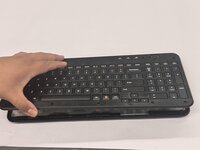
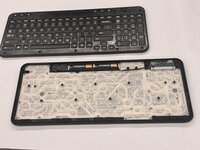
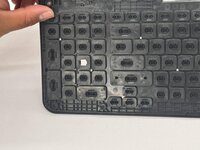
    • Flip the top half of the keyboard over.

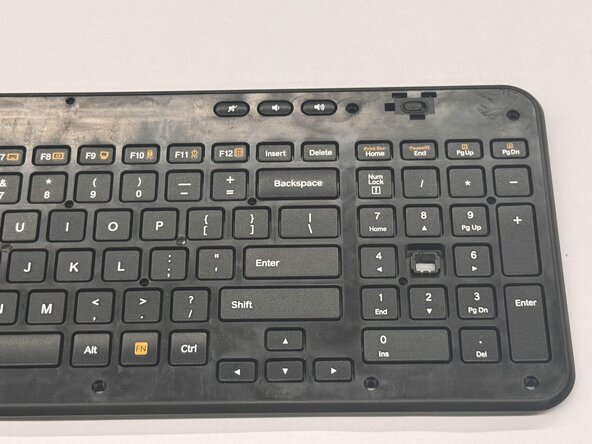
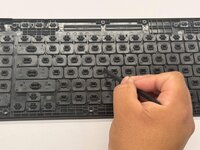
    • Use tweezers or an iFixit opening tool to pinch the damaged key cap out of the top half.

Conclusion

To reassemble your device, follow these instructions in reverse order.

Othon Sanchez

Member since: 02/20/25

321 Reputation

2 Guides authored

Team

0 Guide Comments

Add Comment

View Statistics:

Past 24 Hours: 0

Past 7 Days: 6

Past 30 Days: 34

All Time: 250