Introduction
Use this guide to replace the DC Power Socket in a Logitech UE Hyperboom Bluetooth Speaker. The DC Power Socket is essential to charge the speaker's battery. The DC Power Socket can be susceptible to deterioration after repeated use. If cords cannot fully plug into the socket, or if speaker is not charging, then the potential cause could be a faulty DC power socket.
Before beginning this guide be sure to power off your speaker.
What you need
-
-
-
Unscrew the two black flat-top screws that attach the handle to the speaker with your hands.
 Ask FixBot
-
-
-
-
-
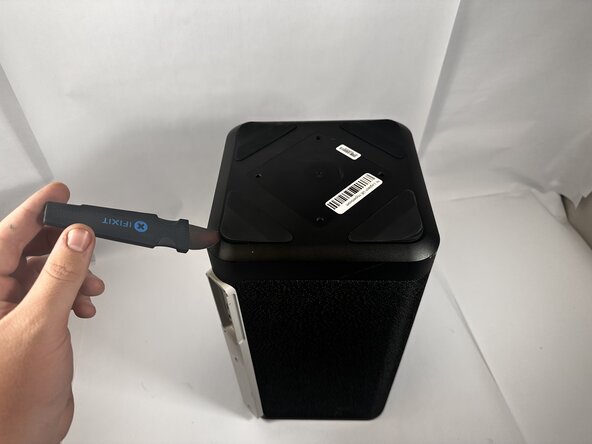
Use the Jimmy to pry off the four rubber feet on the bottom of the speaker.
-
-
-
-
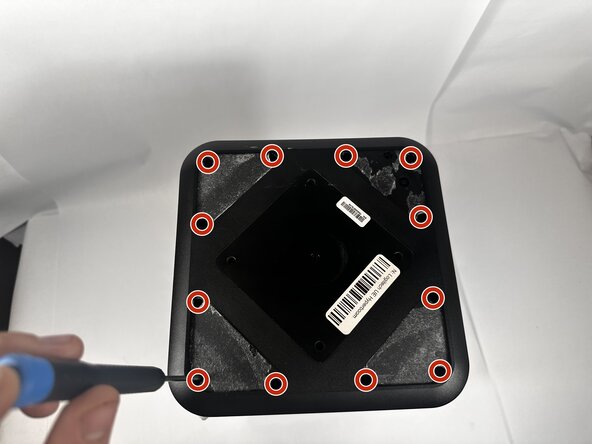
Use a Phillips #0 screwdriver to remove all twelve 11.7mm screws from the bottom panel of the speaker.
-
Pull the panel off to access the internal components.
-
-
-
-
-
Unscrew the top 11.7m screw on the DC Power Socket panel using the Phillips #0 screwdriver.
-
Use the Jimmy to pry the panel away from the speaker, then disconnect the power cables from the daughterboard.
-
-
-
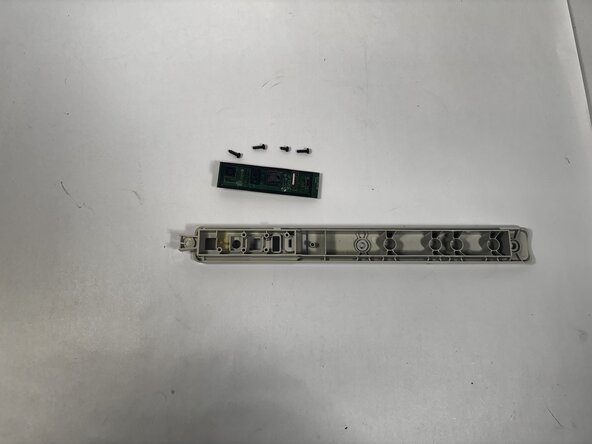
Remove the four 7.9mm screws from the daughterboard with the Phillips #0 screwdriver.
-
Pull the circuit board away from the panel.
-
-








To reassemble your device, follow these instructions in reverse order.
Cancel: I did not complete this guide.
One other person completed this guide.

Team

Idaho State University, Team 1-2, Watkins Spring 2026 Member of Idaho State University, Team 1-2, Watkins Spring 2026
ISU-WATKINS-S26S1G2
3 Members
96 Guides authored
1 Guide Comment
G'day I've got the 2024 version that has a broken charging port and can't find a PCB replacement anywhere I'm in New Zealand probably why but do you guys reckon I could just swap it out with the older version of the charging board since there available.
