Introduction
The USB-C cable on the Logitech StreamCam (960-001286) can become damaged, particularly around the USB-C connector. This guide explains how to replace the entire USB-C cable using a suitable donor cable while preserving 100% of the camera's original functionality and appearance.
Before starting the repair, the replacement cable should be tested for compatibility and verified to provide 5V power. The cable is then prepared and connected to the camera using a new JST-GH 1.25 connector, or alternatively by soldering directly to the original connector.
After completing the repair, the camera should be tested in USB 3.0 mode. A successful repair should allow the cam to operate at 1920×1080 - 60 FPS.
What you need
-
-
-
Plug the cable into a breakout board and use a multimeter to measure the resistance between the CC pins and GND. Verify that the required ~5.1kΩ pull-down resistors are present before proceeding.
-
After verifying the CC resistors, connect the USB-C breakout board to a suitable USB-C power source or PC and connect the donor cable. Measure the voltage between VBUS (VCC) and GND. You should see ~5V.
 Ask FixBot
-
-
-
After verifying that the cable is compatible, cut off the USB-A connector from the cable.
-
Strip the insulation from the cable, leaving enough length to comfortably work with the individual wires.
-
-
-
Gently pull the cable boot, velcro strap and the plastic ring off the old cable and transfer them to the replacement cable. Make sure that they are installed in the same orientation and order as on the original cable.
-
-
-
-
Unfortunately, I didn't take any photos during the camera disassembly. However, you can find disassembly instructions online.
-
You can also refer to this YouTube video.
-
-
-
Do not rely on the wire colors. Use a multimeter and a USB breakout board to identify each wire and match it to the correct pin.
-
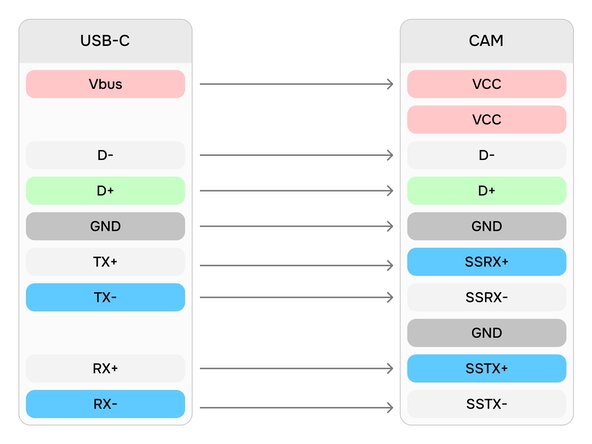
Connect the wires according to the wiring diagram, making sure each wire is connected to the correct pin.
-
-
-
I had a crimping tool available, so I decided to take the fancy route and crimp a new JST-GH 1.25 connector.
-
Trim the excess length from the wires before crimping/soldering them to the connector. Keep the wires as short as practical while leaving enough length to work comfortably. Avoid unnecessarily long exposed sections of the high-speed pairs.
-
Use heat-shrink tubing to insulate and protect soldered connections.
-
Inspect every joint.
-
Verify continuity using a multimeter.
-
Check for an unexpected short.
-
-
-
Open Logitech G HUB and check that the camera is detected correctly.
-
Make sure the camera can operate in USB 3.0 mode and that 1920×1080 at 60 FPS is available as a video option.
-
If the 1920×1080 - 60 FPS option is not available, check your wiring and connections. A problem with the USB 3.0 data lines can cause the camera to fall back to USB 2.0 mode.
-
-
-
Once you have confirmed that the camera is working correctly and has successfully passed USB 3.0 test, reassemble the camera by following the disassembly steps in reverse order.
-
-
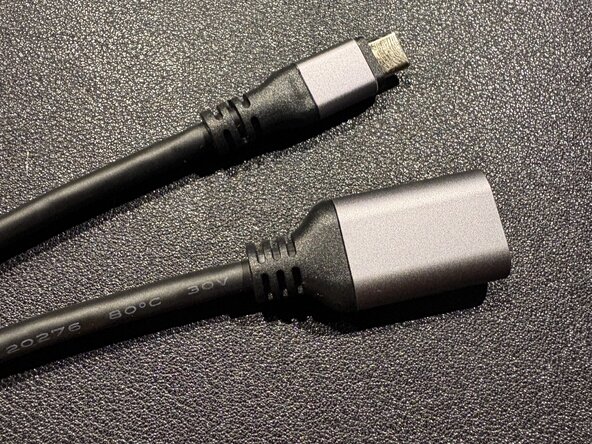




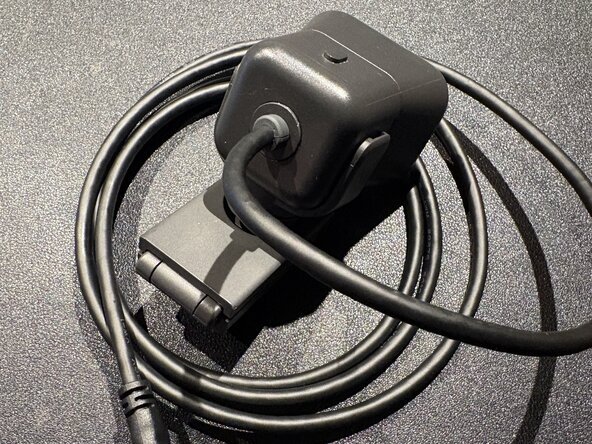


After verifying that the camera operates correctly in USB 3.0 mode and can stream at 1920×1080 - 60 FPS, I can conclude that the repair was successful and the cam is now 100% functional.
Cancel: I did not complete this guide.
One other person completed this guide.

