Free Shipping on Domestic Orders $75+

Logitech MX Master Mouse Battery Replacement

Archived Guide
This guide is retained solely for historical purposes. Use the updated version of the guide to perform your repair.

What you need

    1. Logitech MX Master Mouse Battery Replacement, Battery: step 1, image 1 of 1
      • When dealing with any electronic device, it is important to first make sure the power has been turned off.

      Ask FixBot

      Add Comment

    2. Logitech MX Master Mouse Battery Replacement: step 2, image 1 of 3 Logitech MX Master Mouse Battery Replacement: step 2, image 2 of 3 Logitech MX Master Mouse Battery Replacement: step 2, image 3 of 3
      Tool used on this step:
      Tweezers
      $4.99
      Buy
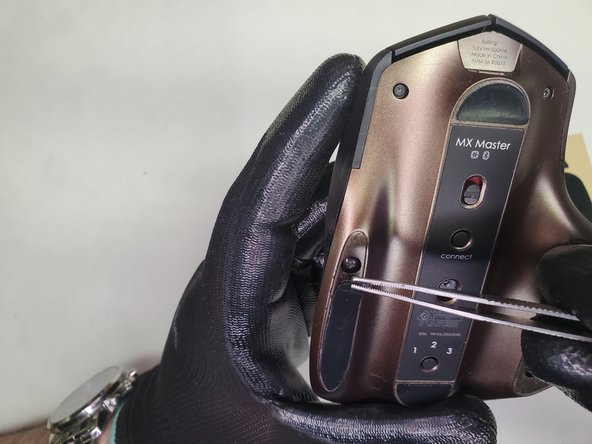
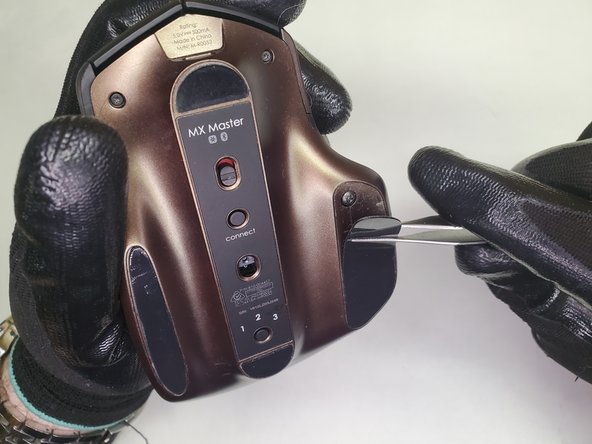
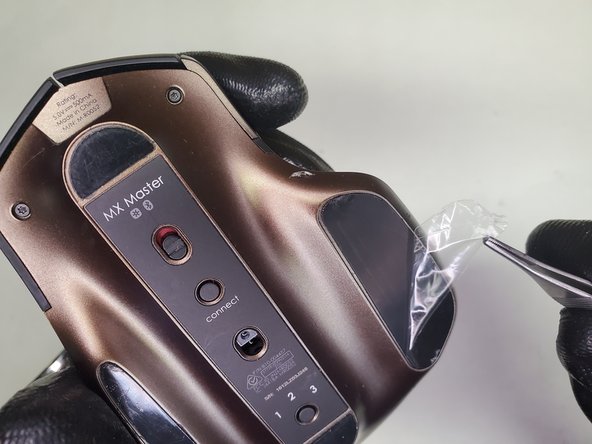
      • Remove the two slide pads using a pair of tweezers to reveal the screws underneath.

      • Remove the two screws from the top of the mouse using a Torx T5 screwdriver.

      • Remove the four screws under the slide pads using a Phillips #00 screwdriver.

      Ask FixBot

      Add Comment

    3. Logitech MX Master Mouse Battery Replacement: step 3, image 1 of 3 Logitech MX Master Mouse Battery Replacement: step 3, image 2 of 3 Logitech MX Master Mouse Battery Replacement: step 3, image 3 of 3
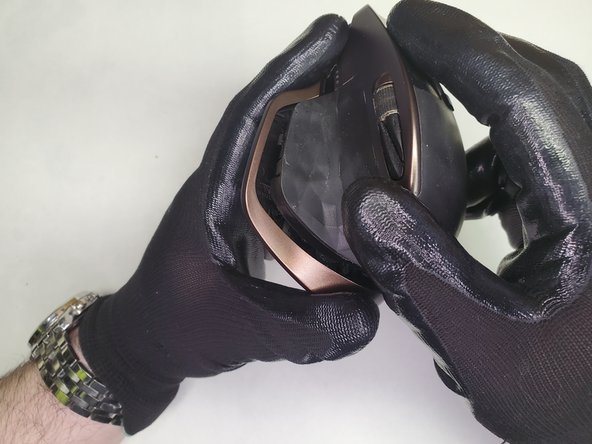
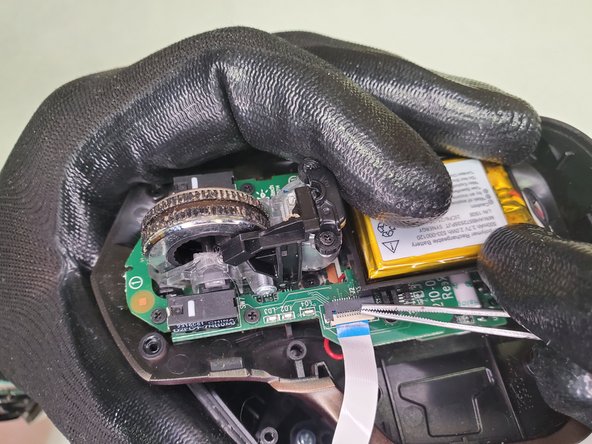
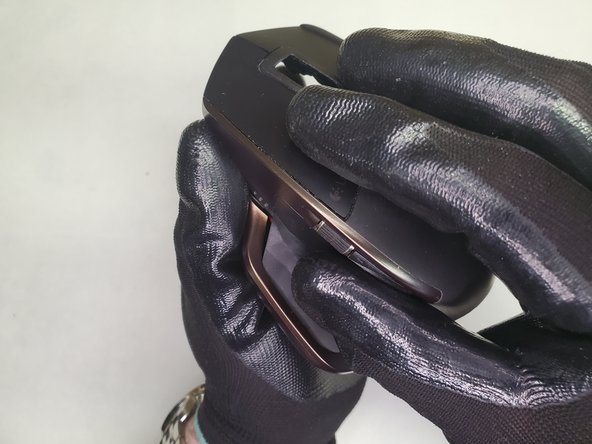
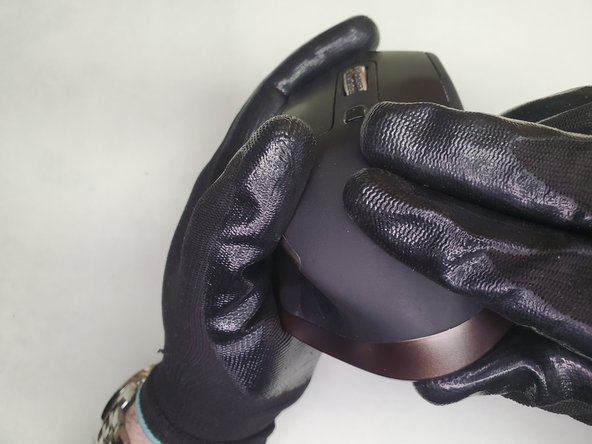
      • To separate the two halves, grip the top of the mouse, and twist to the right and slightly forward.

      • Potential for device damage: Take caution of the connecting tabs in the back and the ribbon cable on the thumb button.

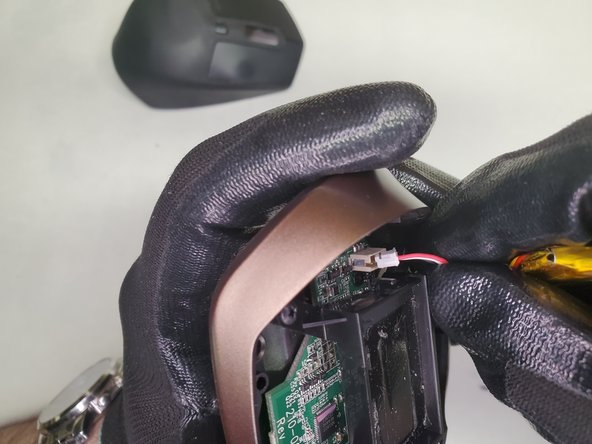
      • Holding both halves, flip up the ribbon cable connector with a spudger to free both halves.

      • You can optionally skip detaching the cable due to its difficulty in reattachment. However, this can put stress on the cable and connector and risk damaging the device.

      Ask FixBot
      Add Comment

    4. Logitech MX Master Mouse Battery Replacement: step 4, image 1 of 3 Logitech MX Master Mouse Battery Replacement: step 4, image 2 of 3 Logitech MX Master Mouse Battery Replacement: step 4, image 3 of 3
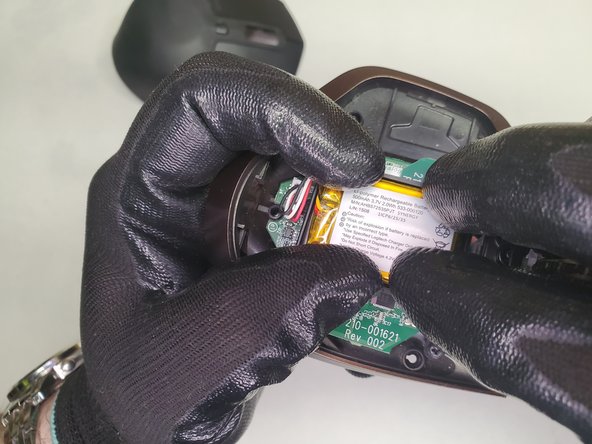
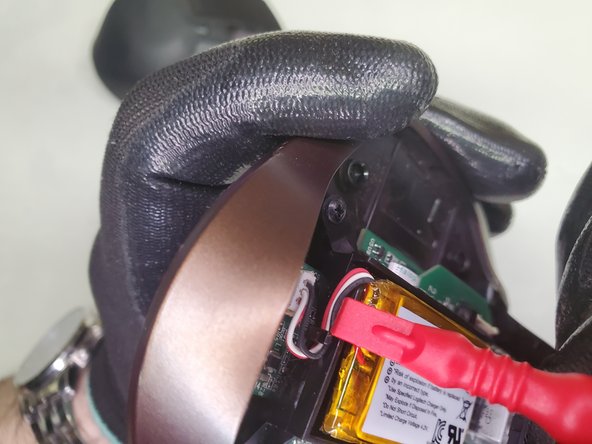
      • Use a plastic opening tool or tweezers to disconnect the battery connector.

      • Use an opening tool to pry the battery out of the mouse.

      • Potential for device damage: Use a firm, non-metal tool to eliminate risk of damage to the battery.

      Ask FixBot
      Add Comment

    5. Logitech MX Master Mouse Battery Replacement: step 5, image 1 of 3 Logitech MX Master Mouse Battery Replacement: step 5, image 2 of 3 Logitech MX Master Mouse Battery Replacement: step 5, image 3 of 3
      • Connect the new battery, making sure the pins line up properly.

      • After connected, firmly press the new battery into the slot.

      • The remaining adhesive will be enough to ensure a solid adhesion.

      • Tuck the wires back into their notch.

      Ask FixBot

      Add Comment

    6. Logitech MX Master Mouse Battery Replacement: step 6, image 1 of 1
      • After the new battery has been installed, check to make sure everything works by turning on the device. You should see one of the 1, 2, or 3 lights blink.

      • If it does not power on, double check the battery connection.

      • If the device successfully powers on, turn it back off in preparation for reassembly.

      Ask FixBot

      Add Comment

    7. Logitech MX Master Mouse Battery Replacement: step 7, image 1 of 2 Logitech MX Master Mouse Battery Replacement: step 7, image 2 of 2
      • Reattaching the ribbon cable is possibly the hardest step of the whole process.

      • While holding both halves in your hand, line up and insert the ribbon cable into its connector.

      • It will try to keep popping out; using the tweezers to line it up is helpful.

      • With the cable inserted, flip down the connector cap, locking the cable in place.

      • You can gently tug the cable to make sure the connection is strong.

      Ask FixBot

      Add Comment

    8. Logitech MX Master Mouse Battery Replacement: step 8, image 1 of 3 Logitech MX Master Mouse Battery Replacement: step 8, image 2 of 3 Logitech MX Master Mouse Battery Replacement: step 8, image 3 of 3
      • To rejoin the halves, hold the top half and line up the thumb button into its notch.

      • Press the right side down in a slightly rotating motion until you hear a firm click.

      • Reinsert the two screws in the top of the mouse using a Torx T5 screwdriver.

      • Reinsert the four screws in the rest of the mouse using a Phillips #00 screwdriver.

      • Tighten the top screw under the big pad just enough so the top of the head is flush to the surface. Screwing it in too much can affect the functionality of the thumb button.

      Ask FixBot

      Add Comment

    9. Logitech MX Master Mouse Battery Replacement: step 9, image 1 of 3 Logitech MX Master Mouse Battery Replacement: step 9, image 2 of 3 Logitech MX Master Mouse Battery Replacement: step 9, image 3 of 3
      • Place the new slide pads in their proper orientation.

      • Be sure to remove the film on the pads; they will not slide smoothly with it on.

      Ask FixBot
      Add Comment

Conclusion

After completion of the battery replacement, you can now get back to enjoying lengthy time in between charges, bringing true wireless back to your wireless mouse.

Cancel: I did not complete this guide.
Benjamin Cohen

Member since: 03/22/21

730 Reputation

1 Guide authored

0 Guide Comments

Add Comment
View Statistics:

Past 24 Hours: 0

Past 7 Days: 3

Past 30 Days: 13

All Time: 67