
Logitech M125 Power Cord Replacement

Bee Pines and 4 other contributors
Last updated on Sep 24, 2019
Views: 1.2K
View statistics:
- Past 24 Hours:
- 2
- Past 7 Days:
- 19
- Past 30 Days:
- 77
- All Time:
- 1,159
Comments: 1
1 guide comment.
Go to guide commentsCompleted: 0 1
No one has marked this guide "completed." Will you be the first?
1 person has marked this guide "completed." It's you — great job!
Favorites: 0 1
No one has favorited (and subscribed to) this guide. Will you be the first?
1 person has favorited (and subscribed to) this guide — and that's you!
Needs Better Images
Better photos will improve this guide. Help out by taking, editing, or uploading new ones!
Introduction
Go to step 1 ↓If your Logitech M125 cord has stopped retracting or no longer transmits data, use this guide to help replace the cord.
The power cord provides connectivity and mouse movement.
If you are having issues getting the mouse to connect properly, or the cord will not retract anymore, consider visiting the M125 troubleshooting page before replacing the part: Logitech M125 Troubleshooting
Be sure to unplug your mouse before proceeding with this guide.
What you need
Tools
-
Spudger4.9
-


-
-
-
Turn the device over and remove the two 0.5mm screws near the front of the mouse by using a Phillips #0 screwdriver.
-
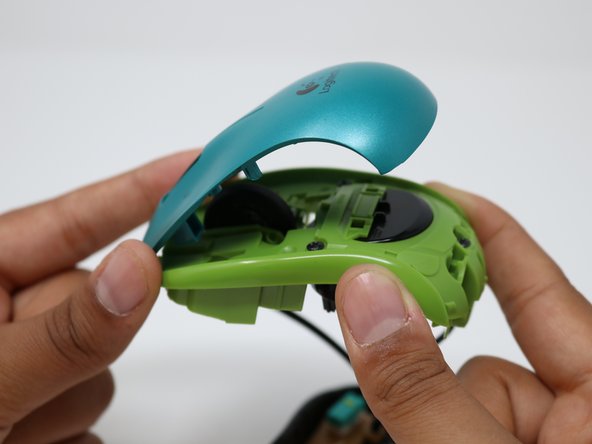
Once the screws are removed, open the mouse from the front as it pivots at the rear.
 Ask FixBot
-
-
-
Once the mouse is opened, remove the two black 0.5mm screws located towards the back of the mouse. These are the retention screws for the mouse button plate.
-
-
-
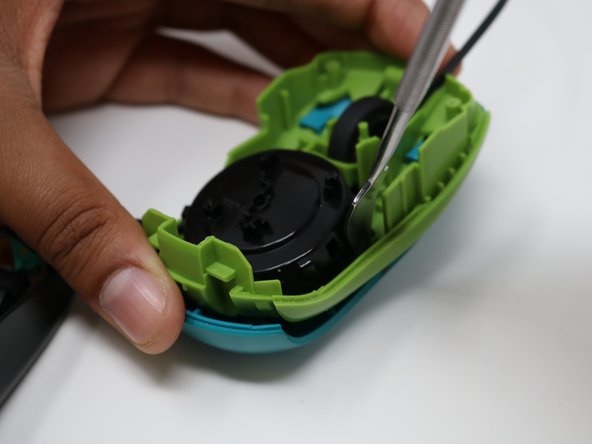
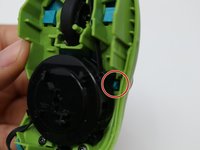
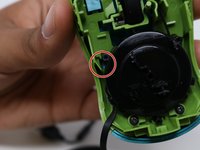
There are two tabs that further secure the mouse buttons to the frame. They are located on either side of the mouse cord retracting mechanism.
-
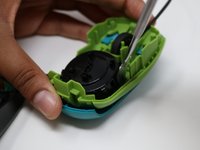
To dislodge the tabs, use a prying tool while pressing down on the back of the mouse. When prying, push the tab towards the outside of the mouse.
-
-
-
To finish removing the button plate, continue lifting the rear of the plate until the tabs have fully left their slots.
-
Once the tabs are clear, push the plate towards the front of the mouse and lift.
-
-
-
The mouse button plate has now been fully removed. In order to install the replacement, follow the instructions for this guide in reverse.
-
-
-
-
-
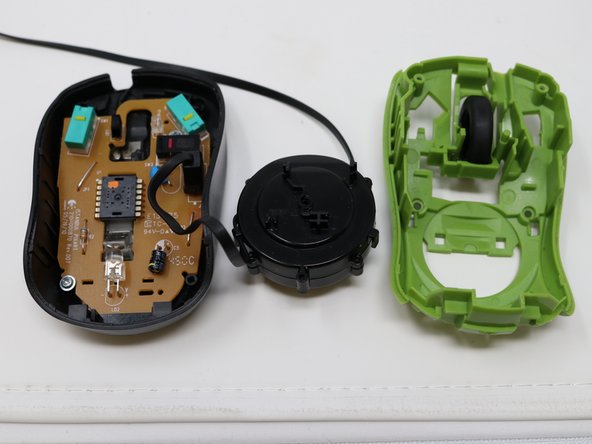
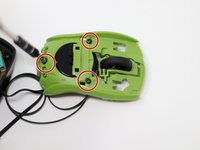
Using a Phillips #0 screwdriver, unscrew the three black 0.5mm screws from the frame to remove the power cord housing
-
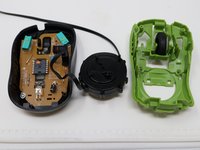
Set mouse plate aside after unscrewing the cord housing from the plate
-
-
-
-
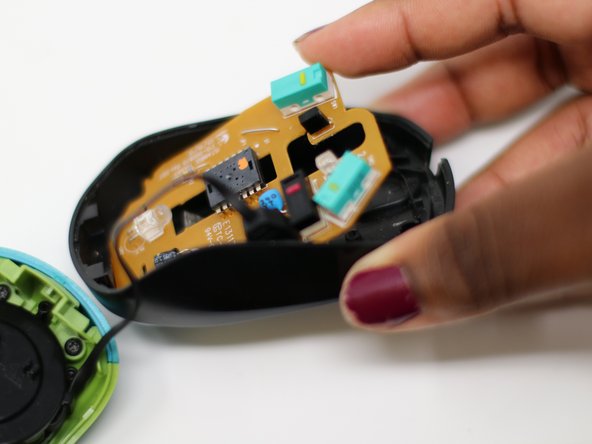
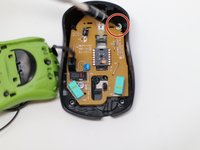
Unscrew the silver 0.25mm screws to remove the circuit board from the mouse base with the same screwdriver.
-
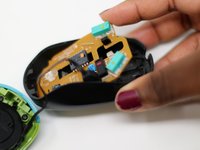
Once unscrewed, remove the circuit board.
-
-
-
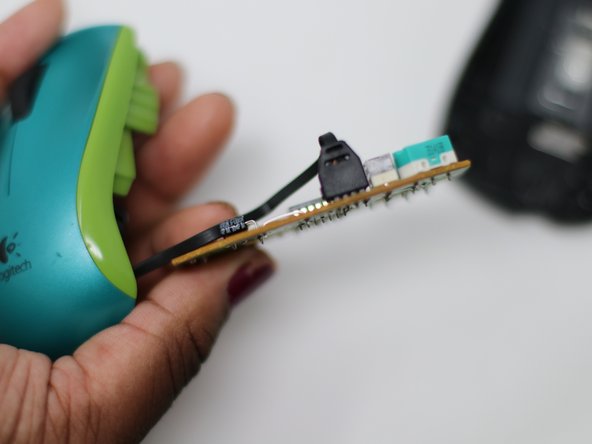
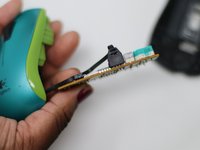
The cable is soldered into the board and will require a soldering iron to replace.
-
-







To reassemble your device, follow these instructions in reverse order.

Team

UW Tacoma, Team S1-G2, Liner Summer 2019 Member of UW Tacoma, Team S1-G2, Liner Summer 2019
UWT-LINER-SU19S1G2
5 Members
36 Guides authored
