Free Shipping on Domestic Orders $75+

Logitech K480 Back Cover Replacement

Views: 1.2K

View statistics:

Past 24 Hours:
5
Past 7 Days:
33
Past 30 Days:
121
All Time:
1,240
Comments: 1

1 comment on steps.

Completed: 3

3 people have marked this guide "completed." Will you be next?

Favorites: 0

No one has favorited (and subscribed to) this guide. Will you be the first?

Time Required: 8 minutes
Difficulty: Moderate
Logitech K480 Back Cover Replacement

Introduction

Go to step 1 ↓

If you need to open up your Logitech K480, follow this guide.

What you need

Tools

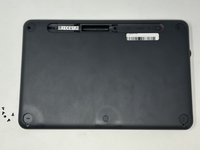
    1. Logitech K480 Back Cover Replacement, Back Cover: step 1, image 1 of 1
      • Flip the keyboard over.

      Ask FixBot

      Add Comment

    2. Logitech K480 Back Cover Replacement: step 2, image 1 of 3 Logitech K480 Back Cover Replacement: step 2, image 2 of 3 Logitech K480 Back Cover Replacement: step 2, image 3 of 3
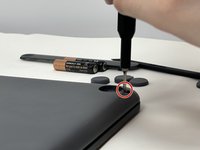
      • Remove the four rubber feet with a spudger.

      Ask FixBot

      Add Comment

    3. Logitech K480 Back Cover Replacement: step 3, image 1 of 3 Logitech K480 Back Cover Replacement: step 3, image 2 of 3 Logitech K480 Back Cover Replacement: step 3, image 3 of 3
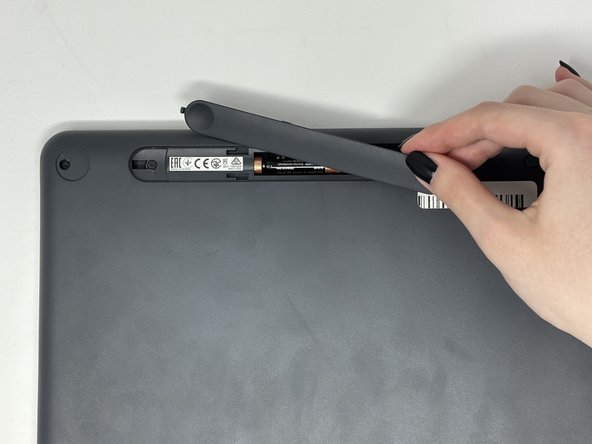
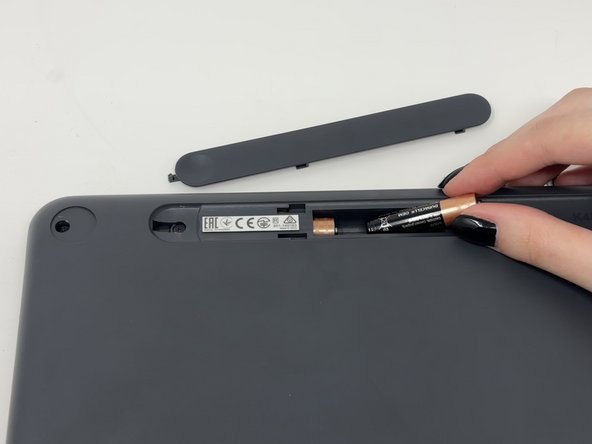
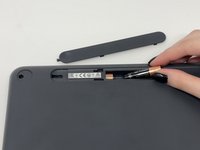
      • Slide open battery panel.

      • Remove the batteries.

      Ask FixBot

      Add Comment

    4. Logitech K480 Back Cover Replacement: step 4, image 1 of 2 Logitech K480 Back Cover Replacement: step 4, image 2 of 2
      • Remove the three 4 mm screws under the rubber feet using a Phillips #0 screwdriver.

      Ask FixBot

      Add Comment

    5. Logitech K480 Back Cover Replacement: step 5, image 1 of 2 Logitech K480 Back Cover Replacement: step 5, image 2 of 2
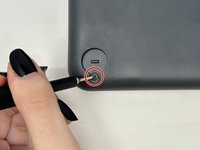
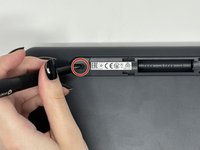
      • Remove the two 4 mm screws from beneath the battery cover using a Phillips #0 screwdriver.

      Ask FixBot

      Add Comment

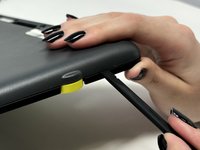
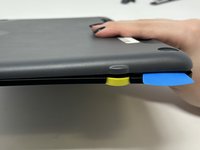
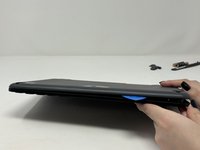
    6. Logitech K480 Back Cover Replacement: step 6, image 1 of 3 Logitech K480 Back Cover Replacement: step 6, image 2 of 3 Logitech K480 Back Cover Replacement: step 6, image 3 of 3
      • Starting by the dial, slide the spudger between the front and back panels until it lifts and snaps.

      • Slide a blue pick in to keep the pieces apart while you work on other areas.

      • Continue prying along the edges until you have enough opened that you can pull both pieces apart gently with your hands.

      • The loud snaps are the clips that hold the pieces together. They're not breaking and you do not need to be alarmed.

      Ask FixBot

      Add Comment

Conclusion

To reassemble your device, follow these instructions in reverse order.

Cancel: I did not complete this guide.

3 other people completed this guide.

Madison

Member since: 09/04/24

778 Reputation

4 Guides authored

0 Guide Comments

Add Comment

View Statistics:

Past 24 Hours: 5

Past 7 Days: 33

Past 30 Days: 121

All Time: 1,240