
Logitech K345 Membrane Replacement

Aumirius Robinson and 4 other contributors
Last updated on Aug 22, 2026
Views: 1.2K
View statistics:
- Past 24 Hours:
- 5
- Past 7 Days:
- 39
- Past 30 Days:
- 127
- All Time:
- 1,188
Comments: 1
1 comment on steps.
Completed: 1 2
1 person has marked this guide "completed." Will you be next?
2 people have marked this guide "completed." Including you — great job!
Favorites: 0 1
No one has favorited (and subscribed to) this guide. Will you be the first?
1 person has favorited (and subscribed to) this guide — and that's you!
Featured Student Guide
This guide has been the hard work of our awesome students and is found to be exceptionally cool by the iFixit staff.
Introduction
Go to step 1 ↓Are your Logitech MK345 keyboard keys not registering when pressed? If so, here is the repair guide for replacing your keyboard membrane. A keyboard membrane completes the circuit when a key is pressed, thus registering it, and providing feedback. It also protects the underlying circuitry from dust, debris, and spills, extending the life of the keyboard. If you haven't already looked at our troubleshooting guide for this issue, it's linked here. Make sure you turn off your keyboard and remove the batteries before beginning the repairs, so there is no energy going through the keyboard and thus no risk of electrocution.
What you need
Tools


-
-
-
-
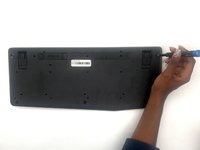
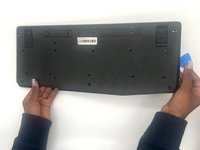
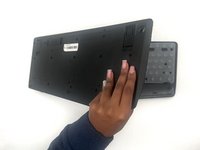
Remove the thirteen 5.3 mm screws from the back of the keyboard using a Phillips #1 screwdriver.
-
-
-
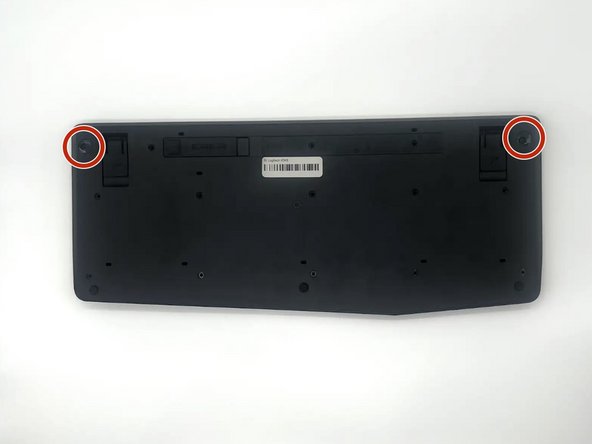
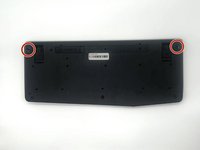
Remove the two 5.3 mm screws from the corners with a Phillips #1 screwdriver.
-
-


 Ask FixBot
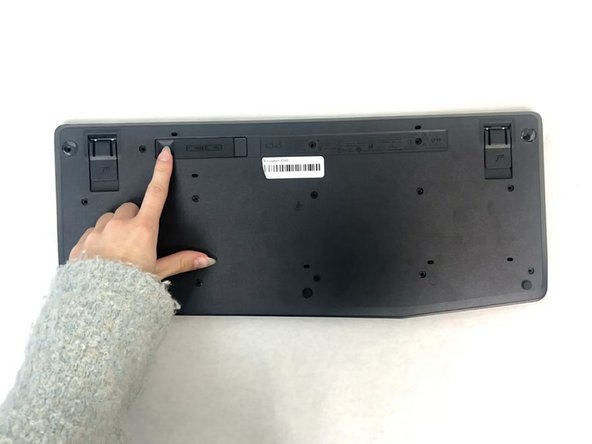
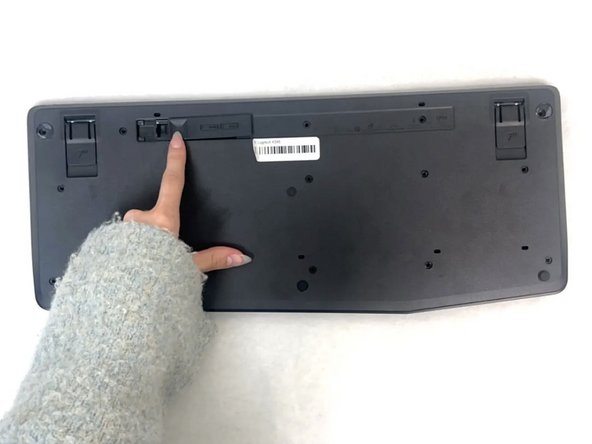
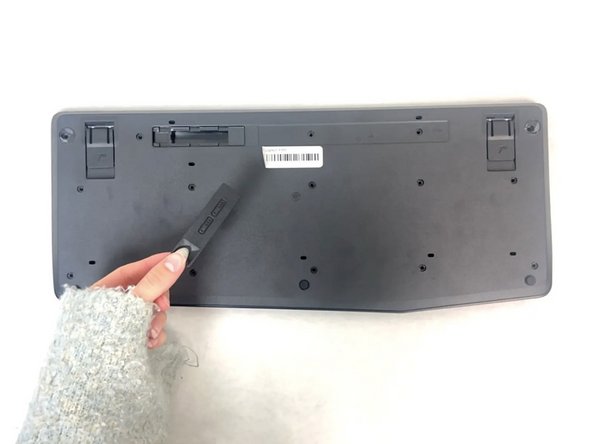





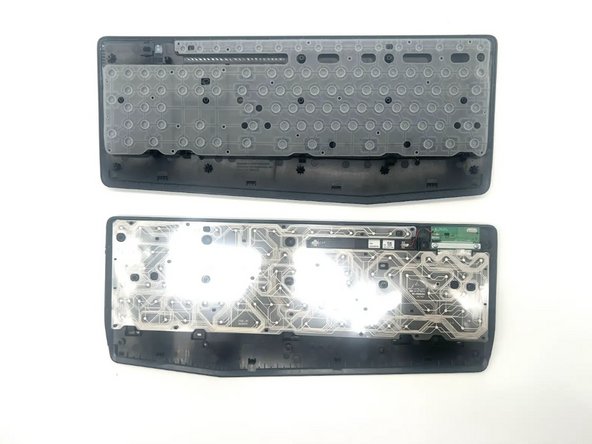


To reassemble your device, follow these instructions in reverse order.
Cancel: I did not complete this guide.
One other person completed this guide.

Team

University of North Texas, Team 4-1, Harold Fall 2024 Member of University of North Texas, Team 4-1, Harold Fall 2024
UNT-HAROLD-F24S4G1
3 Members
60 Guides authored
