
Logitech K120 Keyboard USB Cable Replacement

What you need

  1. Logitech K120 Keyboard USB Cable Replacement, Removing Screws: step 1, image 1 of 2 Logitech K120 Keyboard USB Cable Replacement, Removing Screws: step 1, image 2 of 2
    • Remove the Phillips #000 screw. Turn the screwdriver counter-clockwise.

  2. Logitech K120 Keyboard USB Cable Replacement, Separating The Keyboard's Chassis: step 2, image 1 of 3 Logitech K120 Keyboard USB Cable Replacement, Separating The Keyboard's Chassis: step 2, image 2 of 3 Logitech K120 Keyboard USB Cable Replacement, Separating The Keyboard's Chassis: step 2, image 3 of 3
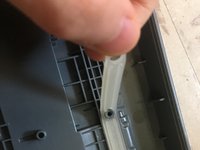
    • Use the spudger to separate the top of keyboard from the bottom of the keyboard.

  3. Logitech K120 Keyboard USB Cable Replacement, Removing The Top Of The Keyboard: step 3, image 1 of 1
    • Remove the top of the keyboard and put it aside.

  4. Logitech K120 Keyboard USB Cable Replacement, Removing The Bracket: step 4, image 1 of 3 Logitech K120 Keyboard USB Cable Replacement, Removing The Bracket: step 4, image 2 of 3 Logitech K120 Keyboard USB Cable Replacement, Removing The Bracket: step 4, image 3 of 3
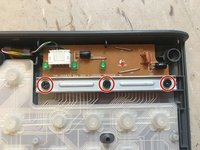
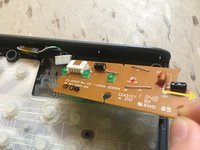
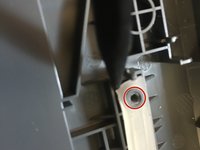
    • Unscrew the highlighted screws using a Phillips #000 Screwdriver. Turn the screwdriver counter-clockwise.

  5. Logitech K120 Keyboard USB Cable Replacement, Removing The Circuit Board: step 5, image 1 of 3 Logitech K120 Keyboard USB Cable Replacement, Removing The Circuit Board: step 5, image 2 of 3 Logitech K120 Keyboard USB Cable Replacement, Removing The Circuit Board: step 5, image 3 of 3
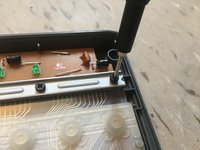
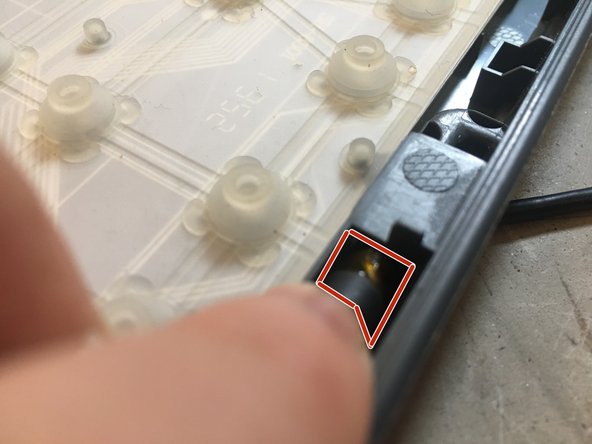
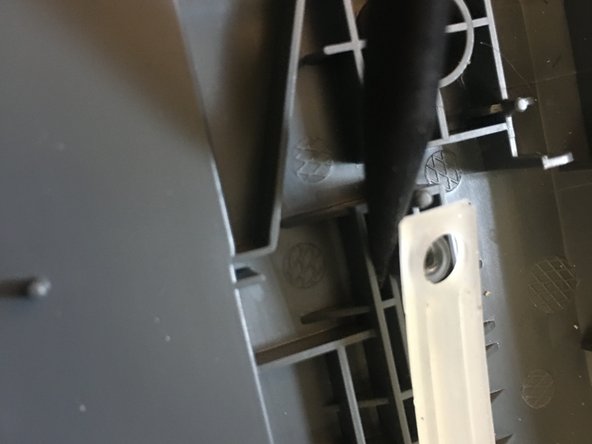
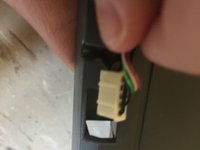
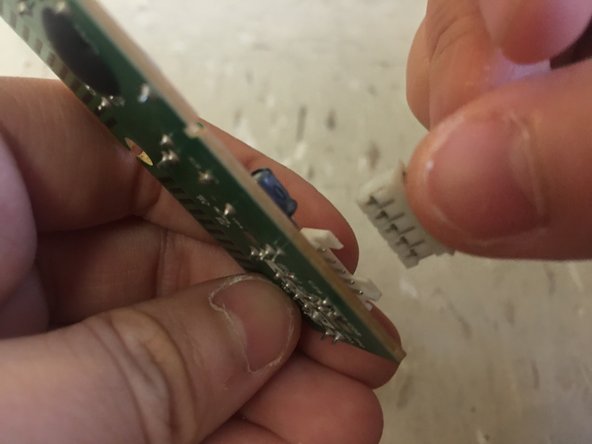
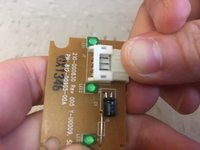
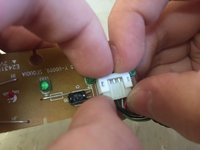
    • Use the spudger and carefully pry the connector out of its socket. (Highlighted in the pictures)

  6. Logitech K120 Keyboard USB Cable Replacement, Removing The Cable: step 6, image 1 of 2 Logitech K120 Keyboard USB Cable Replacement, Removing The Cable: step 6, image 2 of 2
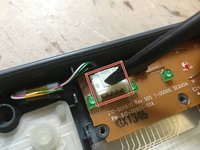
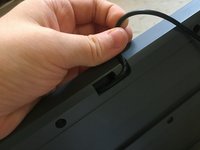
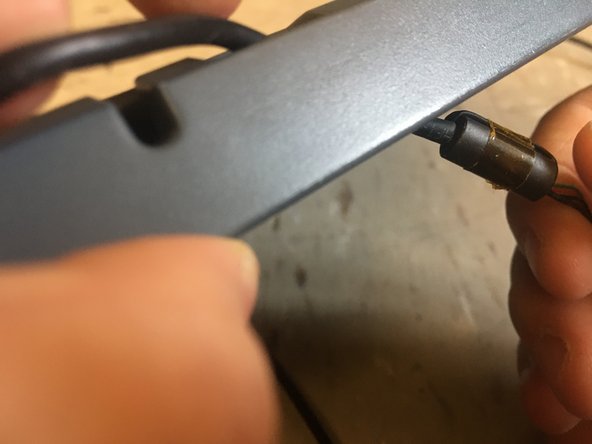
    • Carefully nudge the connector out of the hole in which the cable enters the keyboard's chassis.

  7. Logitech K120 Keyboard USB Cable Replacement, Removing The Membrane: step 7, image 1 of 2 Logitech K120 Keyboard USB Cable Replacement, Removing The Membrane: step 7, image 2 of 2
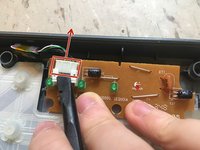
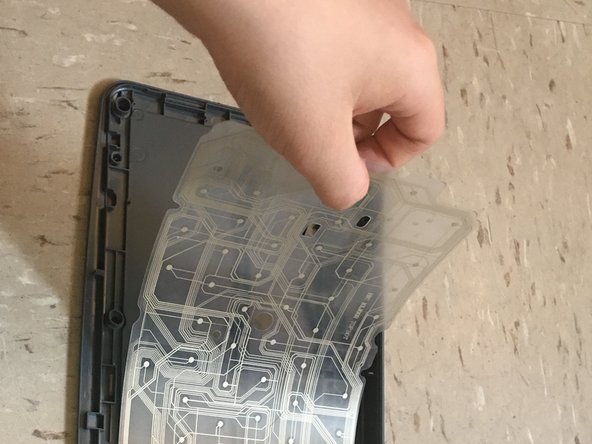
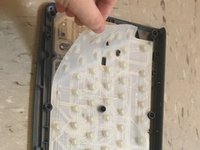
    • Peel the membrane off carefully so that the membrane doesn't rip.

  8. Logitech K120 Keyboard USB Cable Replacement, Remove The 2nd Membrane: step 8, image 1 of 3 Logitech K120 Keyboard USB Cable Replacement, Remove The 2nd Membrane: step 8, image 2 of 3 Logitech K120 Keyboard USB Cable Replacement, Remove The 2nd Membrane: step 8, image 3 of 3
    • Stick the sharp end of the spudger into the corner of the second membrane and bring the spudger partly underneath the membrane.

    • Lift the membrane off of the first standoff.

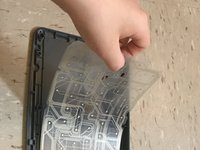
    • Peel the rest of the membrane off carefully so the membrane doesn't rip.

  9. Logitech K120 Keyboard USB Cable Replacement, Install The New Cable: step 9, image 1 of 3 Logitech K120 Keyboard USB Cable Replacement, Install The New Cable: step 9, image 2 of 3 Logitech K120 Keyboard USB Cable Replacement, Install The New Cable: step 9, image 3 of 3
    • Slide the new cable into the hole.

  10. Logitech K120 Keyboard USB Cable Replacement, Connect The New Cable: step 10, image 1 of 3 Logitech K120 Keyboard USB Cable Replacement, Connect The New Cable: step 10, image 2 of 3 Logitech K120 Keyboard USB Cable Replacement, Connect The New Cable: step 10, image 3 of 3
    • Connect The Cable To The Circuit Board.

Conclusion

To reassemble your device, follow the instructions on how to reassemble your device in the prerequisite guide.

Marcus Jones

Member since: 11/22/18

1,145 Reputation

6 Guides authored

One Comment

Hi there,

Nice guide! Where do I get hold of a replacement USB wire / what’s the specific name of it?

Thanks,

Robin

Robin Lane - Reply

Add Comment

View Statistics:

Past 24 Hours: 1

Past 7 Days: 6

Past 30 Days: 37

All Time: 2,896