Free Shipping on Domestic Orders $75+

Logitech Harmony Companion Button Pad Replacement

Views: 4.2K

View statistics:

Past 24 Hours:
5
Past 7 Days:
34
Past 30 Days:
124
All Time:
4,196
Comments: 8

4 comments on steps, 4 guide comments.

Go to guide comments
Completed: 3

3 people have marked this guide "completed." Will you be next?

Favorites: 1

1 person has favorited (and subscribed to) this guide. Will you be next?

Time Required: 2 minutes
Difficulty: Easy
Logitech Harmony Companion Button Pad Replacement

Introduction

Go to step 1 ↓

The buttons on your Companion remote may stop working or become damaged. This guide will show you how to replace the button pad in your remote. All you'll need for this guide is a plastic opening tool and Phillips #0 screwdriver.

What you need

Tools

    1. Logitech Harmony Companion Button Pad Replacement, Remote Battery: step 1, image 1 of 1
      • Hold the remote with the Logitech label toward you.

      Ask FixBot

      Add Comment

    2. Logitech Harmony Companion Button Pad Replacement: step 2, image 1 of 1
      • Push the battery cover upward.

      Ask FixBot

      Add Comment

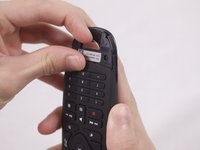
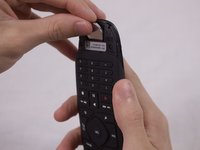
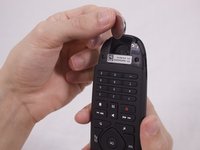
    3. Logitech Harmony Companion Button Pad Replacement: step 3, image 1 of 3 Logitech Harmony Companion Button Pad Replacement: step 3, image 2 of 3 Logitech Harmony Companion Button Pad Replacement: step 3, image 3 of 3
      • Use your finger to lift the battery out of the compartment.

      • When the battery has lifted, push it up to remove it.

      Ask FixBot

      Add Comment

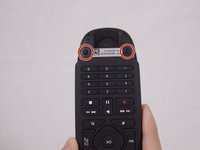
    1. Logitech Harmony Companion Button Pad Replacement, Remote Motherboard: step 4, image 1 of 2 Logitech Harmony Companion Button Pad Replacement, Remote Motherboard: step 4, image 2 of 2
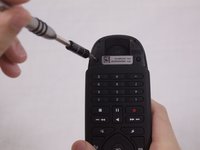
      • Remove the two 5.0 mm Phillips #0 screws.

      Ask FixBot

      Add Comment

    2. Logitech Harmony Companion Button Pad Replacement: step 5, image 1 of 2 Logitech Harmony Companion Button Pad Replacement: step 5, image 2 of 2
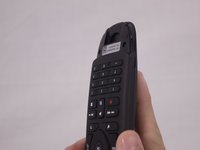
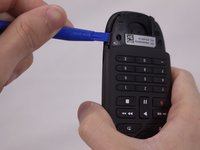
      • Use the plastic opening tool to pry open the back cover of the remote.

      • It is recommended to have the point of the opening tool facing the back of the remote.

      • Insert the opening tool on each side of the bottom of the remote, and pull up until you hear the cover click open.

      • Pry the back cover off by sliding the plastic opening tool down each side.

      Ask FixBot

      Add Comment

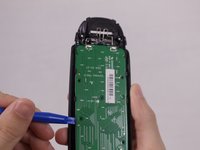
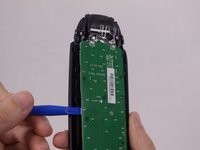
    3. Logitech Harmony Companion Button Pad Replacement: step 6, image 1 of 2 Logitech Harmony Companion Button Pad Replacement: step 6, image 2 of 2
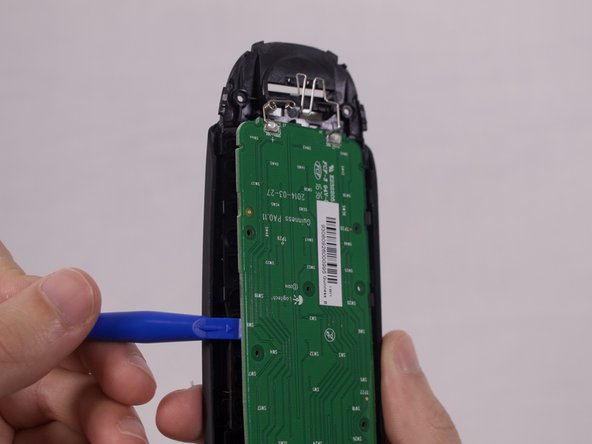
      • Use the plastic opening tool to remove the motherboard.

      Ask FixBot

      Add Comment

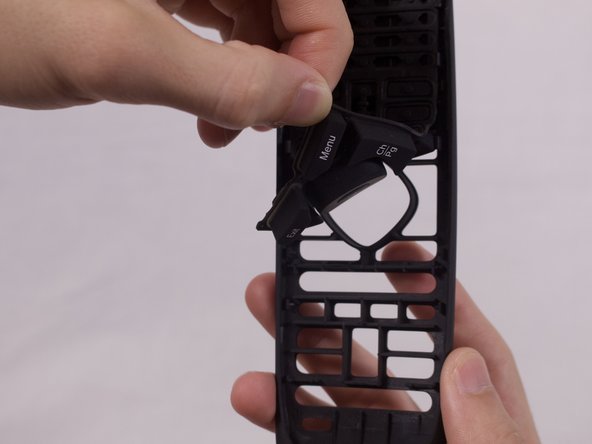
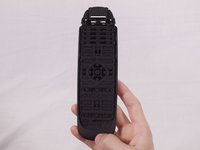
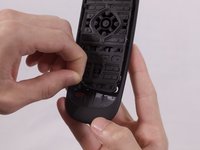
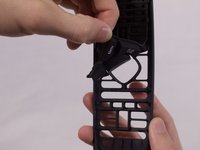
    1. Logitech Harmony Companion Button Pad Replacement, Button Pad: step 7, image 1 of 3 Logitech Harmony Companion Button Pad Replacement, Button Pad: step 7, image 2 of 3 Logitech Harmony Companion Button Pad Replacement, Button Pad: step 7, image 3 of 3
      • Lift the button pad up to remove it from the remote.

      Ask FixBot

      Add Comment

Conclusion

To reassemble your device, follow these instructions in reverse order.

Cancel: I did not complete this guide.

3 other people completed this guide.
Cassidy Wardlow

Member since: 09/28/17

723 Reputation

4 Guides authored

Team

USF Tampa, Team S1-G3, Nance Fall 2017 Member of USF Tampa, Team S1-G3, Nance Fall 2017

USFT-NANCE-F17S1G3

3 Members

48 Guides authored

4 Guide Comments

Ou pouvons nous commander «  Logitech Harmony Companion Button Pad Replacement »

Roger Tardif - Reply Share

Where can I purchase the button pad?

elijah - Reply Share

Also looking to find where to purchase. I called Logitech and they were clueless. My 4 year old was better equipped to respond.

Joshua Fuller - Reply Share

Thanks for posting these helpful steps. My harmony Companion was frustrating us because we had to press buttons really hard.

Cy Beaux - Reply Share

Add Comment

View Statistics:

Past 24 Hours: 5

Past 7 Days: 34

Past 30 Days: 124

All Time: 4,196