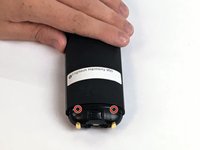
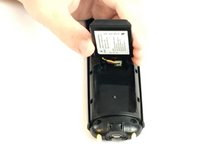
Free Shipping on Domestic Orders $75+

Logitech Harmony 950 Case Replacement

What you need

  1. Logitech Harmony 950 Case Replacement, Battery: step 1, image 1 of 2 Logitech Harmony 950 Case Replacement, Battery: step 1, image 2 of 2
    • Make sure the remote control is powered off before starting.

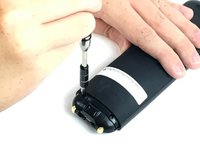
    • Use the Opening Tool to open the port cover at the bottom of the remote control.

    • Bend the cover back to gain easy access to the screws.

    Ask FixBot

    Add Comment

  2. Logitech Harmony 950 Case Replacement: step 2, image 1 of 3 Logitech Harmony 950 Case Replacement: step 2, image 2 of 3 Logitech Harmony 950 Case Replacement: step 2, image 3 of 3
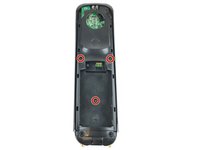
    • Use the Phillips #0 Screwdriver to remove the (2) two 6mm screws.

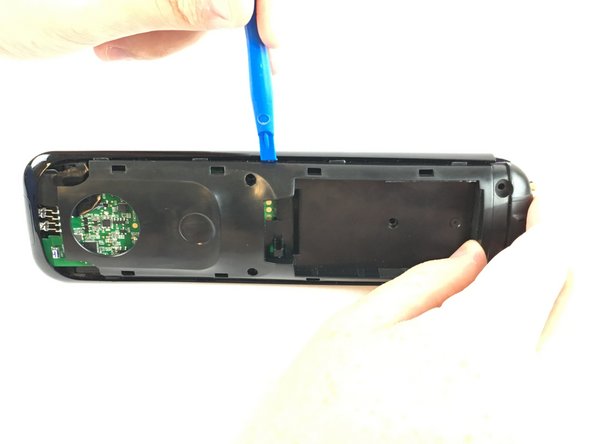
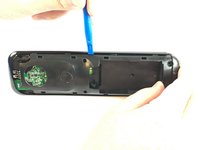
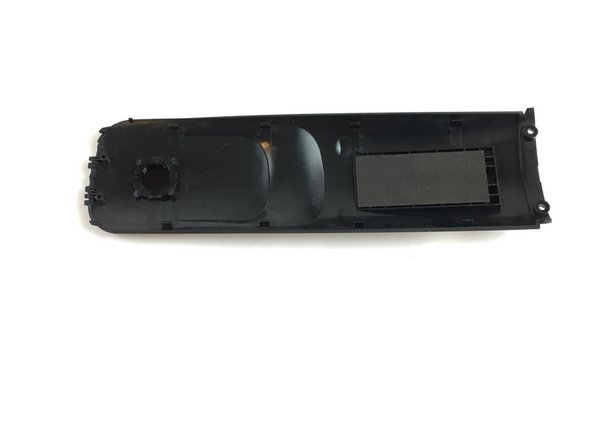
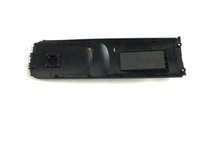
    • Pull the bottom cover off of the remote control.

    Ask FixBot

    Add Comment

  3. Logitech Harmony 950 Case Replacement: step 3, image 1 of 3 Logitech Harmony 950 Case Replacement: step 3, image 2 of 3 Logitech Harmony 950 Case Replacement: step 3, image 3 of 3
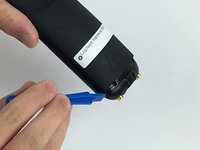
    • Use the Phillips #1 Screwdriver to remove the (2) two 6mm screws.

    • There should be a gap on each side to fit the Opening Tool. Use the Opening Tool to open the back cover (Soft Touch cover) using the gap.

    Ask FixBot

    Add Comment

  4. Logitech Harmony 950 Case Replacement: step 4, image 1 of 3 Logitech Harmony 950 Case Replacement: step 4, image 2 of 3 Logitech Harmony 950 Case Replacement: step 4, image 3 of 3
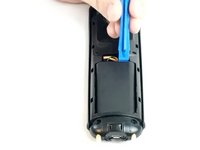
    • Use the Opening Tool to lift the battery out of the case.

    • Gently pull the cable out of the socket to unplug the battery.

    • Be careful not to damage any part of the remote when pulling the cable out.

    Ask FixBot

    Add Comment

  5. Logitech Harmony 950 Case Replacement, Case: step 5, image 1 of 3 Logitech Harmony 950 Case Replacement, Case: step 5, image 2 of 3 Logitech Harmony 950 Case Replacement, Case: step 5, image 3 of 3
    • Use the Phillips #1 screwdriver to remove the (3) three 6mm screws.

    • Push the opening tool into the gap along the side of the remote, then slide it across until you hear clicking sounds.
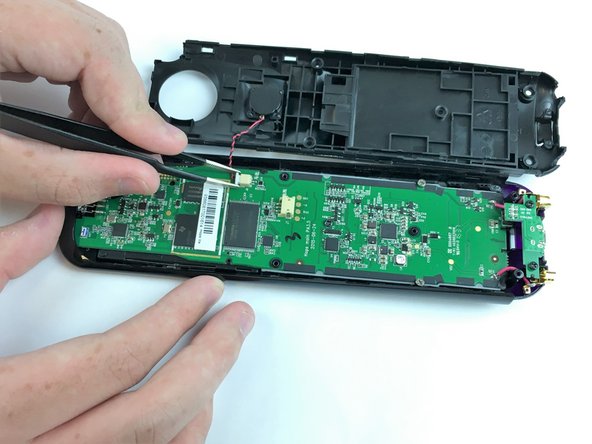
    • You need to repeat this process for both sides of the remote.

    Ask FixBot

    Add Comment

  6. Logitech Harmony 950 Case Replacement: step 6, image 1 of 3 Logitech Harmony 950 Case Replacement: step 6, image 2 of 3 Logitech Harmony 950 Case Replacement: step 6, image 3 of 3
    Tool used on this step:
    Tweezers
    $3.99
    Buy
    • Carefully remove the back cover and place it next to the remote. Be careful not to detach the wire during this process.

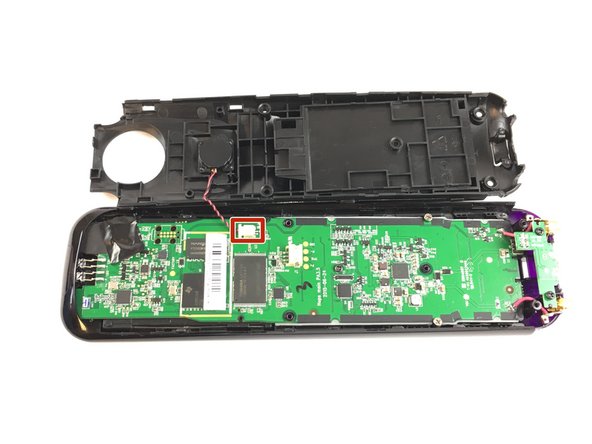
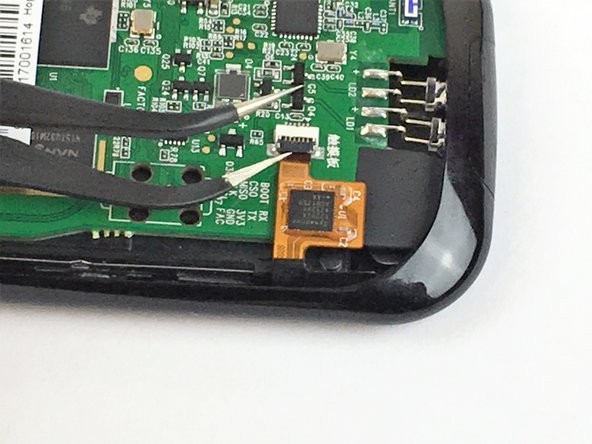
    • Use the angled Tweezers to carefully pull the white cable end off of the remote and disconnect it.

    Ask FixBot

    Add Comment

  7. Logitech Harmony 950 Case Replacement: step 7, image 1 of 3 Logitech Harmony 950 Case Replacement: step 7, image 2 of 3 Logitech Harmony 950 Case Replacement: step 7, image 3 of 3
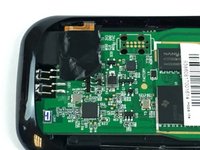
    • Use the Phillips #0 screwdriver to remove the (5) five 6mm screws. Keep in mind that once the screws are off, the circuit board will be completely separate from the case.

    • Be careful not to damage or disconnect the pink wires when removing the gold charging conductors from the case.

    Ask FixBot

    Add Comment

  8. Logitech Harmony 950 Case Replacement: step 8, image 1 of 3 Logitech Harmony 950 Case Replacement: step 8, image 2 of 3 Logitech Harmony 950 Case Replacement: step 8, image 3 of 3
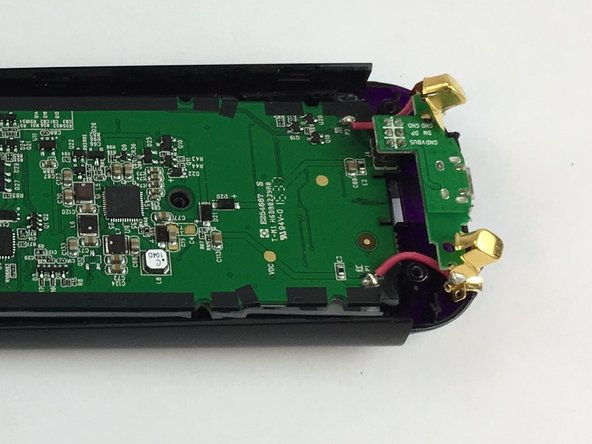
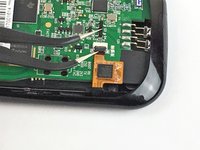
    • Remove the black tape to fully access the cable underneath.

    • This cable has a locking mechanism. Use the Angled Tweezers to lift the black part (lock).

    • Slide the yellow cable to disconnect it from the circuit board.

    Ask FixBot

    Add Comment

  9. Logitech Harmony 950 Case Replacement: step 9, image 1 of 2 Logitech Harmony 950 Case Replacement: step 9, image 2 of 2
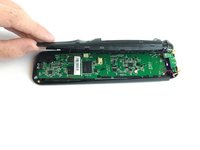
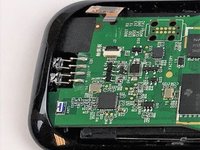
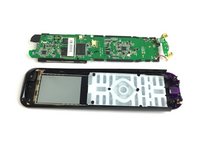
    • Pull the circuit board off of the case. Start from the bottom, and lift up to completely detach it from the cover.

    Ask FixBot

    Add Comment

  10. Logitech Harmony 950 Case Replacement: step 10, image 1 of 3 Logitech Harmony 950 Case Replacement: step 10, image 2 of 3 Logitech Harmony 950 Case Replacement: step 10, image 3 of 3
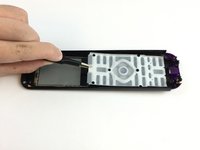
    • Use the Blunt Tweezers to carefully remove the keypad from the cover of the remote.

    Ask FixBot

    Add Comment

Conclusion

To reassemble your device, follow these instructions in reverse order.

Cancel: I did not complete this guide.

3 other people completed this guide.

Shiba Kandel

Member since: 09/26/17

149 Reputation

1 Guide authored

Team

USF Tampa, Team S2-G2, Passmore Fall 2017 Member of USF Tampa, Team S2-G2, Passmore Fall 2017

USFT-PASSMORE-F17S2G2

4 Members

7 Guides authored

4 Guide Comments

where can this casing be purchased?

Sharonda Bailey - Reply Share

Parts are required obviously!!

larrybud2004 - Reply Share

Is the usb bottom cap part of the replacement case? If not can u get one?

jmorrissette - Reply Share

Hello,
short question: does someone know, if and where you can get a replacement case for Harmony 950 remote control?
Thx in advance

D. Schick - Reply Share

Add Comment

View Statistics:

Past 24 Hours: 1

Past 7 Days: 19

Past 30 Days: 64

All Time: 5,243