
Lenovo ThinkPad Yoga Keyboard Replacement

Felicia McCarey and 2 other contributors
Last updated on Mar 20, 2024
Views: 12K
View statistics:
- Past 24 Hours:
- 3
- Past 7 Days:
- 35
- Past 30 Days:
- 155
- All Time:
- 12,153
Comments: 1
1 comment on steps.
Completed: 2 3
2 people have marked this guide "completed." Will you be next?
3 people have marked this guide "completed." Including you — great job!
Favorites: 0 1
No one has favorited (and subscribed to) this guide. Will you be the first?
1 person has favorited (and subscribed to) this guide — and that's you!
Missing Steps
Oops! This guide is currently missing one or more important steps.
Scenic Route
This guide's procedure isn't the most efficient way to get the job done, but still may be useful in some circumstances.
Better Introduction
Improve this guide by completing or revising its introduction.
Introduction
Go to step 1 ↓How to replace the keyboard in a Lenovo ThinkPad Yoga 2013. This guide will help you to successfully replace your keyboard.
What you need


-
-
-
Flip the laptop over so the bottom is facing you.
-
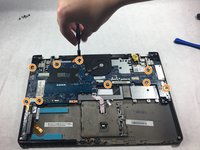
Remove the ten screws using a Phillips #1 screwdriver.
-
Using the plastic opening tool, pry the bottom cover off the laptop.
 Ask FixBot
-
-
-
Remove two screws from the battery using a Phillips #1 screwdriver.
-
Disconnect the battery connector from the motherboard.
-
Remove the battery from the laptop.
-
-
-
-
-
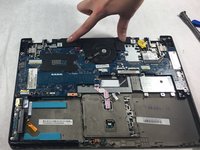
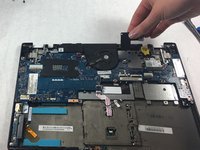
Disconnect connectors. Use fingers to pinch and pull the connector out.
-
-
-
-
-
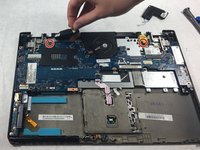
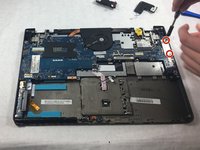
Remove the two screws from the retainer for the ports using a Phillips #1 screwdriver.
-
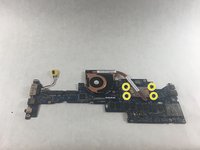
Remove the nine screws from the motherboard using a Phillips #1 screwdriver.
-
Remove the four screws from the fan under the motherboard using a Phillips #1 screwdriver.
-
Remove the fan from the motherboard.
-
-
-
-
-
Remove twelve screws from the midframe using a Phillips #1 screwdriver.
-
-
-
-
Use a spudger to pry open the keyboard panel.
-
Continue to pry until the panel is loose enough to take off.
-
-






To reassemble your device, follow these instructions in reverse order.
Cancel: I did not complete this guide.
2 other people completed this guide.

Team

UMass Dartmouth, Team 4-4, Gulbrandsen Fall 2021 Member of UMass Dartmouth, Team 4-4, Gulbrandsen Fall 2021
UMASSD-GULBRANDSEN-F21S4G4
3 Members
72 Guides authored
