Introduction
This guide will explain how to replace the red dial on the Logitech G29 wheel. If the dial is malfunctioning, taking it apart could expose potential problems and reveal viable fixes. The process is not difficult and can be completed with little teardown of the product.
What you need
-
-
-
Take off the 6 black hex screws holding the PlayStation center cap using the H 4.0 bit. The outer diameter of these screws is 8.40mm with a length of 26mm.
-
Once the center cap is off, take the face of the wheel off the stand. Before totally taking off, disconnect the 7-pin white cable running into the base of the wheel and place the base aside.
 Ask FixBot
-
-
-
-
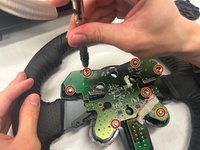
Take off the 7 (4.32mm diameter 8mm long) silver screws holding the PCB to the black housing on the wheel using bit Ph #0.
-
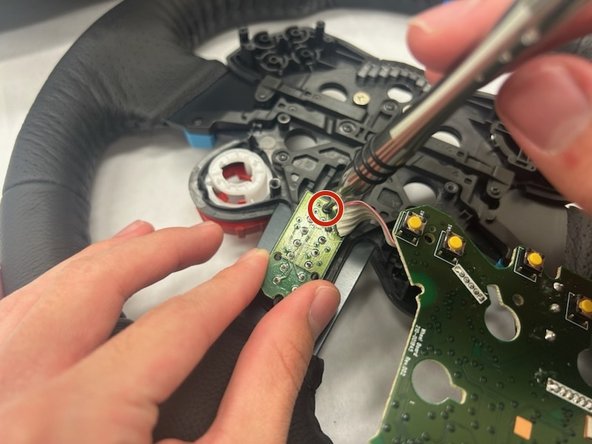
Move the PCB to the side to expose the back side of the red dial. Keep the remaining white cable connected to the secondary PCB.
-
-
Tool used on this step:Tweezers$4.99
-
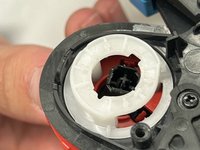
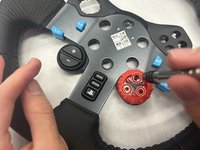
Press the 3 red tabs located on the inside black housing of the dial. Using the medium-sized tweezers, push the black center button out to reveal 3 small black screws.
-
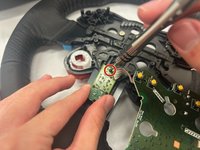
Using the same bit as earlier (bit Ph #00), remove the three (3.32mm diameter, 5mm length) screws to release the red dial.
-
-




To reassemble your device, follow these instructions in reverse order.
Cancel: I did not complete this guide.
One other person completed this guide.

Team

IUPUI, Team 1-3, Harley Fall 2023 Member of IUPUI, Team 1-3, Harley Fall 2023
IUPUI-HARLEY-F23S1G3
4 Members
36 Guides authored
