Introduction
If the feet on your Logitech G213 Prodigy keyboard are damaged, this guide will show you the steps to removing and replacing them.
What you need
-
-
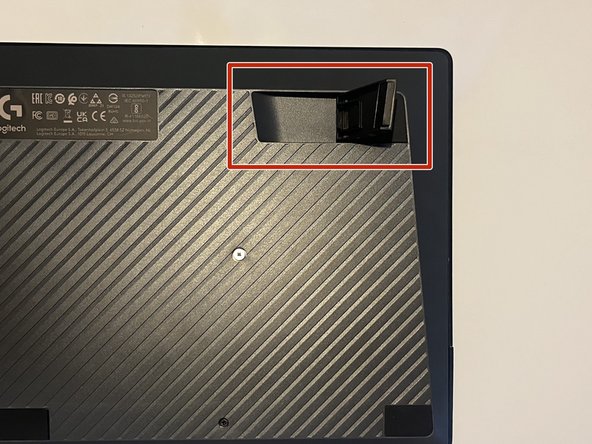
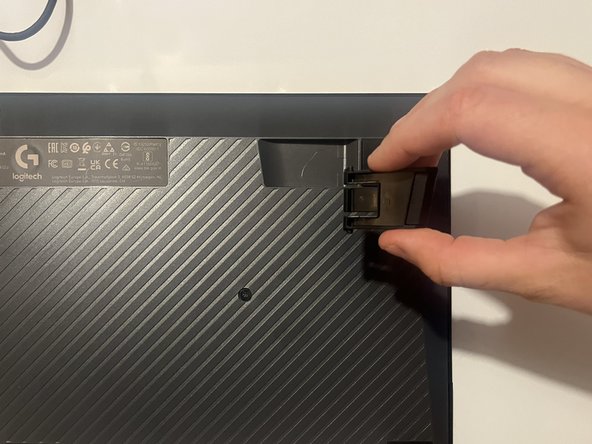
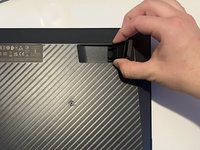
Flip the keyboard so the keys are facedown on a flat surface.
-
Locate both plastic feet on the top left and top right of the back board.
 Ask FixBot
-
-


Conclusion
To reassemble your device, follow these instructions in reverse order.
Team

Western Carolina University, Team 1-2, Virtue Fall 2024 Member of Western Carolina University, Team 1-2, Virtue Fall 2024
WCU-VIRTUE-F24S1G2
2 Members
1 Guide authored