Introduction
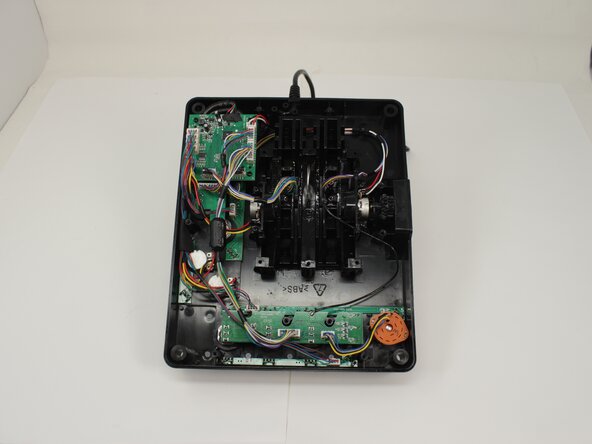
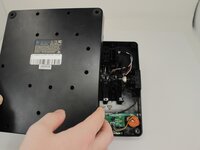
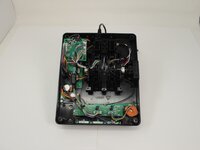
Removing the back panel of the Logitech G X56 HOTAS Throttle is a necessary step when accessing internal components such as LED indicators, toggle switches, or mechanical parts related to throttle movement. If you're experiencing issues like malfunctioning LEDs, unresponsive switches, or physical resistance when moving the throttle, disassembling the back panel will allow you to inspect, service, or replace the affected parts. This guide will walk you through the safe removal of the back panel while avoiding damage to wiring or internal connectors.
What you need
-
-
-
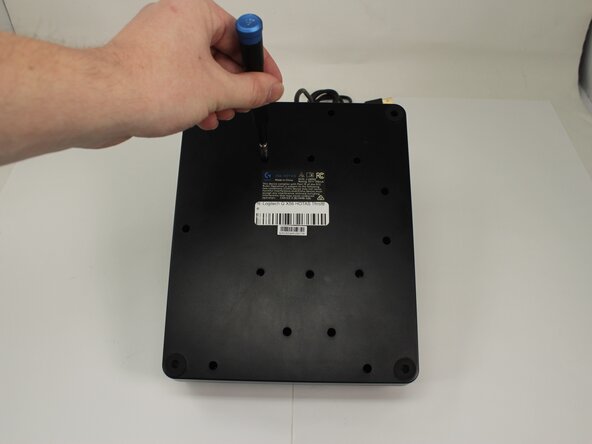
Remove the fifteen 13.6 mm Phillips #1 screws that secure the bottom panel to the base plate.
-


To reassemble your device, follow these instructions in reverse order.
Cancel: I did not complete this guide.
One other person completed this guide.

Team

University of Memphis, Team 3-5, Sneed Spring 2025 Member of University of Memphis, Team 3-5, Sneed Spring 2025
UM-SNEED-S25S3G5
4 Members
7 Guides authored