Introduction
The top buttons and the trigger are typically the most used, meaning the dip switches could become the first to be worn. This will require replacement for full use of the joystick.
What you need
-
-
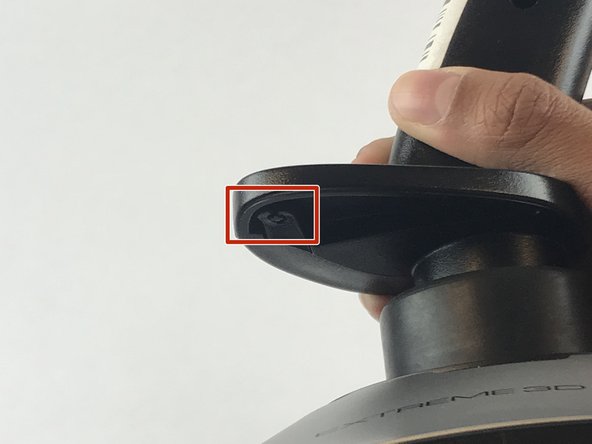
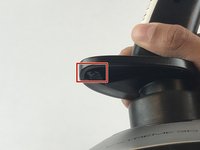
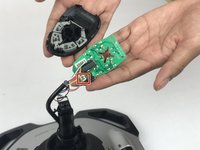
Remove these three Phillips #1 screws:
-
Two 10mm screws.
-
One 7mm screw.
-
-
-
-
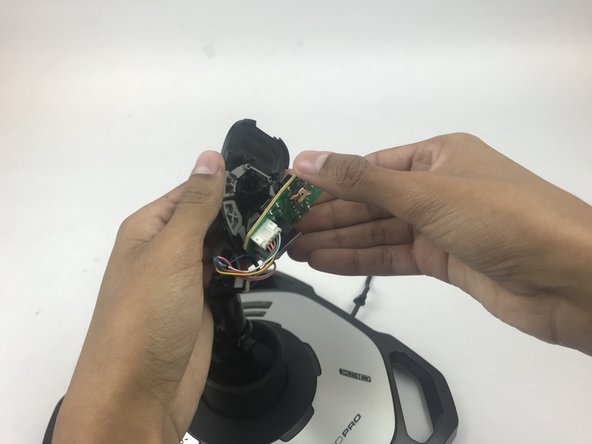
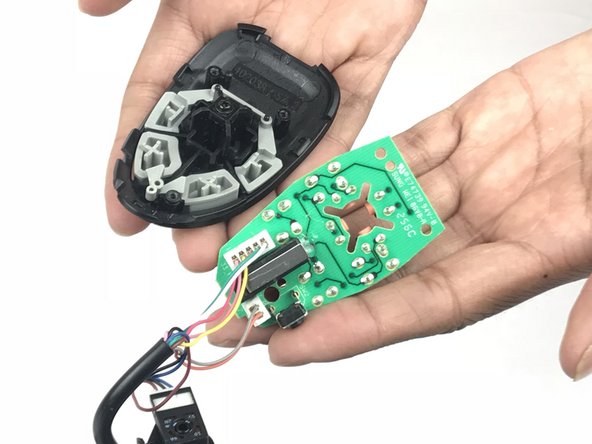
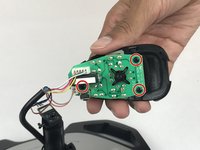
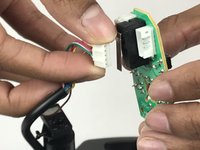
Remove the three 7mm Phillips #1 screws from the button board.
-
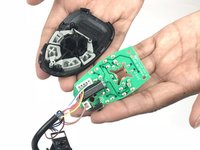
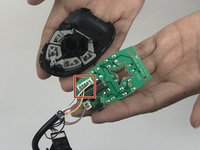
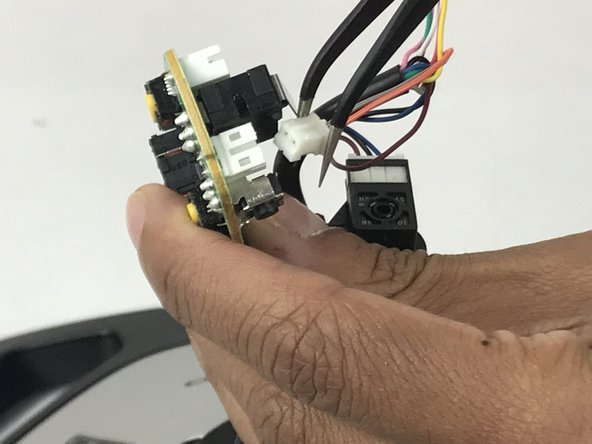
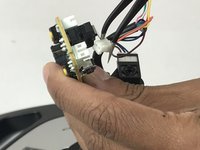
Remove the button board from the plastic top.
-


To reassemble your device, follow these instructions in reverse order.
Cancel: I did not complete this guide.
4 other people completed this guide.
Team

USF Tampa, Team S7-G1, Passmore Spring 2018 Member of USF Tampa, Team S7-G1, Passmore Spring 2018
USFT-PASSMORE-S18S7G1
4 Members
7 Guides authored